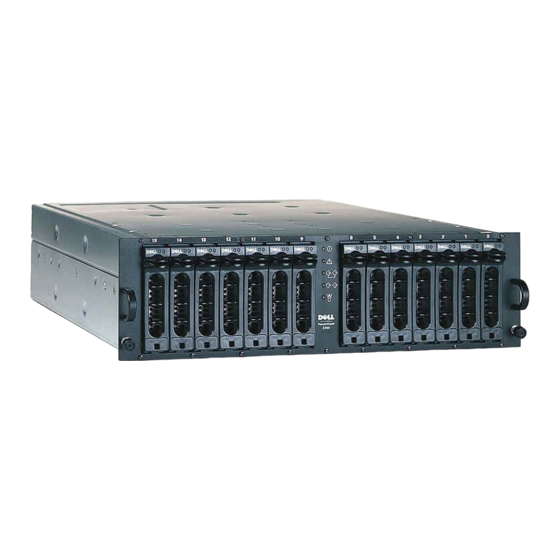
Dell PowerVault 220S Handbuch
Konvertieranleitung rack-nach-tower
Vorschau ausblenden
Andere Handbücher für PowerVault 220S:
- Installationsanleitung (110 Seiten) ,
- Handbuch (60 Seiten) ,
- Benutzerhandbuch (21 Seiten)

Verwandte Anleitungen für Dell PowerVault 220S


Inhaltszusammenfassung für Dell PowerVault 220S
-
Seite 30: Anmerkungen, Hinweise, Vorsichtshinweise Und Warnungen
Eine Reproduktion dieses Dokuments in jeglicher Form ist nur mit vorheriger schriftlicher Genehmigung der Dell Computer Corporation erlaubt. Die in diesem Text verwendeten Warenzeichen: Dell , das DELL -Logo, RapidRails und VersaRails sind Warenzeichen der Dell Computer Corporation. Andere in diesem Dokument möglicherweise verwendete Warenzeichen und Handelsbezeichnungen sind unter Umständen Marken und Namen der entsprechenden Firmen oder ihrer Produkte. -
Seite 31: Sicherheitshinweise
Gleitschienen aus dem Rack. Durch das Gewicht von mehr als einer Komponente kann das Rack umkippen und Verletzungen hervorrufen. HINWEIS: Ihr Dell-System ist als frei stehende Einheit und für die Verwendung als Komponente in Dell-Gestellschränken sicherheits-zertifiziert, wobei das Dell Customer Rack Kit eingesetzt werden muss. -
Seite 32: Inhalt Des Rack-Nach-Tower-Kit
• Bewegen Sie große Racks nicht alleine. Wegen der Höhe und des Gewichtes des Racks empfiehlt Dell, diese Arbeit mit mindestens zwei Leuten durchzuführen. • Bevor Sie an einem Rack arbeiten, vergewissern Sie sich, dass die Stabilisatoren sicher am Rack befestigt sind, bis auf den Boden reichen und dass das gesamte Gewicht des Racks auf dem Boden lastet. - Seite 33 • Vier ¼ x 1 x 0,08-Zoll Unterlegscheiben • Zwei runde Abdeckungen A b b i l d u n g 3 - 1 . I n h a l t d e s R a c k - n a c h -To w e r - K i t Sockelmontagesatz Tower- Verkleidungen...
-
Seite 34: Bevor Sie Beginnen
Bevor Sie beginnen Bevor Sie Ihr System aus dem Rack entfernen und es zu einem Tower-System umwandeln, lesen Sie sorgfältig die „Sicherheitshinweise“. Entfernen der Rack-Türen Siehe Vorgehensweise zum Entfernen der Türen in der Dokumentation Ihres Gestellschranks. Empfohlene Werkzeuge und Zubehör Für die Konvertierung benötigen Sie die folgenden Werkzeuge: •... -
Seite 35: Entfernen Der Rack-Türen
Sie müssen die Türen vom Gestellschrank abnehmen, um Zugang zum Inneren des Racks zu erlangen und Schäden an den Türen zu vermeiden. Zum Entfernen der Türen in Dell-Gestellschränken siehe Dokumentation des Racks. Entfernen des Systems aus dem Rack VORSICHT: Falls Sie mehr als ein System aus dem Gestellschrank entfernen, beginnen Sie mit dem obersten System. -
Seite 36: Entfernen Der Frontplatte
A b b i l d u n g 3 - 2 . E n t n e h m e n d e s S y s t e m s a u s d e n M o n t a g e s c h i e n e n s ä t z e n Flügelschraube Entfernen der Frontplatte Dieser Vorgang wird am besten durchgeführt, wenn die Vorderseite des Systems 2,54... -
Seite 37: Installation Der Tower-Frontplatte
Installation der Tower-Frontplatte Positionieren Sie die Tower-Frontplatte auf dem Systemgehäuse, und achten Sie darauf, die fünf Hohllichtleiter durch die Löcher der Frontplatte zu führen. HINWEIS: Im nächsten Schritt schrauben Sie alle 14 T-10 Torx-Schrauben leicht in die jeweiligen Löcher, bevor Sie diese festziehen, um eine ordnungsgemäße Abdeckung sicherzustellen. -
Seite 38: Installieren Des Sockels, Der Abdeckungen Und Blende
Installieren des Sockels, der Abdeckungen und Blende So installieren Sie den Sockel: Positionieren Sie den Sockelmontagesatz und richten Sie die zwei Löcher auf dessen Unterseite an den zwei Gewindelöchern auf der rechten Seite (dem Sockel) des Gehäuses aus (siehe Abbildung 3-4). Befestigen Sie die zwei Sechskant-Kreuzschlitzschrauben und Unterlegscheiben am Sockel mit Hilfe eines 3/16-Sechskantstiftschlüssels (Allen). - Seite 39 A b b i l d u n g 3 - 4 . I n s t a l l a t i o n d e r To w e r - S y s t e m a b d e c k u n g runde ¼-20 x 0,5-Zoll Sechskant- Abdeckungen (2)
- Seite 40 So installieren Sie die Blende: Positionieren Sie die Blende so, dass sie senkrecht zum System steht. Befestigen Sie die zwei selbstsichernden Flügelschrauben in ihren Löchern auf der Unterseite der Frontplatte. Reinstallieren Sie die Festplatten sowie Stromzufuhr- und Kühlmodule, wenn diese entfernt wurden (siehe Anleitung zur Installation und Fehlersuche). Schließen Sie die Blende.
-
Seite 41: Entfernen Der Rapidrails-Montageschienen
Entfernen der RapidRails-Montageschienen HINWEIS: Wenn Ihr Gestellschrank über VersaRails-Montageschienen verfügt, gehen Sie direkt zum Arbeitsschritt „Entfernen der VersaRails-Montageschienensätze“. Suchen Sie auf der Vorderseite des Gestellschranks den blauen Entriegelungsknopf auf einem der Montagehalterungs-Flansche der Montageschienen (siehe Abbildung 3-6). A b b i l d u n g 3 - 6 . E n t f e r n e n d e r M o n t a g e s c h i e n e n Montagehaken Blauer Entriegelungsknopf... -
Seite 42: Entfernen Der Versarails-Montageschienen
Rack entfernt haben. Damit ist der Vorgang zum Entfernen der VersaRails-Montageschienen von einem Rack abgeschlossen. Austauschen der Rack-Türen Siehe Vorgehensweise zum Austauschen der Türen in der Dokumentation Ihres Dell- Gestellschranks. Damit ist die Tower-Konvertierung Ihres Systems abgeschlossen. 3-12 Ko n ve r ti er a n l e i t u n g Ra c k -n a c h -To we r... - Seite 43 Sistemas Dell™ Guía de conversión de rack a torre w w w . d e l l . c o m | s u p p o r t . d e l l . c o m...