IMG STAGE LINE PML-80R Bedienungsanleitung
Led-message-lauflicht
Inhaltsverzeichnis
Verfügbare Sprachen
Verfügbare Sprachen
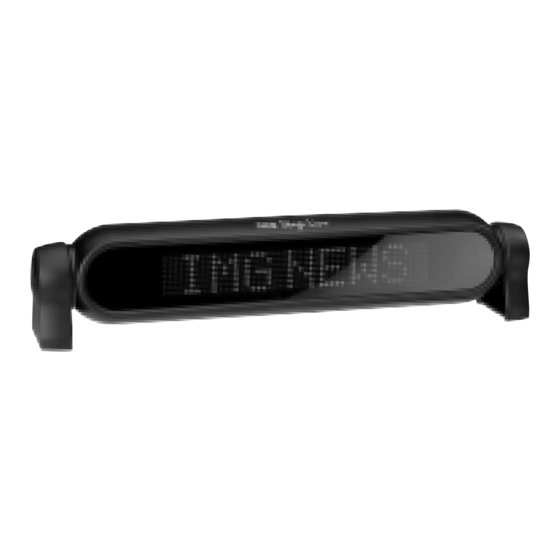
LED-MESSAGE-LAUFLICHT
LED MESSAGE LIGHT
JOURNAL LUMINEUX À LEDS, À MESSAGES VARIABLES ET DÉFILANTS
SCRIVENTE A LED
PML-80R
Best.-Nr. 38.1970
BEDIENUNGSANLEITUNG • INSTRUCTION MANUAL • MODE D'EMPLOI
ISTRUZIONI PER L'USO • GEBRUIKSAANWIJZING • MANUAL DE INSTRUCCIONES • INSTRUKCJA OBSŁUGI
SIKKERHEDSOPLYSNINGER • SÄKERHETSFÖRESKRIFTER • TURVALLISUUDESTA
Kapitel
Inhaltsverzeichnis

Verwandte Anleitungen für IMG STAGE LINE PML-80R


Inhaltszusammenfassung für IMG STAGE LINE PML-80R
- Seite 1 LED-MESSAGE-LAUFLICHT LED MESSAGE LIGHT JOURNAL LUMINEUX À LEDS, À MESSAGES VARIABLES ET DÉFILANTS SCRIVENTE A LED PML-80R Best.-Nr. 38.1970 BEDIENUNGSANLEITUNG • INSTRUCTION MANUAL • MODE D’EMPLOI ISTRUZIONI PER L’USO • GEBRUIKSAANWIJZING • MANUAL DE INSTRUCCIONES • INSTRUKCJA OBSŁUGI SIKKERHEDSOPLYSNINGER • SÄKERHETSFÖRESKRIFTER • TURVALLISUUDESTA...
- Seite 2 Before you switch on ... Wir wünschen Ihnen viel Spaß mit Ihrem neuen Gerät von We wish you much pleasure with your new “ img Stage Line” „img Stage Line“. Der deutsche Text beginnt auf Seite 4. unit. The English text starts on page 11.
- Seite 3 :< => ?@[\ 0] l SHIFT EDIT SETUP ONLY STORE MIRROR ERASE SPACE LIGHT SPEED DOWN LIBRARY PLAY PML-80R LED MESSAGE LIGHT 12 V4 / 650 mA Serial - No. R 02 / ..- 01...
-
Seite 4: Inhaltsverzeichnis
Inbetriebnahme ......5 Das LED-Message-Lauflicht PML-80R eignet sich für den pro- Batterien in die Fernbedienung einsetzen ..5 fessionellen Einsatz in Schaufenstern, Bars, Restaurants, Dis- Lauflicht aufstellen und anschließen . -
Seite 5: Hinweise Für Den Sicheren Gebrauch
2 Hinweise für den sicheren Gebrauch Verwenden Sie für die Reinigung nur ein trockenes, weiches Tuch, auf keinen Fall Chemikalien oder Wasser. Das Lauflicht und das beiliegende Steckernetzgerät entspre- chen der Richtlinie für elektromagnetische Verträglichkeit Werden das Lauflicht oder das Netzgerät zweckentfremdet, 89/336/EWG. -
Seite 6: Lauflicht Aufstellen Und Anschließen
1) Den Deckel des Batteriefachs auf der Rückseite der Fern- 4 Bedienung bedienung abnehmen: Die Pfeilmarkierung leicht eindrü- Nach dem Anschluss an die Stromversorgung leuchten kurz cken und den Deckel gleichzeitig nach unten abziehen. alle LEDs des Displays (1) auf, danach befindet sich das 2) Die Batterien, mit den Plus- und Minusanschlüssen wie im Gerät im Modus „BANNER“... - Seite 7 a Eingeben eines eigenen Textes (max. 80 Zeichen) Ein selbst eingegebener Text kann danach bei Bedarf Den Text mit den Zeichentasten (5) eingeben. Pro Taste noch korrigiert werden: Die Taste EDIT drücken und den stehen 4 Zeichen zur Auswahl. Die jeweilige Taste so oft Text mit den Eingabetasten wie gewünscht ändern.
-
Seite 8: Speichervorgang Abbrechen
den. Wird diese maximale Zeichenanzahl über- Display durch. Nach ca. 25 s schaltet das Gerät automatisch schritten, erscheint nach dem Drücken der jewei- zurück in den Modus „BANNER“. ligen Speichertasten auf dem Display die Mel- Mit der Taste CANCEL (4) kann der Textdurchlauf auch vor- dung „Memory full“. -
Seite 9: Zusammenstellen Einer Textsequenz
Texteingabe die Taste PLAY (20) drücken und danach die 5) Zum Abspeichern erst die Taste SETUP (7) drücken, dann Taste ONLY. die Taste STORE (14). Zum Ausschalten dieser Funktion die Taste CANCEL (4) 6) Um den ständigen Durchlauf der Textfolge zu starten, die drücken. -
Seite 10: Text Gespiegelt Anzeigen
4.2.6 Text gespiegelt anzeigen 4.4 Kontrollanzeige auf der Geräterückseite Die Taste MIRROR (19) drücken, um den aktuell angezeigten Die LED (3) auf der Rückseite des Lauflichts dient als Kon- Text zu spiegeln bzw. – wenn zum Zeitpunkt des Tastendrucks trollanzeige, wenn das Gerät so aufgestellt ist, dass das Dis- gerade kein Text im Display sichtbar ist –...