IMG STAGE LINE PARC-56/RGB Bedienungsanleitung
Inhaltsverzeichnis
Verfügbare Sprachen
Verfügbare Sprachen
Quicklinks
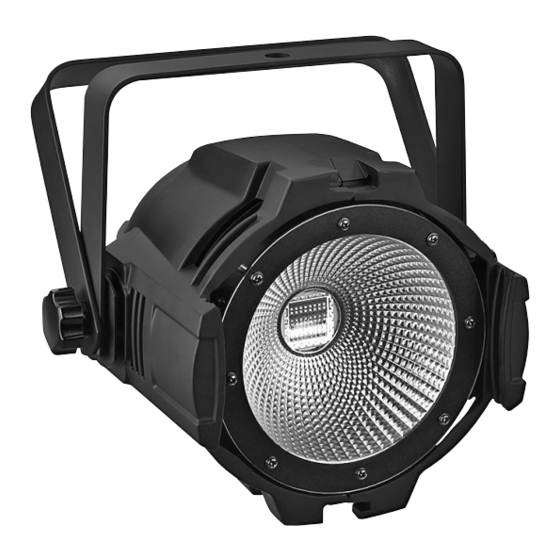
DMX-LED-Scheinwerfer
DMX LED Spotlight
PARC-56/RGB
PARC-64/RGB
BEDIENUNGSANLEITUNG
INSTRUCTION MANUAL
MODE D'EMPLOI
ISTRUZIONI PER L'USO
GEBRUIKSAANWIJZING
MANUAL DE INSTRUCCIONES
INSTRUKCJA OBSŁUGI
SIKKERHEDSOPLYSNINGER
SÄKERHETSFÖRESKRIFTER
TURVALLISUUDESTA
ELECTRONICS FOR SPECIALISTS ELECTRONICS FOR SPECIALISTS ELECTRONICS FOR SPECIALISTS ELECTRONICS FOR SPECIALISTS
Bestell-Nr. • Order No. 38.6680
Bestell-Nr. • Order No. 38.6760
Inhaltsverzeichnis

Verwandte Anleitungen für IMG STAGE LINE PARC-56/RGB


Inhaltszusammenfassung für IMG STAGE LINE PARC-56/RGB
- Seite 1 DMX-LED-Scheinwerfer DMX LED Spotlight PARC-56/RGB Bestell-Nr. • Order No. 38.6680 PARC-64/RGB Bestell-Nr. • Order No. 38.6760 BEDIENUNGSANLEITUNG INSTRUCTION MANUAL MODE D’EMPLOI ISTRUZIONI PER L’USO GEBRUIKSAANWIJZING MANUAL DE INSTRUCCIONES INSTRUKCJA OBSŁUGI SIKKERHEDSOPLYSNINGER SÄKERHETSFÖRESKRIFTER TURVALLISUUDESTA ELECTRONICS FOR SPECIALISTS ELECTRONICS FOR SPECIALISTS ELECTRONICS FOR SPECIALISTS ELECTRONICS FOR SPECIALISTS...
- Seite 2 DMX IN DMX OUT 230 V~/50 Hz MENU ENTER DOWN ➀...
- Seite 3 Deutsch . . . . . . . . . . Seite English . . . . . . . . . . . Page Français .
-
Seite 4: Übersicht Der Anschlüsse Und Bedienelemente
• DMX-LED-Scheinwerfer Ein beschädigtes Netzkabel darf nur durch eine Fachwerkstatt ersetzt werden . Diese Anleitung richtet sich an den Installateur des • Geräts und an den Bediener mit Grundkenntnissen in Ziehen Sie den Netzstecker nie am Kabel aus der der DMX-Steuerung . Bitte lesen Sie die Anleitung vor Steckdose, fassen Sie immer am Stecker an . -
Seite 5: Bedienung
1 . Den Scheinwerfer über die Montagebügel (6) be- 1) Die Taste MENU so oft drücken, bis die oberste festigen, z . B . mit einer stabilen Montageschraube Menüebene erreicht ist (in der Menüstruktur auf oder einer Lichtstrahler-Halterung (C-Haken) an den Seiten 62 und 63 ganz links) . -
Seite 6: Synchrone Steuerung Mehrerer Scheinwerfer (Master-Slave-Modus)
5.1.5 Szenenfolgen programmieren Zahl (0 – 255) . Es lassen sich 10 Szenenfolgen auf einfache Weise = Helligkeit Rot programmieren . Eine Szenenfolge kann aus max . = Helligkeit Grün 30 Szenen bestehen, die wiederholt abläuft . Für = Helligkeit Blau jede Szene lässt sich die Farbe zusammen mit der 6) Mit der Taste ENTER die Farben nacheinander Helligkeit einstellen, die Stroboskop-Funktion mit... - Seite 7 a) Die Taste MENU so oft drücken, bis die oberste der CDMXN-Serie) . Bei Leitungslängen ab 150 m Menüebene erreicht ist . wird grundsätzlich das Zwischenschalten eines DMX- Aufholverstärkers empfohlen (z . B . SR-103DMX) . b) Die Taste UP oder DOWN so oft drücken, bis das Display anzeigt .
- Seite 8 5.3.3 DMX-Startadresse einstellen 4) Die Taste ENTER drücken . Das Display zeigt jetzt und eine Zahl zwischen 01 und 66 . Um alle am Lichtsteuergerät angeschlossenen DMX-Geräte separat bedienen zu können, muss 5) Die Unteradresse mit der Taste UP oder DOWN jedes Gerät eine eigene Startadresse erhalten .
-
Seite 9: Kanal-Betrieb
5.3.5 Funktionen der DMX-Kanäle 3-Kanal-Betrieb 10-Kanal-Betrieb DMX- DMX- DMX- DMX- Funktion Funktion Kanal Wert Kanal Wert 000 – 255 Helligkeit Rot 000 – 255 Dimmer 0 % 100 % 000 – 255 Helligkeit Grün 000 – 255 Grundhelligkeit Rot 000 –... -
Seite 10: Zusätzliche Funktionen
6 Zusätzliche Funktionen 6) Den eingestellten Weißton aktivieren: a) Die Taste MENU so oft drücken, bis das Display 6.1 Maximale Helligkeit des Scheinwerfers wieder anzeigt . Wird die maximale Helligkeit des Scheinwerfers nicht b) Die Taste DOWN zweimal drücken, sodass das benötigt, kann sie auf 33 % des Maximums reduziert Display anzeigt . -
Seite 11: Scheinwerfer Auf Die Werkseinstellung Zurücksetzen
6.4 Temperaturanzeige und 7) Damit der Scheinwerfer DMX-gesteuert werden Überhitzungsschutz kann, mit der Taste MENU zurück auf die oberste Menüebene springen . Der Scheinwerfer verfügt über einen Überhitzungs- Für den eigenständigen Betrieb mit der Taste schutz . Dadurch schaltet er sich bei einer zu hohen MENU den Betriebsmodus wählen und mit der Temperatur im Inneren ab und nach dem Abkühlen Taste ENTER den Modus einschalten . - Seite 64 MONACOR INTERNATIONAL GmbH & Co. KG • Zum Falsch 36 • 28307 Bremen • Germany Copyright by MONACOR INTERNATIONAL. All rights reserved. A-1602.99.04.04.2017 ©...