IMG STAGE LINE PARC-64/CTW Bedienungsanleitung
Inhaltsverzeichnis
Verfügbare Sprachen
Verfügbare Sprachen
Quicklinks
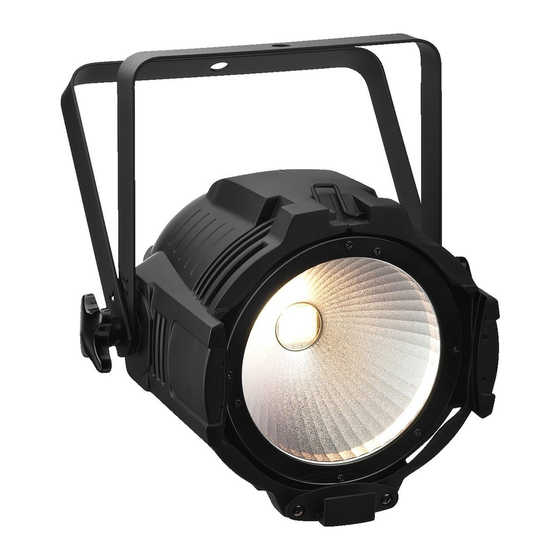
DMX-LED-Scheinwerfer
DMX LED Spotlight
PARC-64/CTW
Bestell-Nr. • Order No. 38.6920
BEDIENUNGSANLEITUNG
INSTRUCTION MANUAL
MODE D'EMPLOI
ISTRUZIONI PER L'USO
GEBRUIKSAANWIJZING
MANUAL DE INSTRUCCIONES
INSTRUKCJA OBSŁUGI
SIKKERHEDSOPLYSNINGER
SÄKERHETSFÖRESKRIFTER
TURVALLISUUDESTA
ELECTRONICS FOR SPECIALISTS ELECTRONICS FOR SPECIALISTS ELECTRONICS FOR SPECIALISTS ELECTRONICS FOR SPECIALISTS
Inhaltsverzeichnis

Verwandte Anleitungen für IMG STAGE LINE PARC-64/CTW


Inhaltszusammenfassung für IMG STAGE LINE PARC-64/CTW
- Seite 1 DMX-LED-Scheinwerfer DMX LED Spotlight PARC-64/CTW Bestell-Nr. • Order No. 38.6920 BEDIENUNGSANLEITUNG INSTRUCTION MANUAL MODE D’EMPLOI ISTRUZIONI PER L’USO GEBRUIKSAANWIJZING MANUAL DE INSTRUCCIONES INSTRUKCJA OBSŁUGI SIKKERHEDSOPLYSNINGER SÄKERHETSFÖRESKRIFTER TURVALLISUUDESTA ELECTRONICS FOR SPECIALISTS ELECTRONICS FOR SPECIALISTS ELECTRONICS FOR SPECIALISTS ELECTRONICS FOR SPECIALISTS...
- Seite 2 DMX IN DMX OUT MENU ENTER DOWN 230 V~/ 50 Hz ➀ Master-Gerät • Master unit für den Master-Slave-Betrieb Appareil Master • Apparecchio master for master / slave mode pour le mode Master / Slave Slave-Gerät • Slave unit per il funzionamento master / slave Appareil Slave •...
- Seite 3 Deutsch . . . . . . . . . . Seite English . . . . . . . . . . . Page Français .
-
Seite 4: Übersicht Der Anschlüsse Und Bedienelemente
• DMX-LED-Scheinwerfer Ziehen Sie den Netzstecker nie am Kabel aus der Steckdose, fassen Sie immer am Stecker an . Diese Anleitung richtet sich an den Installateur des • Wird das Gerät zweckentfremdet, nicht sicher Geräts und an den Bediener mit Grundkenntnissen montiert, nicht richtig angeschlossen, falsch be- in der DMX-Steuerung . -
Seite 5: Bedienung
Die gewünschte Neigung des Scheinwerfers ein- DOWN jeweils die Helligkeit bzw . die Blitzfrequenz stellen und die Schrauben wieder festziehen . einstellen . Die Farbtemperatur des Lichtstrahls ergibt 2 . Alternativ lässt sich der Scheinwerfer auch frei auf- sich durch das Helligkeitsverhältnis von kaltem stellen: Die Montagebügel so unter dem Schein- zu warmem Weiß... -
Seite 6: Reinigung Des Gerätes
5.4 Temperaturanzeige und 1) Den Eingang DMX INPUT (4) mit dem DMX-Aus- Überhitzungsschutz gang des Lichtsteuergerätes oder eines anderen DMX-gesteuerten Gerätes verbinden . Der Scheinwerfer verfügt über einen Überhitzungs- schutz . Dadurch schaltet er sich bei einer zu hohen 2) Den Ausgang DMX OUTPUT (6) mit dem DMX-Ein- Temperatur im Inneren ab und nach dem Abkühlen gang des nächsten DMX-Gerätes verbinden . - Seite 28 MONACOR INTERNATIONAL GmbH & Co. KG • Zum Falsch 36 • 28307 Bremen • Germany Copyright by MONACOR INTERNATIONAL. All rights reserved. A-1586.99.02.01.2017 ©...