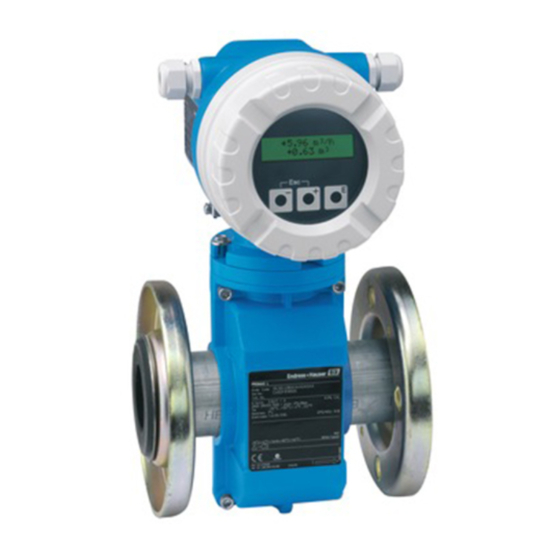
Endress+Hauser Promag 10 Einbauanleitung
Sensor nennweite din dn 25 und ansi 1"
Vorschau ausblenden
Andere Handbücher für Promag 10:
- Einbauanleitung (40 Seiten) ,
- Installationsanleitung (16 Seiten) ,
- Einbauanleitung (24 Seiten)
Werbung
Verfügbare Sprachen
Verfügbare Sprachen
Quicklinks
Installation Instructions
Promag 10, 23, 50, 53, 55 H, sensor nominal diameter DIN DN 25 and ANSI 1"
Distance sleeves in plastic process connections
EA101D/06/a2/01.10
71108941
These instructions apply to the following post mounting kits:.
Order code
Original Accesories kit
Promag H, mounting set
DKH22–FE*
DN25 1" ODT, SMS, ANSI, ISO pipes
Promag H, mounting set
DKH26–FD*
DN25 DIN, JIS pipes
Promag H, mounting set
DKH26–FF*
DN25 DIN, JIS pipes
1
Safety Instructions
• Comply with national regulations governing mounting, electrical installation,
commissioning, maintenance and repair procedures. (Available sources,
e.g. series of standards IEC 60364 and IEC 60079-14/-17/-19).
• Requirements with regard to specialized technical staff for the mounting,
electrical installation, commissioning, maintenance and repair of the
measuring devices:
– trained in instrument safety
– familiar with the individual protection concepts of the devices
– for Ex-certified measuring devices: also trained in explosion protection
• The spare parts set and Installation Instructions are used to replace a faulty unit
with a functioning unit of the same type.
Only use genuine parts from Endress+Hauser.
• Using the material number and identification information, check whether the
spare part matches the identification label on the measuring device.
• If you have any questions, contact your E+H service organization.
• Modifications to the measuring device are not permitted.
• Follow all measuring device documentation.
• In the case of Ex-certified measuring devices: Comply with the installation
instructions and operating conditions in the supplementary Ex-
documentation.
• In the case of measuring devices in pressure systems requiring official approval:
Comply with the installation instructions and operating conditions in the
special documentation for the pressure equipment directive.
• Before removing the device, stop the process and purge the pipe of dangerous
gases and liquids.
• Hot surfaces! Risk of injury!
Before commencing work, allow the system and measuring device to cool
down to a touchable temperature.
• In the case of measuring devices in custody transfer, the custody transfer status
no longer applies once the lead seal has been removed.
• In the case of measuring devices in safety-related applications in accordance
with EN 61508 or EN 61511, reconfigure and test following any repair.
Document the repair procedure in accordance with the applicable standard(s).
• In the case of Ex-certified measuring devices: Only open in a de-energized
state (once a delay of 10 minutes has elapsed after switching off the power
supply) or in environments which do not have a potentially explosive
atmosphere.
After removing the electronics cover, there is a risk of electric shock as shock
protection is removed!
• Switch off the measuring device before removing internal covers.
• Service connector:
– do not connect in potentially explosive atmospheres.
– only connect to Endress+Hauser service devices.
• Only open housing for a brief period. Avoid the penetration of foreign bodies,
moisture or contaminants.
• To regain the (explosion) protection of the measuring device:
– seal the openings with genuine covers
– seal cable entries with approved components suitable for the (explosion)
protection.
• Replace defective seal/gaskets by genuine parts from Endress+Hauser only.
• Threads (e.g. of the cover for the electronics and connection compartments)
must be lubricated. Use an acid-free, non-hardening grease if an abrasion
resistant dry lubricant is non-existent.
• If threads are damaged or defective, the measuring device must be repaired.
• If spacing is reduced or the dielectric strength of the measuring device cannot
be guaranteed during repair work, perform a test on completion of the work
(e.g. high-voltage test in accordance with the manufacturer's instructions).
• Risk of damaging electronic components!
Ensure you have a working environment protected from electrostatic
discharge.
• Danger: Risk of electric shock! Only open the measuring device
in a de-energized state.
• Observe the instructions for transporting and returning the device outlined in
the Operating Instructions.
Werbung

Inhaltszusammenfassung für Endress+Hauser Promag 10
- Seite 1 Installation Instructions Promag 10, 23, 50, 53, 55 H, sensor nominal diameter DIN DN 25 and ANSI 1" Distance sleeves in plastic process connections EA101D/06/a2/01.10 71108941 These instructions apply to the following post mounting kits:. Order code Original Accesories kit Promag H, mounting set DKH22–FE*...
- Seite 2 Distance sleeves in plastic process connections Promag 10, 23, 50, 53, 55 H, sensor nominal diameter DIN DN 25 and ANSI 1" 3. Push the distance sleeves out of the process connection with a pen, for 2 Replacing distance sleeves example, and then insert them into the required position by hand.
- Seite 3 Einbauanleitung Promag 10, 23, 50, 53, 55 H, Sensor Nennweite DIN DN 25 und ANSI 1" Distanzhülsen in Kunstoff-Prozessanschlüssen EA101D/06/a2/01.10 71108941 Diese Einbauanleitung ist gültig für folgende Zubehörteile:. Bestell-Code Zubehörteil Promag H, Montageset DKH22–FE* DN25 1" ODT, SMS, ANSI, ISO-Rohre Promag H, Montageset DKH26–FD*...
- Seite 4 Promag 10, 23, 50, 53, 55 H, Sensor Nennweite DIN DN 25 und ANSI 1" Distanzhülsen in Kunstoff-Prozessanschlüssen 3. Die Distanzhülsen z. B. mit einem Kugelschreiber aus dem Prozessanschluss 2 Austausch Distanzhülsen heraus stossen und anschliessend von Hand in die erforderliche Position pressen.


