Klarstein Tap2Go Handbuch
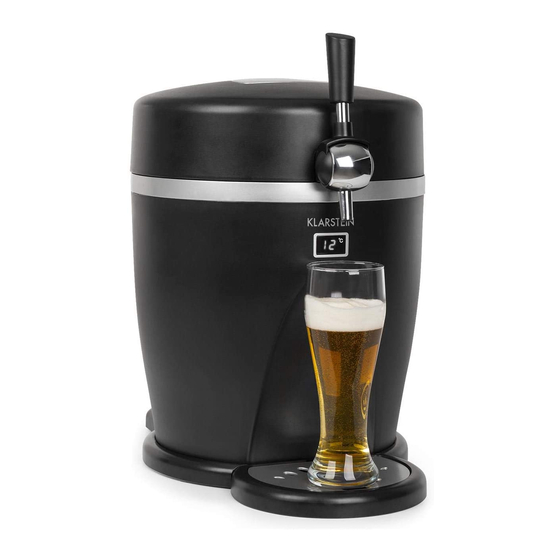
Bierzapfanlage

Verwandte Anleitungen für Klarstein Tap2Go


Inhaltszusammenfassung für Klarstein Tap2Go
- Seite 1 Tap2Go Bierzapfanlage Beer Dispenser Dispensador de cerveza Tireuse à bière Impianto di spillatura per birra 10034006...
-
Seite 3: Inhaltsverzeichnis
Sehr geehrter Kunde, wir gratulieren Ihnen zum Erwerb Ihres Gerätes. Lesen Sie die folgenden Hinweise sorgfältig durch und befolgen Sie diese, um möglichen Schäden vorzubeugen. Für Schäden, die durch Missachtung der Hinweise und unsachgemäßen Gebrauch entstehen, übernehmen wir keine Haftung. Scannen Sie den folgenden QR-Code, um Zugriff auf die aktuellste Bedienungsanleitung und weitere Informationen rund um das Produkt zu erhalten. -
Seite 4: Sicherheitshinweise
SICHERHEITSHINWEISE • Überprüfen Sie vor der Verwendung, ob das Netzkabel unbeschädigt ist. Falls das Netzkabel oder der Stecker beschädigt sind, müssen sie vom Hersteller, einem autorisierten Fachbetrieb oder einer ähnlich qualifizierten Person ersetzt werden. • Prüfen Sie vor der Benutzung die Spannung auf der Geräteplakette. Schließen Sie das Gerät nur an Steckdosen an, die der Spannung des Geräts entsprechen. -
Seite 5: Geräteübersicht
GERÄTEÜBERSICHT Gehäuse Abdeckung mit Handgriff Dichtung Zapfeinheit Zapfhebel Verlängerungsrohr Auffangwanne mit Gitter 12 V DC-Kabel 10 AC-Kabel mit Stecker 1 1 AC-Anschluss 12 DC-Anschluss 13 Ein/Aus Kontrollleuchte 14 Wahlschalter für die Stromversorgung... -
Seite 6: Zusammenbau
ZUSAMMENBAU Für den Betrieb benötigen Sie ein Stecken Sie das Verlängerungsrohr in 5 L Frische-Fässchen. das kleines Loch oberen im Bierfass und bauen Sie die restlichen Teile an, wie auf dem Bild dargestellt. - Seite 7 Sobald die Bierzapfanlage Die Zapfeinheit muss vor der Benutzung zusammengebaut ist, schließen Sie fest installiert sein. Normalerweise das Gerät an eine Steckdose oder sollte der Zapfhebel nach oben den Zigarettenanzünder im Auto an. zeigen. Der Zapfhahn ist in diesem Fall Die Biertemperatur sinkt nun auf bis zu geschlossen.
-
Seite 8: Fehlerbehebung
FEHLERBEHEBUNG Problem Mögliche Ursache Lösungsansatz Es kommt kein Bier aus der Verlängerungsrohr am ist Schließen Sie das Zapfanlage. nicht gut angeschlossen. Verlängerungsrohr richtig Kein Fass in der Anlage Stellen Sie ein neues Fass oder kein Bier im Fass. in den Kühler. Das Bier schäumt zu stark, Das Bier fließt nicht richtig. -
Seite 9: Hinweise Zur Entsorgung
HINWEISE ZUR ENTSORGUNG Befindet sich die linke Abbildung (durchgestrichene Mülltonne auf Rädern) auf dem Produkt, gilt die Europäische Richtlinie 2012/19/EU. Diese Produkte dürfen nicht mit dem normalen Hausmüll entsorgt werden. Informieren Sie sich über die örtlichen Regelungen zur getrennten Sammlung elektrischer und elektronischer Gerätschaften.