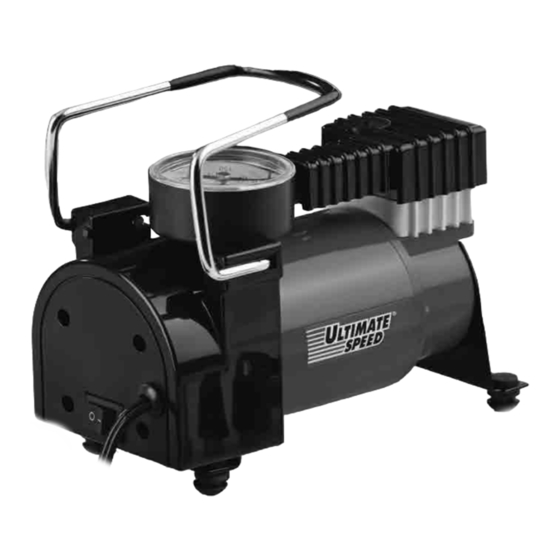
ULTIMATE SPEED UMK 10 A1 Originalbetriebsanleitung
Mini-kompressor
Vorschau ausblenden
Andere Handbücher für UMK 10 A1:
- Originalbetriebsanleitung (58 Seiten) ,
- Originalbetriebsanleitung (30 Seiten) ,
- Originalbetriebsanleitung (50 Seiten)

Verwandte Anleitungen für ULTIMATE SPEED UMK 10 A1


Inhaltszusammenfassung für ULTIMATE SPEED UMK 10 A1
- Seite 2 Antes de empezar a leer abra la página que contiene las imágenes y, en seguida, familiarícese con todas las funciones del dispositivo. Antes de começar a ler abra na página com as imagens e, de seguida, familiarize-se com todas as funções do aparelho.
- Seite 3 ‚ ‚...
-
Seite 28: Einleitung
Inhalt Einleitung Einleitung ........28 Bestimmungsgemäße Verwen- dung .......... 28 Herzlichen Glückwunsch zum Kauf Ihres Allgemeine Beschreibung ... 29 neuen Gerätes. Lieferumfang/Zubehör ....29 Sie haben sich damit für ein hochwertiges Übersicht ........29 Produkt entschieden. Die Betriebsanleitung Technische Daten ......29 ist Bestandteil dieses Produkts. -
Seite 29: Allgemeine Beschreibung
Allgemeine Beschreibung Technische Daten Mini-Kompressor ..UMK 10 A1 Die Abbildungen finden Sie auf der vorderen Ausklappseite. Bemessungsspannung ....12 V Nennstromaufnahme ......7 A Lieferumfang/Zubehör max. Stromaufnahme ....... 14 A Maximaler Druck ......10 bar Packen Sie das Gerät aus und kontrollieren Dauerbetrieb ....... -
Seite 30: Symbole Auf Dem Gerät
Symbole auf dem Gerät auf Augen und Ohren. Es besteht Verlet- zungsgefahr. Achtung! • Lassen Sie das Gerät nicht unbeauf- sichtigt laufen und beachten Sie die Betriebsanleitung lesen! Füllhinweise des Aufblasartikels. Der Aufblasartikel kann platzen und schwe- Achtung heiße Flächen, re Verletzungen hervorrufen. -
Seite 31: Inbetriebnahme
Nähe von entzündbaren Flüssigkeiten tenanzünder. oder Gasen. Saugen Sie keine heißen • Das Anschlusskabel dieses Gerätes Dämpfe an. Bei Nichtbeachtung besteht kann nicht ersetzt werden. Bei Beschä- Brand- oder Explosionsgefahr. digung des Kabels ist das Gerät zu • Schalten Sie das Gerät aus und ziehen verschrotten. -
Seite 32: Anschlussventil (7) Anschließen
Anschlussventil (7) anschließen: Anschluss mit Ventiladapter (10): 2. Öffnen Sie das Anschlussventil (7): Ziehen Sie den Ventiladapter Spannhebel (8) senkrecht nach vom Ventil des Aufblasartikels oben (Position ab. Öffnen Sie den Spannhebel 3. Anschluss ohne Ventiladapter (10): (8) des Anschlussventils und ent- - Stecken Sie das geöffnete An- fernen Sie den Ventiladapter. -
Seite 33: Luftdruckprüfung
Reinigung Luftdruckprüfung Das Gerät darf weder mit Zum Messen des Luftdrucks muss das Wasser abgespritzt werden, Gerät nicht an den Zigarettenanzün- noch in Wasser gelegt wer- der angeschlossen werden. den. Verletzungsgefahr durch elektrischen Schlag, wenn 1. Schließen Sie das Anschlussventil ( Feuchtigkeit in das Innere des 7) an (siehe „... -
Seite 34: Ersatzteile / Zubehör
zugeführt werden. Fragen Sie hierzu unser besteht und wann er aufgetreten ist. Service-Center. Wenn der Defekt von unserer Garantie Die Entsorgung Ihrer defekten eingesende- gedeckt ist, erhalten Sie das reparierte oder ten Geräte führen wir kostenlos durch. ein neues Produkt zurück. Mit Reparatur oder Austausch des Produkts beginnt kein Ersatzteile / Zubehör neuer Garantiezeitraum. -
Seite 35: Abwicklung Im Garantiefall
Service-Center gemäßer Behandlung, Gewaltanwendung und bei Eingriffen, die nicht von unserer Service Deutschland autorisierten Service-Niederlassung vorge- nommen wurden, erlischt die Garantie. Tel.: 01805772033 (0,14 EUR/Min. aus dem dt. Festnetz, Abwicklung im Garantiefall Mobilfunk max. 0,42 EUR/Min.) Um eine schnelle Bearbeitung Ihres Anlie- E-Mail: grizzly@lidl.de IAN 76661 gens zu gewährleisten, folgen Sie bitte den... - Seite 38 GRIZZLY GARTENGERÄTE GMBH & CO. KG Am Gewerbepark 2 D-64823 Groß-Umstadt Estado de las informaciones · Estado das informações Last Information Update · Stand der Informationen: 06 / 2012 · Ident.-No.: 89500104062012-ES /PT IAN 76661...