HomeMatic HM-PB-2-WM Montageanleitung

Verwandte Anleitungen für HomeMatic HM-PB-2-WM


Inhaltszusammenfassung für HomeMatic HM-PB-2-WM
- Seite 1 Montage- und Bedienungsanleitung Funk-Wandtaster 2fach/4fach: HM-PB-2-WM HM-PB-4-WM Seite 4 - 22 Installation and Operating Manual Radio push-button 2 channel/4 channel: HM-PB-2-WM HM-PB-4-WM Seite 24 - 41...
- Seite 2 1. Ausgabe Deutsch 07/2007 Dokumentation © 2007 eQ-3 Ltd., Hong Kong Alle Rechte vorbehalten. Ohne schriftliche Zustim- mung des Herausgebers darf dieses Handbuch auch 1. English edition 07/2007 nicht auszugsweise in irgendeiner Form reproduziert Documentation © 2007 eQ-3 Ltd., Hong Kong werden oder unter Verwendung elektronischer, me- All rights reserved.
-
Seite 3: Inhaltsverzeichnis
Gefahrenhinweise ..... . 6 HomeMatic Komponenten in Betrieb nehmen. Funktion......6 Bewahren Sie die Anleitung zum späteren Nach-... -
Seite 4: Gefahrenhinweise
Gefahrenhinweise Die Wandtaster bestehen aus drei Teilen: Öffnen Sie das Gerät nicht, es enthält keine durch den Anwender zu wartenden Teile. Im Fehlerfall schicken Sie das Gerät an unseren Service. Betreiben Sie das Gerät nur in Innenräumen und vermeiden Sie den Einfluss von Feuchtigkeit, Staub sowie Sonnen- oder andere Wärmebestrahlung. -
Seite 5: Lieferumfang
3.2 Lieferumfang im HomeMatic System im Zusammenspiel mit wei- teren Komponenten ergeben, entnehmen Sie bitte Wandtaster zusammengebaut: der gesonderten Konfigurationsanleitung oder dem • 1fach Rahmen HomeMatic Systemhandbuch. • Elektronikeinheit mit aufgesetzter Einfach- Alle technischen Dokumente und Updates finden Sie oder Doppelwippe stets aktuell unter www.HomeMatic.com. -
Seite 6: Montage
Montageort wie gewünscht aus und zeichnen dann Die vollständige Konformitätserklärung finden Sie die Befestigungslöcher (A) an. Die Befestigungslö- unter www.HomeMatic.com. cher sind als Langlöcher ausgeführt, so dass kleine Korrekturen auch im Nachhinein noch möglich sind. Montage Zur Montage des Wandtasters entfernen Sie zunächst die Tastwippen. -
Seite 7: Inbetriebnahme
Inbetriebnahme Die nachfolgende Abbildung zeigt schematisch den Zusammenbau: 7.1 Batterien einlegen und wechseln 7.1.1 Batterien einlegen Entfernen Sie die Tastwippe(n). Legen Sie die mitgelieferte Lithium-Batterie (CR 2032) polrichtig entsprechend den Polaritätsmarkierungen in das Batteriefach (B) ein (Pluspol nach oben). Setzen Sie die Tastwippen wieder auf. -
Seite 8: Batterien Wechseln
Verbrauchte Batterien gehören nicht in • Konfigurationsmodus (zum Ändern von Para- den Hausmüll! Entsorgen Sie diese in metern der Wandtaster) Ihrer örtlichen Batteriesammelstelle! • Anlernmodus (Anlernen von HomeMatic Kom- ponenten) Erfolgt beim Betätigen einer Taste des Wandtasters keine Reaktion des zu steuernden Gerätes und liegt Zum Anlernen müssen beide zu verknüpfenden keine behebbare Kommunikationsstörung vor (zu... - Seite 9 Erfolgreiches Anlernen wird durch ein grünes Blinken signalisiert (Länge abhängig davon, ob noch konfiguriert wird). Hinweis: Eine Wippe des Wandtasters ist im Auslieferungszustand als Tastenpaar konfigu- riert, mit der „EIN“-Taste oben und der „AUS“-Taste unten. Um den Wandtaster in den Anlernmodus zu bringen, Hinweis: Ist die Wandtaster bereits an eine drücken Sie mit einem spitzen Gegenstand auf die Zentrale angelernt und damit für direktes...
-
Seite 10: Einfache Bedienfunktionen
Einfache Bedienfunktionen Mind. 2s grüne LED Anlernen erfolgreich 2s rote LED Anlernen fehlgeschlagen Nach dem Anlernen stehen einfache Bedienfunkti- onen zur Verfügung. Nur Wandtaster im Orangenes Blinken Anlernmodus HM-PB-2-W: Anderes Gerät im Anlern- Kurzes oranges Blin- Die 2 Tasten (auf einer gemeinsamen Wippe) werden modus und Wandtaster im Auslieferungszustand als ein Tastenpaar (AN/ ken und 2s rot oder... -
Seite 11: Zurücksetzen In Den Auslieferungszustand
Zurücksetzen in den diesem Falle ist die Verschlüsselung mit einem vom Auslieferungszustand Auslieferungsschlüssel verschiedenen System-Si- cherheitsschlüssel aktiv. Um das Gerät zurückzuset- Halten Sie die Anlerntaste für mindestens 5 Sekun- zen müssen sie die Konfigurationssoftware der Zen- den gedrückt. Die Geräte-LED beginnt langsam rot trale zum Zurücksetzen benutzen! Der Vorgang ist in zu blinken. -
Seite 12: Technische Daten
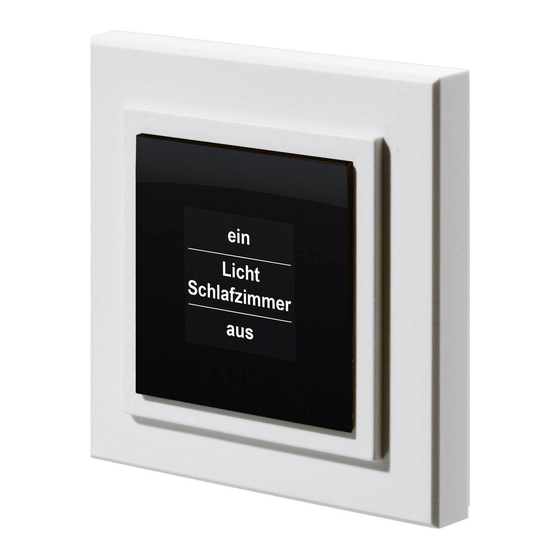
11 Technische Daten Funkfrequenz: 868,3 MHz Typ. Freifeldreichweite: 100 m Stromversorgung: 1x Lithium-Knopfzelle CR2032 Batterielebensdauer: bis zu 10 Jahre Schutzart: IP20 Gehäuse: Gehäusefarbe: Reinweiß Abmessungen: 82 x 82 x 13 mm (H x B x T) Gewicht: 45 g (ohne Batterie) Technische Änderungen vorbehalten. - Seite 23 eQ-3 AG Maiburger Straße 29 D-26789 Leer www.eQ-3.com...