Werbung
Verfügbare Sprachen
Verfügbare Sprachen
Werbung
Inhaltsverzeichnis

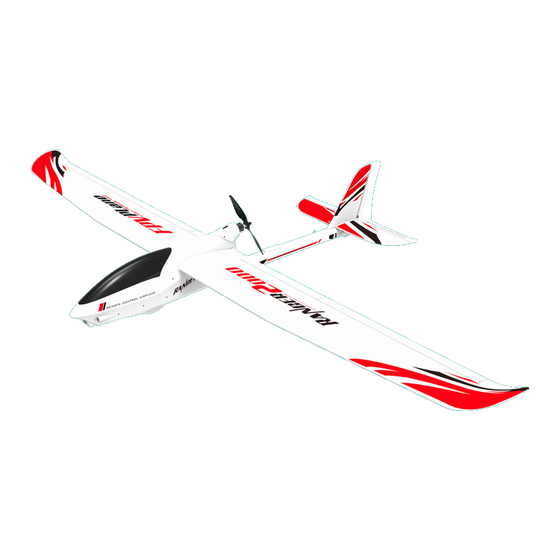
Inhaltszusammenfassung für Modster Ranger 1600
- Seite 2 Sehr geehrter Kunde, sehr geehrte Kundin, wir freuen uns, dass Sie ein Produkt aus dem Hause MODSTER gewählt haben. Alle Modelle werden vor der Auslieferung sorgfältig auf Vollständigkeit und Funktion geprüft. Aufgrund ständiger Weiterentwicklung und Verbesserung unserer Produkte behalten wir uns technische Änderungen sowie Änderungen in Ausstattung und Design ohne Ankündigung vor.
- Seite 3 Wir als Bausatz-Hersteller bieten Ihnen sorgfältig getestete Kits und Anweisungen in Top- Qualität, aber letztlich hängen Qualität und Flugeigenschaft Ihres fertigen Modells davon ab, wie Sie das Modell zusammenbauen; daher können wir in keiner Weise die Leistung Ihres fertigen Modells garantieren. Es werden keine Angaben über die Leistung oder die Sicherheit Ihres fertigen Modells getroffen oder impliziert.
- Seite 4 • Wenn der Akku zu irgendeinem Zeitpunkt während des Lade- oder Entladevorganges anfängt sich aufzublähen, beenden Sie das Laden oder Entladen sofort. Trennen Sie die Batterie schnell und sicher, und legen Sie sie in einem sicheren, offenen Bereich, entfernt von brennbaren Materialien, um sie für mindestens 15 Minuten zu beobachten.
- Seite 5 Lock wie abgebildet. Schrauben Sie den Sichern Sie den Gabelkopf mit einem Servohebel am Servo fest. Gummiring. Schritt 5-6 Ranger 1600 5. Stecken Sie ein Flächensteckungsrohr an 6. Befestigen Sie die Tragflächen mit den eine Tragfläche, dann verbinden Sie sie mit "Click and Plug"...
- Seite 6 Schritt 7-8 Ranger 2000 7. Stecken Sie beide Flächensteckungsrohre 8. Befestigen Sie die Tragflächen mit den an eine Tragfläche, dann verbinden Sie sie "Click and Plug" Plastik Teilen. Bei richtiger mit der anderen Tragfläche durch das Loch Befestigung ist ein Klick-Geräusch zu hören. im Rumpf.
-
Seite 7: Zentrierung Der Steuerflächen
12. Je nach Anwendung die Kabinenhaube oder den Kameraträger verwenden. ACHTUNG: Auf festen Sitz achten! Zentrierung der Steuerflächen Wenn der Sender eingeschaltet ist und der Flugakku mit dem Regler verbunden (und im Akkufach installiert) ist, ist es nun möglich, die Steuerdrähte mit den Ruder- und Höhensteuerflächen zu verbinden und die Flächen entsprechend zu zentrieren. - Seite 8 Wir empfehlen dringend, die mitgelieferten Gummiringe zu verwenden, um zusätzliche Sicherheit für die Gabelköpfe zu bieten. Normalerweise können Sie die Gummiringe vorsichtig über die Gabelköpfe schieben, wenn diese mit dem Steuerhorn verbunden sind. Die ideale Schwerpunktlage ist 70 ± 5 mm hinter der Vorderkante, gemessen an der Stelle, wo der Flügel auf den Rumpf trifft.
- Seite 9 Steueroberfläche Mode 1 Mode 2 Gas rechts Gas links Flug-Konditionen BITTE BEACHTEN: Das Flugzeug soll nur im Freien geflogen werden. Es ist in der Regel am besten, vor allem beim Fliegenlernen, an Tagen zu fliegen, die ruhig und windstill sind. Wir empfehlen, nur unter ruhigen Bedingungen zu fliegen, bis Sie mit den Kontrollen und der Handhabung des Modells vertraut sind.
-
Seite 10: Checkliste Vor Dem Fliegen
Wir empfehlen, über Gras zu fliegen, da es eine viel weichere Oberfläche ist, falls unglücklicherweise ein Absturz passieren sollte. Kurzes Gras ist besser für Starts und Landungen als hohes, da hohes Gras dazu führen kann, dass das Flugzeug einen Kopfüberschlag/Flip macht und beschädigt wird. - Seite 11 Handstart Bis Sie ihr Modell effizient fliegen können, sollten Sie immer von einer zweiten Person beim Handstart unterstützt werden. Ihr Helfer hält das Modell an der Unterseite des Rumpfes . Wenn beide "fertig" signalisiert haben, fahren Sie den Gashebel auf volle Leistung. Ihr Helfer sollte ein paar Schritte mit dem Flugzeug hoch über dem Kopf gehalten gehen, und das Modell dann schnell aber kontrolliert werfen, entweder parallel zum Boden oder mit Spitze etwas nach oben.
-
Seite 12: Nach Dem Fliegen
Eine letzte Kontrolle vor der Landung: schauen Sie, wie das Modell reagieren wird, wenn es Zeit zu landen ist und Sie den Motor ausschalten. Um dies zu tun, drehen Sie den Motor ab, während das Flugzeug noch in der Luft ist. Das Modell sollte in einem sanften, nach unten gleiten Landeanflug übergehen.


