SMA SBCO-RS232-NR Installation Und Konfiguration

Verwandte Anleitungen für SMA SBCO-RS232-NR


Inhaltszusammenfassung für SMA SBCO-RS232-NR
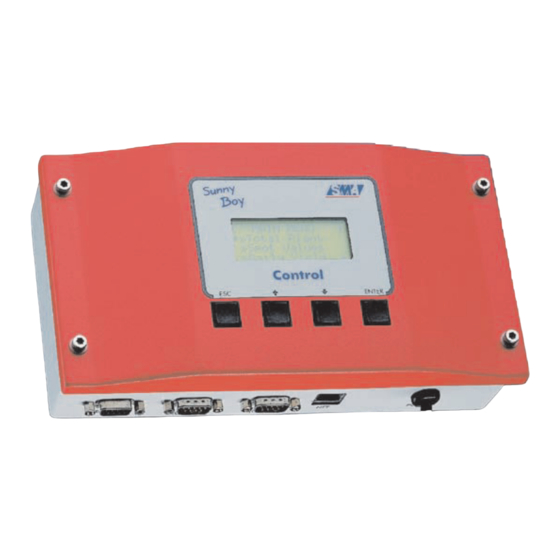
- Seite 1 SBCO-RS232-NR SBCO-RS485-NR Sunny Boy Control / Sunny Boy Control Plus Installation und Konfiguration der Schnittstellen Installation and Configuration of the Interfaces...
- Seite 2 IN an der Unterseite des Sunny Boy Control Plus und klappen Sie die obere Leiterplatte zur Seite. Bei einigen älteren Versionen des Sunny Boy Control Plus lässt sich diese obere Leiterplatte nicht lösen. Setzen Sie sich in diesem Fall mit SMA Regelsysteme GmbH in Verbindung. Powerline auf COM1...
- Seite 3 SBCO-RS232-NR / SBCO-RS485-NR Einbau und Konfiguration von Piggy-Backs im Sunny Boy Control RS232 auf COM1 RS232 Piggy-Back hier einstecken Diese Jumper bei RS232 nicht bestücken Die Jumper wie rechts angezeigt bestücken, um das Jumper gesteckt: onboard Powerline zu deaktivieren: Jumper nicht...
- Seite 4 SBCO-RS232-NR / SBCO-RS485-NR Einbau und Konfiguration von Piggy-Backs im Sunny Boy Control RS485 auf COM1 RS485 Piggy-Back hier einstecken Die Jumper wie rechts angezeigt bestücken, um das Jumper gesteckt: onboard Powerline Jumper nicht zu deaktivieren: gesteckt: RS485 auf COM2 RS485 Piggy-Back...