EUROM HVF14 Anleitungsbroschüre
Inhaltsverzeichnis
Verfügbare Sprachen
Verfügbare Sprachen
Quicklinks
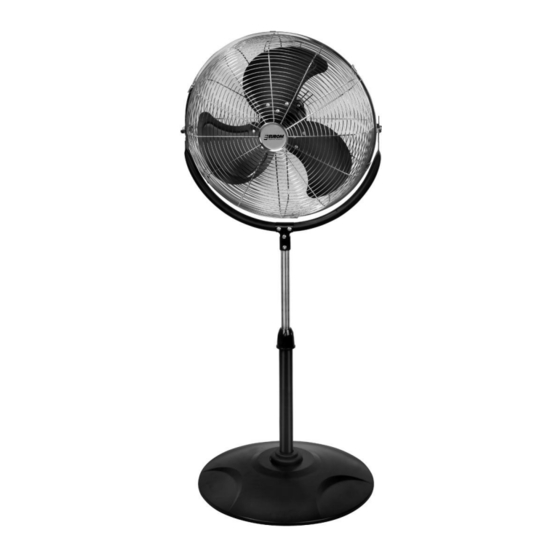
Ventilatoren (S=op
Fans (S = on a stand)
Ventilatoren (S=auf Ständer)
HVS14 – HVS18 – HVS18S
Ventilateurs (S=sur pied)
standaard)
Ventilatori (S =a colonna)
Ventiladores (S= sobre tubo)
Ventiladores (S = com pé)
NL – Instructieboekje
EN - Instruction leaflet
DE - Anleitungsbroschüre
FR - Livret d'instructions
IT - Manuale d'istruzioni
ES - Instrucciones
PT - Manual de
instruções
Inhaltsverzeichnis

Verwandte Anleitungen für EUROM HVF14


Inhaltszusammenfassung für EUROM HVF14
-
Seite 12: Technische Daten
DANKE Vielen Dank, dass Sie sich für den EUROM Ventilator entschieden haben. Damit haben Sie eine gute Wahl getroffen! Lesen Sie die Anleitungsbroschüre vor Gebrauch aufmerksam und vollständig: das ist für Ihre Sicherheit und eine korrekte und optimale Funktion des Gerätes wichtig! - Seite 13 Verlängerungskabel weitestgehend vermeiden. Sollte es doch unvermeidlich sein, ein zugelassenes Kabel mit ausreichender Leistung verwenden. Kabelrollen ganz ausrollen. Das Stromkabel darf nicht mit scharfen, heißen oder sich bewegenden Gegenständen in Berührung kommen, nicht um den Ventilator gewunden, nicht geknickt und nicht zu straff aufgerollt werden.
- Seite 14 Verwenden Sie dieses Gerät ausschließlich für den in dieser Broschüre beschriebenen Zweck Anleitungen entsprechend. Jede andere Anwendung kann gefährlich sein (Brand, Körperschaden, Sachschaden, elektrischer Schock usw.) und sorgt dafür, dass die Haftpflicht des Lieferanten, sowie die Garantie verfallen. MONTAGE (nur HVS18S) 1= Ventilator 4=Dekorationskappe 7 = Mutter...
-
Seite 15: Betrieb
4 Schrauben (6) durch die Öffnungen schieben und mit den 4 Muttern (7) kräftig festziehen. Die Dekorationskappe (4) über die Befestigung schieben. Den Ventilator (1) mit den beiden Klemmen (8) und 4 Schrauben (7) auf dem Teleskopständer befestigen. ... -
Seite 16: Reinigung Und Wartung
Den Ventilator nach der Saison an einem sicheren, trockenen, nicht extrem warmen oder kalten Ort lagern, vorzugsweise in der Originalverpackung. CE –ERKLÄRUNG Hierbei erklärt: Euromac bv., Kokosstraat 20, 8281 JC Genemuiden, dass nachsethende Geräte: Marke: Eurom Modell: HVS14 – HVS18 – HVS18S Beschreibung: Ventilator Überschrift Gerät wurde gemäß...