Inhaltsverzeichnis
Werbung
Verfügbare Sprachen
Verfügbare Sprachen
Quicklinks
Wireless network connection guide
This document explains how to connect the unit to a wireless network.
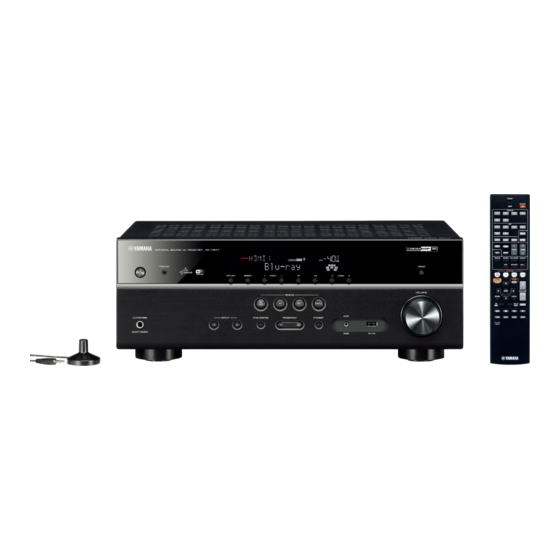
Attaching the wireless antenna
Attach the supplied wireless antenna to the unit.
Be sure to turn off the unit before attaching the antenna.
Screw in
Bend
Turn clockwise to the vertical position
ES S
W IR EL
Joint
ES S
W IR EL
ES S
W IR EL
• Do not apply excessive force on the antenna. Doing so may damage the antenna.
• When attaching the antenna, hold the root of the antenna and screw it into the WIRELESS jack tightly.
• The antenna can be bent in only one direction. Check the orientation of the joint and bend the antenna in
the proper direction.
• Do not connect the antenna other than the supplied one.
• When packing the unit, remove the antenna to prevent damage.
Connecting the unit to a wireless network
Connect the unit to a wireless router (access point).
There are several methods to connect the unit to a wireless network. This section
describes the following three methods.
A: Using the WPS button configuration
Set up a wireless connection with the WPS button on the wireless router
(access point).
B: Sharing the iOS device setting
Set up a wireless connection by applying the connection settings on iOS
devices (iPhone/iPod touch*).
* You need iOS devices with iOS 5.0 or later.
C: Searching for an access point
Set up a wireless connection by searching available access points.
• Manual configuration is also available. For details, see "Connecting to a network wirelessly" on the Owner's
Manual.
G
English
1
En
Werbung
Inhaltsverzeichnis
Fehlerbehebung

Inhaltszusammenfassung für Yamaha RX-V577
- Seite 9 Anschlussanleitung für Drahtlosnetzwerk Deutsch Dieses Dokument erläutert, wie das Gerät Methoden mit einem Drahtlosnetzwerk verbunden werden kann. Anbringen einer Funkantenne • Üben Sie keine übermäßige Kraft auf die Antenne aus. Dadurch könnte die Antenne beschädigt werden. Bringen Sie die mitgelieferte Funkantenne am Gerät an. •...
- Seite 10 A: Verwenden der WPA-Tastenkonfiguration B: Teilen der iOS-Gerateeinstellungen TRANSMIT TRANSMIT Mit nur einem Tastendruck der WPS-Taste können Sie auf einfache Sie können auf ganz einfache Weise eine WLAN-Verbindung RECEIVER RECEIVER z RECEIVER z SLEEP SLEEP Weise eine Drahtlosverbindung einrichten. einrichten, indem Sie die Verbindungseinstellungen von HDMI HDMI iOS-Geräten (iPhone/iPod touch) übernehmen.
- Seite 11 C: Suchen nach einem Zugriffspunkt TRANSMIT TRANSMIT Verwenden Sie die Cursortasten (q/w) zur Auswahl Richten Sie eine Drahtlosverbindung ein, indem Sie nach RECEIVER RECEIVER von „Wi-Fi-Einst. teilen (iOS)“, und drücken Sie SLEEP SLEEP verfügbaren Zugangspunkten suchen. ENTER. HDMI HDMI Schließen Sie das iOS-Gerät an die Buchse USB an Führen Sie die Schritte 1 bis 5 unter „B: Teilen der und deaktivieren Sie die Bildschirmsperre auf Ihrem iOS-Geräteeinstellungen“...
-
Seite 12: Problembehebung
Problembehebung Kann nicht Verbindung mit WPS aufbauen. • Nur manche Zugangspunkte sind mit WPS kompatibel. Wenn Sie die Verbindung mit WPS nicht aufbauen können, versuchen Sie ein anderes Verbindungsverfahren. Kann nicht Verbindung zum Zugangspunkt aufbauen. • Wenn der Drahtloskanal des Zugangspunktes auf „12“ oder „13“ gestellt ist, ändern Sie dies zu einem Kanal zwischen „1“...


