
Verwandte Anleitungen für Harvia WKF300GLB


Inhaltszusammenfassung für Harvia WKF300GLB
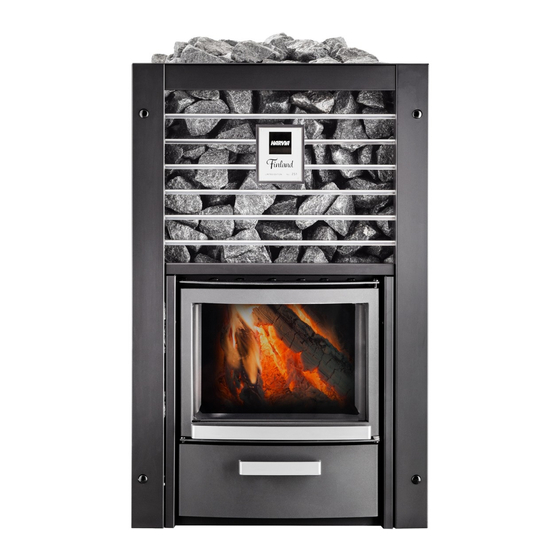
- Seite 1 HARVIA FINLAND WKF300GLB, WKF300GRB, WKF300HB, WKF300GLS, WKF300GRS, WKF300HS Instructions for Installation and Use of Woodburning Stove Anleitung für Montage und Gebrauch des holzbeheizten Saunaofens 13042017VTT/Y05-0328...
-
Seite 2: Inhaltsverzeichnis
3.2.4. Anschluss des Ofens an einen gemauerten 3.2.4. Connecting the Stove to a Masonry Flue .... 17 Rauchfang ............17 3.2.5. Connecting the Stove to a Harvia Steel Chimney 19 3.2.5. Anschluss des Ofens an einen Harvia- 3.3. Installing the Handles .......... 19 Edelstahlschornstein .......... - Seite 3 Harvia Finland WKF300GLB, WKF300GRB, WKF300HB, WKF300GLS, WKF300GRS, WKF300HS Sauna room volume (m³) 10–28 Volumen der Saunakabine (m³) Required temperature class of chimney T600 Erforderliche Temperaturklasse des Rauchfangs Diameter of connection opening (mm) Durchmesser der Anschlussöffnung (mm) Stone quantity (max. kg) 120 (20 kg, 5-10 cm) Steinmenge (max.
- Seite 4 Notified body (identification number) VTT, PL 1000, 02044 VTT, Finland (0809) Gemeldete Stelle (Identifikationsnummer) DoP20Finland300 Product type Harvia Finland 300 GLB (WKF300GLB), Produkttyp Harvia Finland 300 GRB (WKF300GRB), Harvia Finland 300 HB (WKF300HB), Harvia Finland 300 GLS (WKF300GLS), Harvia Finland 300 GRS (WKF300GRS), Declared performance –...
-
Seite 5: General
1. GENERAL 1. ALLGEMEINES Choose the stove model carefully. A stove with too Wählen Sie den Ofen sorgsam nach seiner Leistung low output must be heated longer and more intensely, aus. Wenn die Heizleistung zu gering ist, muss der which will shorten the stove’s life span. Ofen länger und intensiver beheizt werden, was Please note that non-insulated wall and ceiling seine Lebensdauer verkürzt. -
Seite 6: Instructions For Use
2. INSTRUCTIONS FOR USE 2. BEDIENUNGSANLEITUNG Read the instructions carefully before using Lesen Sie die Anweisungen vor der Inbetrieb- the stove. nahme des Ofens aufmerksam durch. 2.1. Warnings 2.1. Warnungen Staying in the hot sauna for long periods of Ein langer Aufenthalt in einer heißen Sauna •... -
Seite 7: Sauna Stones
Do not burn the following materials in the stove: Verbrennen Sie folgende Materialien nicht im Ofen: Burning materials that have a high thermal Brennmaterialien, die einen hohen Wärmewert • • value (such as chipboard, plastic, coal, brickets, haben (wie etwa Spanplatten, Plastik, Kohle, pellets) Briketts, Pellets usw.) Painted or impregnated wood... -
Seite 8: Heating The Stove
Removing the stones: Entfernen der Steine: Workspace can be enlarged Um das Entfernen der Stei- when removing the stones to ne zu erleichtern, kann der make it easier. Remove the Arbeitsbereich vergrößert bolts from the upper edge, werden. Entfernen Sie die and sides of the heater will Schrauben von der Ober- tilt. -
Seite 9: Sauna Water
- During bathing, and when the sauna room - Zu starker Zug führt dazu, dass sich der is already heated, the ash box can be closed Ofenkorpus bis zum Glühen aufheizt, was seine to keep down the fire and decrease wood Lebensdauer enorm verkürzt. -
Seite 10: Troubleshooting
from the stone space, and disintegrated stones Staub und Gesteinssplitter aus dem unteren Teil should be replaced with new ones. des Saunaofens und ersetzen beschädigte Steine. Wipe dust and dirt from the stove with a damp Staub und Schmutz vom Ofen mit feuchtem •... -
Seite 11: Montageanleitung
The stove emits smell. Siehe Abschnitt 2.2. • See section 2.2. Ein heißer Ofen kann Gerüche in der Luft ver- • • The hot stove may emphasize odours mixed in stärken, die jedoch nicht durch die Sauna oder • the air that are not, however, caused by the den Ofen selbst verursacht wurden. -
Seite 12: Instructions For Installation
3. INSTRUCTIONS FOR INSTALLATION 3.1. Vor der Montage 3.1. Before Installation Sorgen Sie vor der Montage des Ofens dafür, Before installing the stove make sure that all dass alle Anforderungen bezüglich der Sicher- safety distance requirements are fulfilled. heitsabstände eingehalten werden. Innerhalb des There shall be no electrical devices, wires or Sicherheitsabstands um den Ofen herum dürfen sich inflammable materials within the established safety... -
Seite 13: Protecting The Floor
Protect the floor with the Harvia protective nicht standhalten. Schützen Sie den Boden mit bedding ( 3.4.) or similar heat radiation der Schutzplatte von Harvia ( 3.4.) oder einem protection. ähnlichen Hitzeschutz. C. Floor made of inflammable material. Protect the C. -
Seite 14: Protection Supplies
See figure 9. Siehe Abbildung 9. Ceiling. The minimum safety distance between Dach. Der Mindest-Sicherheitsabstand zwi- • • the stove and the ceiling. schen Ofen und Dach. Masonry walls or walls and benches made of Gemauerte Wände oder Wände und Liegen aus •... - Seite 15 Figure 11. Changing handedness of the stove Abbildung 11. Ändern der Händigkeit des Ofens...
-
Seite 16: Installing The Stove
3.2. Installing the Stove 3.2. Montage des Ofens 3.2.1. Changing handedness of the stove 3.2.1. Ändern der Händigkeit des Ofens Open side of the stove can be changed either to Als offene Seite des Ofens kann die linke oder die the left or right side. -
Seite 17: Adjustable Legs
3.2.3. Adjustable Legs 3.2.3. Verstellbare Füße des Ofens The adjustable legs enable the stove to be installed Die verstellbaren Füße dienen zur sicheren In- firmly on an inclined floor. The adjustable range is stallation auf schiefer Grundfläche. Regelbereich 0–30 mm. Unscrew the adjustable feet to an extent 0–30 mm. - Seite 18 Connecting the stove to a masonry flue via the Anschluss des Ofens an einen gemauerten Rauchfang upper connection opening (figure 14) über die obere Anschlussöffnung (Abbildung 14) Für den oberen Anschluss wird ein Winkelofenrohr You will need an angled smoke pipe (45° or 90°) for the upper connection.
-
Seite 19: Connecting The Stove To A Harvia Steel Chimney
3.2.5. Connecting the Stove to a Harvia Steel 3.2.5. Anschluss des Ofens an einen Harvia-Edel- Chimney stahlschornstein A CE-marked Harvia steel chimney can be used Zur Abführung der Verbrennungsgase kann ein CE- to remove combustion gases. Its smoke pipes are geprüfter Harvia-Stahlschornstein verwendet wer-... -
Seite 20: Accessories
3.4. Accessories 3.4. Zubehör A. Harvia steel chimney WHP1500. 3.2.4. A. Harvia-Stahlschornstein WHP1500. 3.2.4. B. Water heater VL22l. Installed on the top of the B. Warmwasserbehälter VL22l. Montiert oben upper connection opening. When a protective auf der oberen Anschlussöffnung. Wenn ein... - Seite 21 S/N: Copy the stove’s serial number from the packaging and attach this manual to the house documentation. Notieren Sie hier die Seriennummer von der Verpackung des Saunaofens und fügen Sie die Anleitung zu den Hausunterlagen hinzu. Адрес: ООО «Харвия РУС». 196084, г.