Herunterladen Diese Seite drucken

Werbung

Verfügbare Sprachen

Verfügbare Sprachen

Bedienungsanleitung
Operating instructions
Notice d'utilisation
POWER PEAK "Plug & Charge"
No.: 8379

Werbung

loading

Inhaltszusammenfassung für ROBBE POWER PEAK PLUG &CHARGE

  • Seite 1 Bedienungsanleitung Operating instructions Notice d’utilisation POWER PEAK “Plug & Charge” No.: 8379...
  • Seite 2 Sehr geehrter Kunde, wir freuen uns, daß Sie sich für die einem leistungsfähigem, gut stabilisiertem 12 V oder Automatik-Ladestation POWER-PEAK PLUG & CHARGE 13,8 V Netzteil vorgesehen. aus dem robbe Sortiment entschieden haben. Damit Achtung: Keine Autobatterie-Ladegeräte verwenden. besitzen Sie ein leistungsfähiges, mikroprozessorge- steuertes Ladegerät mit Akkumanagement.
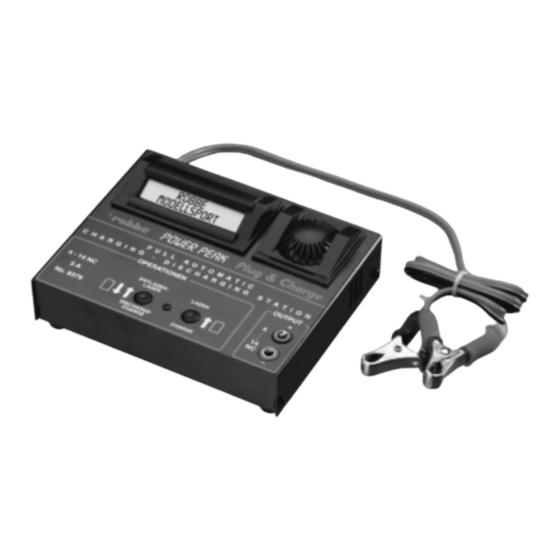
  • Seite 3 NC-Akkuspannung in Volt Unbedingt auf richtige Polung achten (rot = plus / schwarz = Vorzeichen für Kapazitätswert. Die ein- minus). Im Display erscheint „robbe MODELLSPORT / geladene Kapazität ist durch „+“ und POWER PEAK PLUG & CHARGE“. Falls dieses Display jetzt die entnommene Kapazität durch „-“...
  • Seite 4 Bedienungsanleitung Bestell Nr. 8379 POWER PEAK PLUG &CHARGE manuell eingestellt werden. Geschieht das nicht, erfolgt die 0:00:10 0.11A Ladung mit automatischer Stromeinstellung. 9.08 V + 0mAh Die Entladeschlußspannung wird automatisch eingestellt. Nachdem der Entladevorgang beendet wurde, schließt sich eine Pause (Betriebsart „P“) von 3 Minuten an. Danach wird Das Hauptdisplay Betriebsart „C“...
  • Seite 5 Stromquelle trennen und eventuell angeschlossenen Akku abnehmen. Beim Aufstellen freie Kühlöffnungen Luftzirkulation achten (nicht auf Teppich oder Filz stellen). robbe Modellsport GmbH & Co. KG Ladegerät und Akkus nicht auf brennbaren Unterlagen Technische Änderungen vorbehalten betreiben und nicht unbeaufsichtigt lassen.
  • Seite 6 Modellsport GmbH & Co. KG Metzloserstr. 36 36355 Grebenhain...
  • Seite 7 POWER PEAK PLUG & CHARGE automatic battery charg- minating the process. ing station from the robbe range. You now possess a high- The unit is designed to be powered by a 12 V lead-acid performance charger for your NiCd batteries with includes battery, but can also be used with a well stabilised 12 V battery management facilities.
  • Seite 8 First connect the crocodile clips to a 12 V lead-acid battery. NC battery voltage in Volts Take great care to maintain correct polarity (red = positive / black = negative). The screen will now show „ROBBE MOD- Capacity prefix. The ELLSPORT / POWER PEAK PLUG & CHARGE“. If this...
  • Seite 9 Operating instructions Order No. 8379 POWER PEAK PLUG &CHARGE The discharge voltage is fixed, and is detected automatically. 0:00:10 0.11A When the discharge process is finished there follows a pause (mode „P“) lasting three minutes. The charge process then 9.08V + 0 mAh starts.
  • Seite 10 Set up the unit on a hard surface (not carpet or felt) robbe Modellsport GmbH & Co. KG before using it, so that its cooling slots are unobstructed for good air circulation.
  • Seite 11 Notice d’utilisation Réf. 8379 POWER PEAK PLUG &CHARGE Informations générales Le chargeur est conçu pour fonctionner à partir d’une batterie de voiture 12 volts ou d’un bloc d’alimentation secteur puissant, parfaitement stabilisé de 12 volts ou Cher Client, nous nous réjouissons de votre choix, la station de 13,8 volts.
  • Seite 12 Après avoir raccordé un accu (ou après avoir appuyé sur une charge touche quelconque) sur l’écran disparaît la mention „ROBBE D = DISCHARGE l’accu est en cours de déchargement MODELLSPORT / POWER-PEAK BRANCHER & CHARG- C = CHARGE l’accu est en cours de charge...
  • Seite 13 Notice d’utilisation Réf. 8379 POWER PEAK PLUG &CHARGE Le courant de fin de décharge est programmé automatique- 0:00:10 0.11A ment. Une fois que la décharge est terminée, intervient une pause (mode „P“) de 3 minutes. Ensuite s’amorce la charge. 9.08 V + 0 mAh S’il s’agit seulement de décharger l’accu, il est possible d’in- terrompre le cycle en fin de décharge avec la touche „ENT- Le mode „C“...
  • Seite 14 éventuellement l’accu raccordé. tions du schéma afin de préserver les directives EMV. Lors de la mise en place de l’appareil, veiller à ce que ses robbe Modellsport GmbH & Co. KG ouvertures d’aération restent dégagées (pas de tapis ou de feutre).

Diese Anleitung auch für:

8379