RIKA DOMO BACK MultiAir Montageanleitung
Inhaltsverzeichnis
Verfügbare Sprachen
Verfügbare Sprachen
Inhaltsverzeichnis

Verwandte Anleitungen für RIKA DOMO BACK MultiAir


Inhaltszusammenfassung für RIKA DOMO BACK MultiAir
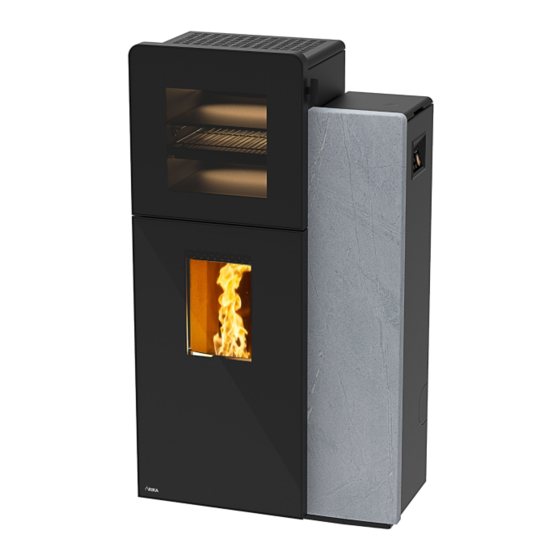
- Seite 1 DOMO BACK MultiAir Montageanleitung...
-
Seite 3: Inhaltsverzeichnis
Inhaltsverzeichnis/Sommaire/Indice/Contents/Inhoud DEUTSCH Domo Back MultiAir ..........................................4 Lieferumfang E16508 .......................................... 4 Zeichenerklärung........................................... 4 Abmessungen der Anschlüsse ....................................5 Allgemeine Hinweise ..........................................5 Demontage Rückwand ........................................5 Montage Konvektionsgebläse ....................................6 Funktionstest und Einstellung .....................................7 FRANÇAIS Domo Back MultiAir ........................................... 10 Contenu de la livraison E16508 ....................................10 Explication des symboles ...................................... -
Seite 4: Deutsch
DEUTSCH Domo Back MultiAir Lieferumfang E16508 B17527 Konvektionsgebläse komplett 3x N112040 Duo Taptite L02724 Motorabdeckung Zeichenerklärung ...Innensechs- ...wichtiger ...Sechskant ...Gabelschlüssel rund-Schlüssel Schlüssel #8, #10 Hinweis # 13 ...praktischer ...Innensechs- ...Eisensäge ...per Hand Tipp kant #3, #5... -
Seite 5: Abmessungen Der Anschlüsse
Die Option MultiAir ist grundsätzlich nur mit den unteren Abmessungen der Anschlüsse Rauchrohranschlüssen (hinten und seitlich) möglich. Wird nur ein Konvektionsgebläse montiert, ist es auch mit dem erhöhten Anschluss Mitte hinten kombinierbar. Demontage Rückwand Demontieren Sie den Handgriff der Umlenkklappe. Konvektionsluftanschluss Lösen Sie die 4 Schrauben an der Rückwand. -
Seite 6: Montage Konvektionsgebläse
Montage Konvektionsgebläse Schrauben Sie danach das Gebläsegehäuse mit 3 Schrauben an. Je nach gewünschter Option schneiden Sie für ein Gebläse die oberen zwei Markierungen aus, für das zweite Gebläse zusätzlich die unteren zwei. Wenn Sie beide Konvektionsgebläse montieren, schrauben Sie jetzt die untere runde Abdeckung ab und montieren hier das zweite Gebläsegehäuse. -
Seite 7: Funktionstest Und Einstellung
Führen Sie die Kabel zwischen dem Zuluftrohr und dem Fördertrog Montieren Sie die Rückwand des Ofens. Der Gebläsemotor muss mit nach hinten zu dem grün markierten senkrechten Kabelkanal. der Motorabdeckung verdeckt werden. Diese wird nur eingehängt. Im unteren grün markierten Kabelkanal befinden sich die dreipoligen Stecker M3, für das obere Konvektionsgebläse 1, und M4 für das untere Konvektionsgebläse 2. - Seite 8 RIKA Innovative Ofentechnik GmbH Müllerviertel 20 4563 Micheldorf / AUSTRIA Technische und optische Änderungen, sowie Tel.: +43 (0)7582/686 - 41, Fax: -43 Satz- und Druckfehler vorbehalten E-Mail: verkauf@rika.at www.rika.at © 2019 | RIKA Innovative Ofentechnik GmbH...
-
Seite 27: Nederlands
DOMO BACK MultiAir Montagehandleiding NEDERLANDS...