Inhaltsverzeichnis
Werbung
Verfügbare Sprachen
Verfügbare Sprachen
Quicklinks
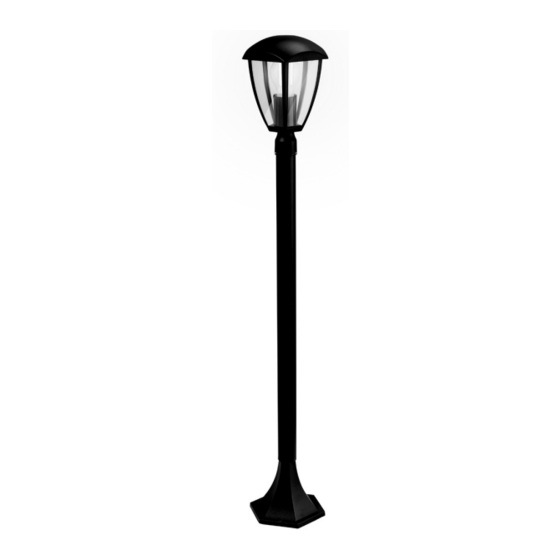
LED-AUSSENSTANDLEUCHTE /
LED OUTDOOR FLOOR LIGHT /
LAMPE D'EXTÉRIEUR SUR PIED À LED
LED-AUSSENSTANDLEUCHTE
Montage‑, Bedienungs‑ und Sicherheitshinweise
LED OUTDOOR FLOOR LIGHT
Assembly, operating and safety instructions
LAMPE D'EXTÉRIEUR SUR
PIED À LED
Instructions de montage, d'utilisation et consignes de
sécurité
STAANDE LED-BUITENLAMP
Montage‑, bedienings‑ en veiligheidsinstructies
IAN 313618
STOJĄCA LAMPA
ZEWNĘTRZNA LED
Wskazówki montażu, obsługi i bezpieczeństwa
STOJÍCÍ VENKOVNÍ LED SVĚTLO
Pokyny k montáži, obsluze a bezpečnostní pokyny
EXTERIÉROVÁ STOJATÁ LED
LAMPA
Pokyny pre montáž, obsluhu a bezpečnostné pokyny
Werbung
Kapitel
Inhaltsverzeichnis

Verwandte Anleitungen für LIVARNOLUX HG04512


Inhaltszusammenfassung für LIVARNOLUX HG04512
- Seite 1 LED-AUSSENSTANDLEUCHTE / LED OUTDOOR FLOOR LIGHT / LAMPE D’EXTÉRIEUR SUR PIED À LED LED-AUSSENSTANDLEUCHTE STOJĄCA LAMPA ZEWNĘTRZNA LED Montage‑, Bedienungs‑ und Sicherheitshinweise Wskazówki montażu, obsługi i bezpieczeństwa LED OUTDOOR FLOOR LIGHT STOJÍCÍ VENKOVNÍ LED SVĚTLO Assembly, operating and safety instructions Pokyny k montáži, obsluze a bezpečnostní...
- Seite 2 DE/AT/CH Montage‑, Bedienungs‑ und Sicherheitshinweise Seite GB/IE Assembly, operating and safety instructions Page FR/BE Instructions de montage, d‘utilisation et consignes de sécurité Page NL/BE Montage‑, bedienings‑ en veiligheidsinstructies Pagina Wskazówki montażu, obsługi i bezpieczeństwa Strona Pokyny k montáži, obsluze a bezpečnostní pokyny Strana Pokyny pre montáž, obsluhu a bezpečnostné...
- Seite 3 6 mm Aus / Off / Arrêt / Uit / Off / Vyp / Vypnutia...
- Seite 6 Ein / On / Marche / Aan / On / Zap / Zapnutia...
- Seite 7 Liste der verwendeten Piktogramme . . . . . . . . . . . . . . . . . . . . . . . . . . . . . . . . . . . Seite 6 Einleitung .
-
Seite 8: Led-Aussenstandleuchte
8 Externes Netzkabel Liste der verwendeten 9 Lüsterklemmen‑Gehäuse Piktogramme 10 Metall‑Gewindestift 11 Kunststoff‑Gewindestift 12 Montageschraube Spritzwasserfest (IP44) 13 LED‑Leuchtmittel 14 Leuchtmittelfassung Wechselstrom ˜ Technische Daten Betriebsspannung: 230 V∼ 50 Hz LED‑Leuchtmittel: 230 V, E27, 8 W LED-AUSSENSTANDLEUCHTE Max . Nennleistung: Schutzklasse: ˜... -
Seite 9: Lebensgefahr Durch Stromschlag
Dieses Produkt kann von Kindern ab 8 Jahren, Ersetzen Sie ein defektes LED‑Leuchtmittel sowie von Personen mit eingeschränkten sofort . Trennen Sie das Produkt immer von der körperlichen, sensorischen oder geistigen Stromversorgung, bevor Sie das LED‑Leuchtmittel Fähigkeiten oder fehlender Erfahrung und/oder ersetzen . - Seite 10 Halten Sie den Sockel 4 fest . Markieren Sie die Befestigen Sie das Leuchten‑Gehäuse 1 an Befestigungslöcher (siehe Abb . C) . der oberen Stange . Ziehen Sie die Metall‑ Bohren Sie nun die Befestigungslöcher Gewindestifte 10 fest, um die Position zu fixieren ...
- Seite 11 ˜ Reinigung und Pflege ˜ Garantie Entfernen Sie vor der Reinigung die Sicherung Das Produkt wurde nach strengen Qualitätsrichtlinien oder schalten Sie den Schutzschalter im sorgfältig produziert und vor Anlieferung Sicherungskasten aus . gewissenhaft geprüft . Im Falle von Mängeln dieses Tauchen Sie das Produkt niemals in Wasser oder Produkts stehen Ihnen gegen den Verkäufer des ...
- Seite 42 OWIM GmbH & Co. KG Stiftsbergstraße 1 DE‑74167 Neckarsulm GERMANY Model No.: HG04512 Version: 11/2018 IAN 313618...