Dimplex 34''Prism BLF3451EU-E Bedienungsanleitung
Inhaltsverzeichnis
Verfügbare Sprachen
Verfügbare Sprachen
Quicklinks
EN
EN : This product is only suitable for well insulated rooms or occasional use. DE : Dieses Produkt ist nur für gut isolierte Bereiche oder gelegentliche
Verwendung geeignet. FR : Ce produit convient uniquement à des endroits bien isolés ou pour un usage occasionnel. IT : Questo prodotto è
adatto solo per spazi ben isolati o per uso occasionale. ES : Este producto sólo es adecuado para espacios bien aislados o un uso ocasional. NL :
Dit product is uitsluitend geschikt voor goed geïsoleerde ruimten of voor sporadisch gebruik. PL : Produkt ten jest odpowiedni wyłącznie do dobrze
odizolowanych miejsc lub do okazjonalnego użytku. NO : Dette produktet egner seg kun for godt isolerte rom eller sporadisk bruk. RO : Acest
produs este adecvat exclusiv spaţiilor bine ventilate sau utilizării ocazionale. CZ : Tento výrobek je vhodný pouze do dobře izolovaných prostor
nebo k příležitostnému použití. DK : Dette produkt er kun egnet til velisolerede rum eller lejlighedsvis brug. PT : Este produto somente é adequado
para espaços bem isolados ou uso ocasional. SE : Denna produkt är endast avsedd för välisolerade utrymmen eller tillfällig användning. FI : Tämä
tuote soveltuu ainoastaan hyvin eristettyihin tiloihin tai satunnaiseen käyttöön. SK : Tento výrobok je vhodný len pre dobre izolované priestory alebo
na občasné použitie. SI : Ta izdelek je primeren le za dobro izolirane prostore ali za občasno uporabo. HR : Ovaj proizvod je pogodan samo za
dobro izolirane prostore ili povremenu upotrebu. HU : Ez a termék csak jól szigetelt terekhez vagy eseti használatra alkalmas. SV : Denna produkt är
endast lämplig för användning i väl isolerade utrymmen eller enstaka användning.
The product complies with the European Safety Standards EN60335-2-30 and the European Standard Electromagnetic Compatibility (EMC) EN55014, EN60555-2
and EN60555-3. These cover the essential requirements of EEC Directives 2006/95/EC and 2004/108/EC
All manuals and user guides at all-guides.com
DE
NL
FR
34" Models
50" Models
74" Models
PL
NO
IT
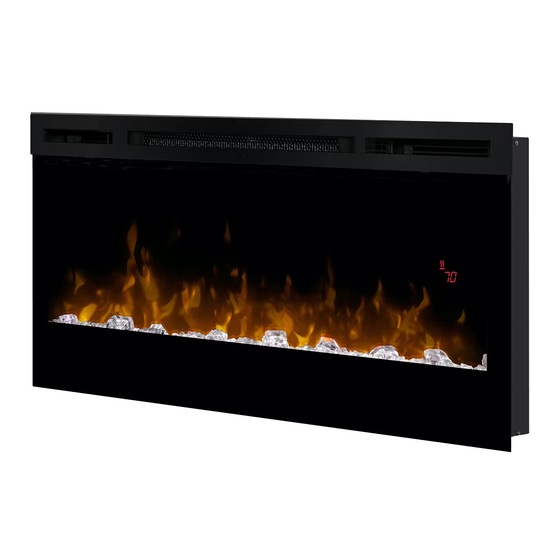
34" Prism (BLF3451EU-E)
Wickson (BLF34EU-E)
50" Prism (BLF5051EU-E)
Synergy (BLF50EU-E)
74" Prism (BLF7451EU-E)
Galveston (BLF74EU-E)
RO
ES
08/ 53710/0 (EU)
Issue 1
Inhaltsverzeichnis

Verwandte Anleitungen für Dimplex 34''Prism BLF3451EU-E


Inhaltszusammenfassung für Dimplex 34''Prism BLF3451EU-E
- Seite 1 All manuals and user guides at all-guides.com 34" Models 34" Prism (BLF3451EU-E) Wickson (BLF34EU-E) 50" Models 50" Prism (BLF5051EU-E) Synergy (BLF50EU-E) 74" Models 74" Prism (BLF7451EU-E) Galveston (BLF74EU-E) EN : This product is only suitable for well insulated rooms or occasional use. DE : Dieses Produkt ist nur für gut isolierte Bereiche oder gelegentliche Verwendung geeignet.
-
Seite 10: Wichtige Sicherheitshinweise
All manuals and user guides at all-guides.com WICHTIG: DIESE ANWEISUNGEN SORGFÄLTIG LESEN UND AUFBEWAHREN Wichtige Sicherheitshinweise nicht auf Hochflor-Teppichen zu benutzen oder auf Teppichen mit langen Fasern. Bei der Benutzung von elektrischen Wenn das Stromkabel beschädigt ist, muss Anwendungen sollten die grundlegenden es durch den Hersteller oder Dienstleister Sicherheitsmaßnahmen befolgt werden, oder eine ähnlich qualifizierte Person ersetzt... - Seite 11 All manuals and user guides at all-guides.com Recycling Siehe Abb. 2 & 3 Passend Display Reinigung Wartung Einmal drücken, um das Gerät einzuschalten („ON“). Noch einmal drücken, um das Gerät auf „STANDBY“ zu schalten. Strom / (Nach dem „STANDBY“ Modus kehrt das Gerät zum vorherigen Modus zurück, es sei denn, es wurde Standby vom Strom getrennt.
-
Seite 12: Oberflächenmontage
All manuals and user guides at all-guides.com PassendeProdukt Siehe Abb. 4 - 11 3. Entfernen Sie das teils reflektierende Glas vom Kamin: • Legen Sie den Kamin auf seinen Rücken. Es gibt drei Montagearten • Entfernen Sie zwei Kreuzschlitzschrauben von jeder der 1. -
Seite 13: Wartung
All manuals and user guides at all-guides.com • Mit der Steckdose verbinden (das Stromkabel aus ACHTUNG: Der Receiver für die Fernbedienung befindet sich der gerahmten Wandöffnung an eine existierende im Display. Halten Sie die Fernbedienung bei der Eingabe in Steckdose anschließen oder eine Steckdose in der Nähe diese Richtung.