Commend OD5 FB Montageanleitung
Gipswand-/paneel-montage-kit für eine od5 td.
Verfügbare Sprachen
Verfügbare Sprachen
Quicklinks
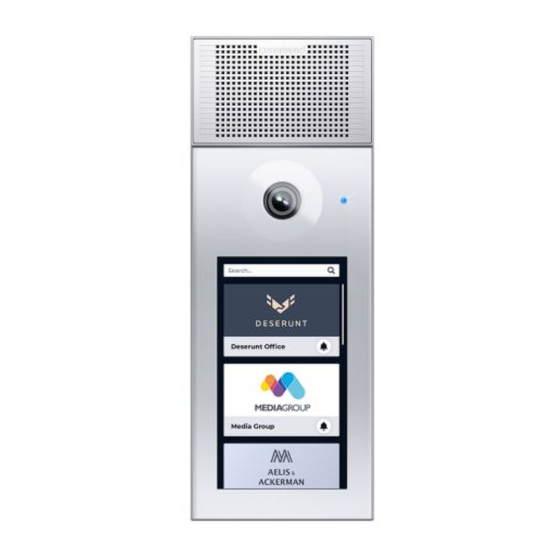
OD5 FB
Gypsum wall/panel mount kit for an OD5 TD.
Mounting
If necessary, stick the supplied gasket onto the mounting box.
Make sure the arrows on the mounting frame point upwards.
Install the mounting box to the wall by means of the supplied drilling template.
If required, connect the tamper switch to a module with an input (e.g. IP Secure Connector or
EB2E3A-AUD). This input must be configured accordingly via the web interface of the OD5 TD (see
also manual "OD5 TD").
Connect the required cables (Ethernet and USB cable, if needed).
Insert the Intercom station at the top of the surface mount kit.
Press the Intercom station with its lower end onto the mounting box.
Turn the locking screw anti-clockwise down as far as it will go using the Tx08 screwdriver (included
in extent of supply of the OD5 TD). Check whether the lower end of the Intercom station is fixed on
the mounting frame.
NOTE: Mounting on brick walls
For mounting on brick walls, additionally the flush mount box ID5 FBS is required (not included in ex-
tent of supply). In this case, mount the flush mount box ID5 FBS in the wall and then continue with
Dimensions
Measuring units in mm (in), not to scale!
75 (2.95)
1)
84 (3.31)
Cut-out for wall mounting
1)
Recommended mounting height and position
• Mount the upper edge of the Intercom station approx. 1,650 mm (65 in) from the finished floor.
Adapt the mounting height to the individual needs.
• For a barrier-free accessibility, it is recommended to mount the Intercom station with enough space
to walls or corners.
• When mounting the Intercom station, pay attention to the correct camera angle in terms of
accessibility, so that wheelchair users and children can be detected by the camera:
110° (vertical) x 130° (horizontal)
Extent of supply
• Mounting box (incl. mounting frame, gasket, tamper switch and 8 Tx10 countersunk screws)
• Drilling template/signal cover
• Short reference
Mounting instructions
• This kit shall be installed by trained and qualified personnel only.
• Only use recommended tools when installing this kit.
• Do not install this kit on unstable walls or on surfaces which cannot support the weight of the
device.
• Protect the mounting box during plaster work by using the supplied signal cover.
• No water may penetrate into the mounting box. Therefore, make sure the mounting box is water-
proof, e.g. by using the supplied gasket.
• Install the Intercom station with a distance of min. 150 mm (6 in) downwards to enable access to the
locking screws (Tx08).
• It is recommended to mount the optional CAT. crimp jack C-RJ45-MONT onto the open end of a
CAT. cable within a flush mount box and to connect the patch cable X-ASKKAT6-03.
Manufacturer's reference
For technical specifications, see the respective data sheet.
For the latest software and documentation, visit: www.commend.com
.
Keep this description in safe custody.
Type: D-BZ-OD5-FB, Version: 1.2/0320
16
60 (2.36)
5 (0.2) to
(0.63)
40 (1.57)
2)
OD5 TD
Wall thickness
2)
3)
Commend International GmbH, Saalachstraße 51, A-5020 Salzburg – www.commend.com
3)

Verwandte Anleitungen für Commend OD5 FB


Inhaltszusammenfassung für Commend OD5 FB
- Seite 2 Technische Spezifikationen sind im entsprechenden Datenblatt zu finden. Für die Montage an Ziegelwänden wird zusätzlich die Unterputzdose ID5 FBS benötigt (nicht im Die aktuellste Software und Dokumentation finden Sie unter: www.commend.com Lieferumfang enthalten). In diesem Fall erst die Unterputzdose ID5 FBS in der Wand montieren und Bewahren Sie diese Beschreibung sorgfältig auf.