Xpelair VX100 Installations- Und Bedienungsanleitung
Vorschau ausblenden
Andere Handbücher für VX100:
- Anleitung (12 Seiten) ,
- Gebrauchsanweisung (32 Seiten)

Verwandte Anleitungen für Xpelair VX100


Inhaltszusammenfassung für Xpelair VX100
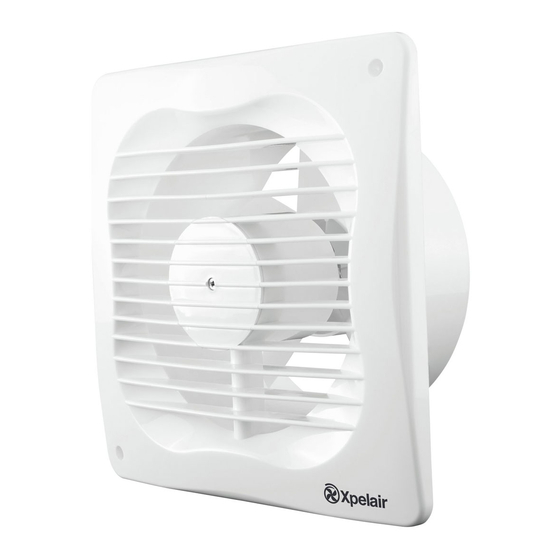
- Seite 1 Installation and maintenance instructions VX100 Standard VX100P Pull Cord VX100T Time r Toilet/Bathroom 100mm/4" Fan Range Retain for future reference ®...
- Seite 3 VX100 & VX100P VX100T VX100T DO NOT OVE R- TIG HTE N DUC TI NG ONTO THE SPIGOT . THIS C AN R EST R IC T THE MOVE ME NT OF THE FAN B LADES . DO NOT OVE R- TIG HTE N DUC TI NG .
- Seite 4 +44 (0) 344 879 3588.
- Seite 5 Locate it as high as possible. AT THIS STAGE. At least 110mm from the edges of the For Australia only (VX100 & VX100P) mounting surface to the centre of the hole. As far away as possible from and opposite to...
- Seite 6 4. If wiring from above, leave the cable free to Toilet/Bathroom into labyrinth. 2. Cut a hole 110mm in diameter, in the side of Fans VX100, the shaft. 5. Insert the lip of the back plate into the wall duct/ceiling or vent shaft as before.
- Seite 7 Fit the front cover by aligning it square to the duct and pushing it onto the duct until the release catches snap into the slots on the front cover. Using the fan VX100 only Operate the fan using the switch. Repeat to switch o . VX100P only Operate the fan by pulling and releasing the cord.
- Seite 8 +44 (0) 344 879 3588.
- Seite 9 9 à 46 mm d’épaisseur, il faut se procurer sur la plaque correspond à la tension un kit spécial Xpelair réf. DXDG. Ne pas secteur. installer ces ventilateurs dans des panneaux qu’il n’y a pas de tuyaux ou de ayant une épaisseur supérieure à...
- Seite 10 échéant, en le plaÁant aussi près que PORTER DES LUNETTES DE PROTECTION bains possible du ventilateur. PENDANT TOUTES LES OPERATIONS A LA VX100, VX100P, Pour le montage dans le plafond PERCEUSE ET AU BURIN. VX100T qu’il n’y a pas de tuyaux ou de Pour un montage mural câbles dissimulés dans le plafond/les...
- Seite 11 tube à la longueur requise, si besoin est. Montage du ventilateur dans une fenêtre 3. Si le raccordement électrique du ventilateur 1. Il faut qu’une deuxième personne maintienne se fait de l’arrière, retirer l’obturateur. Faire en place à l’extérieur le volet anti-refouleur et passer le câble secteur par le trou prévu l’entretoise, l’entretoise étant plaquée contre dans la plaque de support et l’amener aux...
- Seite 12 Poser le couvercle avant en l’alignant à ni d’autres liquides pour nettoyer les autres l’équerre par rapport à la gaine, puis VX100, VX100P, parties du ventilateur. l’enfoncer dans la gaine jusqu’à ce que les VX100T agrafes s’encliquettent dans les fentes 5.
- Seite 14 +44 (0) 344 879 3588.
- Seite 15 KEINEN ANSCHLUSS AN DER Bei Installation in einem Raum, der einen SPANNUNGSVERSORGUNG HERSTELLEN! Ölbrenner mit unausgeglichenem Gilt nur für Australien (VX100, VX100P) Flammrohr enthält, hat der Installateur zu gewährleisten, dass ausreichend Der Anschluss an die Spannungsversorgung Austauschluft vorhanden ist, um zu kann mit einem zweiadrigen Netzkabel verhindern, dass während des...
- Seite 16 Betrieb wird über einen Badezimmerlüfter, 2. Der Abstand vom Mittelpunkt des Loches Fernschalter gesteuert. Sie sind ¸ber einen zur Kante der Verkleidung oder Glasscheibe Modelle VX100, zugelassenen 10-A-Wandschalter mit muss mindestens 110 mm betragen. mindestens 3 mm Abstand zwischen den VX100P, VX100T, Bei Einbau in einen Lüftungsschacht...
- Seite 17 4. Die R¸ckstauklappe aus der Lüfter in das Loch einsetzen Mauerdurchführung entfernen. Bei Übergrundarbeiten sind die entsprechenden Sicherheitsvorkehrungen 5. An den markierten Stellen Schraubenlöcher zu treffen. bohren und die restlichen Wanddübel einsetzen. Bei Einbau des Lüfters in eine Wand, Decke 6.
- Seite 18 Badezimmerlüfter, mit einem 3-mm-Schraubendreher Zum Einstellen des Overrun-Zeitraums den eingedrückt werden und die vordere Regler (T) drehen. Bei Drehung im Modelle VX100, Abdeckung L zugleich nach vorn gezogen Uhrzeigersinn wird die Länge des VX100P, VX100T, wird. Zeitraums erhöht, bei Drehung gegen den Uhrzeigersinn gesenkt.
- Seite 20 Glen Dimplex Europe Limited, Millbrook House, Grange Drive, Hedge End, Southampton, SO30 2DF Airport Road, Cloghran, Co. Dublin, K67 VE08. Telephone: +44 (0) 344 879 3588 Telephone: +353 (0)1 8523400 Email: customer.services@glendimplex.com Email: serviceireland@glendimplex.com Web: www.xpelair.co.uk Part No: 567202609AM (Rev G)