Hama EasyLine 00016864 Aufbauanleitung

Verwandte Anleitungen für Hama EasyLine 00016864


Inhaltszusammenfassung für Hama EasyLine 00016864
- Seite 1 EasyLine by Hama GmbH & Co KG Postfach 80 86651 Monheim/Germany Tel. + 49 (0) 90 91 / 5 02-0 Fax + 49 (0) 90 91 / 5 02-2 74 hama@hama.de www.hama.de 00016864...
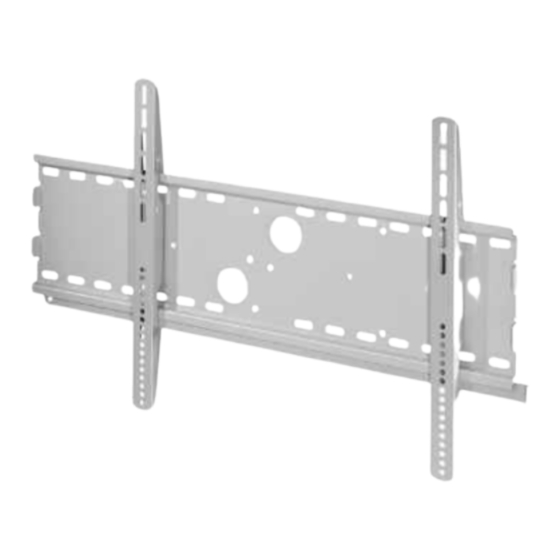
- Seite 2 00016864 Wandhalterung für Plasma/LCD Wallbracket for Plasma/LCD...
- Seite 3 Halterung und des Flachbildschirms sind diese auf ausreichende Festigkeit und Betriebssicherheit zu über- prüfen. Diese Prüfung ist in regelmäßigen Abständen zu wiederholen (mindestens Vierteljährlich). Die Firma Hama GmbH & Co.KG wird keine Gewährleistung für unsachgemäß installierte Halterungen über- nehmen oder daraus resultierenden Schäden.
- Seite 4 1. Montage des Wandmoduls Verwenden Sie zunächst das Wandmodul (a) als Vorlage um Markierungen für die insgesamt 6 Bohrlöcher an der Wand anzubringen. Beachten Sie hierbei, dass die Bohrlöcher in regelmäßigen Abständen über das ganze Wandmodul verteilt sind (3 oben, 3 unten - jeweils links und rechts der Mitte). Stellen Sie sicher, dass sich die Bohrlöcher auf einer Ebene befinden und beachten Sie eine Mindestabstand von 200mm zwischen den Bohrlöchern.
- Seite 5 3. Optionale Montage der Winkel-Adapater 5° Im Set sind zusätzlich 4 Winkeladapter enthalten. Durch das Anbringen der Adapter können Sie einmalig einen Neigungswinkel von 5° für Ihr TV-Gerät vornehmen, falls Sie nicht wünschen den Plasma / LCD-TV vollkommen senkrecht und flach an die Wand zu montieren. Um die Winkeladapter anzubringen montieren Sie diese auf beide äußere Seiten jedes Tragearmes unter Verwendung der selbstsichernde Schraubenmut- ter (g) und der Schlossschrauben M6 x 60mm (h);...
- Seite 6 Notizen:...
- Seite 10 Notes:...