Indesit H661.1 Informationen Für Installation Und Gebrauch
Inhaltsverzeichnis
Verfügbare Sprachen
Verfügbare Sprachen
Quicklinks
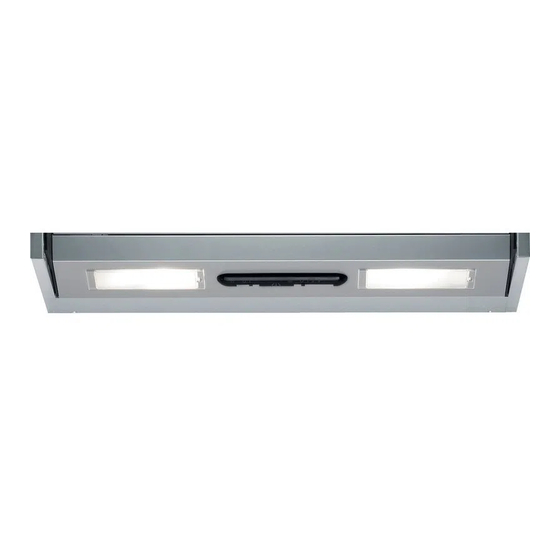
Cappa aspirante
Istruzioni per l’installazione e l’uso
Cooker hood
Instructions for installation and use
Hotte aspirante
Instruction pour l’installation et l’emploi
Campana extractora
Instrucciones para la instalacion y uso
Exaustor
Instruções para a instalação e o uso
Afzuigkap
Gebruiksaanwijzingen voor de plaatsing en gebruik
Dunstabzugshaube
Informationen für installation und gebrauch
Inhaltsverzeichnis

Verwandte Anleitungen für Indesit H661.1


Inhaltszusammenfassung für Indesit H661.1
- Seite 1 Cappa aspirante Istruzioni per l’installazione e l’uso Cooker hood Instructions for installation and use Hotte aspirante Instruction pour l’installation et l’emploi Campana extractora Instrucciones para la instalacion y uso Exaustor Instruções para a instalação e o uso Afzuigkap Gebruiksaanwijzingen voor de plaatsing en gebruik Dunstabzugshaube Informationen für installation und gebrauch...
- Seite 24 Montage- und Gebrauchsanweisung Bitte auch die Abbildungen auf den ersten Seiten mit den ist. Wenn die Küchenhaube mit einem Netzstecker alphabetischen Bezugnahmen, die im Text wiedergegeben ausgestattet ist, diesen an eine den gültigen Normen sind, zu Hilfe nehmen. Die Instruktionen, die in diesem entsprechende, jederzeit zugängliche...
-
Seite 25: Betrieb
Befestigung an den Schränkwänden dienen. Bild 8. Vergewissern Sie sich, dass die seitlichen Schrankwände, Hängen Sie die Dunstabzugshaube an den Haken (*) auf zwischen denen die Dunstabzugshaube angebracht wird, und regulieren Sie die Position der Dunstabzugshaube kräftig genug sind. sowohl mithilfe der Schrauben ohne Kopf S1 als auch Sollten sie nicht kräftig genug sein, bringen Sie Haltebügel an mithilfe der Position der Bügel über die entsprechenden der Wand an (*), welche eine zusätzliche Verstärkung... -
Seite 26: Ersetzten Der Lämpchen
Reinigungsmittel per Hand gewaschen werden. Er kann auch darf der Unterdruck des Raumes 4 pa (4 x 10⁻⁵ bar) nicht in der Geschirrspülmaschine bei niedriger Temperatur und im überschreiten. Schnellwaschgang gereinigt werden. Der Metallfettfilter kann Es ist nicht erlaubt, die Abluft in einen in Betrieb befindlichen bei der Reinigung in der Spülmaschine abfärben, was seine Rauch- bzw. - Seite 28 LI2YQA...