Werbung
Quicklinks
PWM / ATS - Adjusting and Testing Software
Mounting wizard for LIP 6071/LIP 6081
Anbauassistent für LIP 6071/LIP 6081
Assistant au montage pour LIP 6071/LIP 6081
Assistente al montaggio per LIP 6071/LIP 6081
Asistente para el montaje para LIP 6071/LIP 6081
Mounting Instructions
Montageanleitung
Instructions de montage
Istruzioni di montaggio
Instrucciones de montaje
LIP 6071
LIP 6081
08/2018
Werbung

Verwandte Anleitungen für HEIDENHAIN PWM 20


Inhaltszusammenfassung für HEIDENHAIN PWM 20
- Seite 1 Mounting Instructions PWM / ATS - Adjusting and Testing Software Montageanleitung Instructions de montage Istruzioni di montaggio Instrucciones de montaje LIP 6071 LIP 6081 Mounting wizard for LIP 6071/LIP 6081 Anbauassistent für LIP 6071/LIP 6081 Assistant au montage pour LIP 6071/LIP 6081 Assistente al montaggio per LIP 6071/LIP 6081 Asistente para el montaje para LIP 6071/LIP 6081 08/2018...
-
Seite 2: Avertissements
Warnings Warnhinweise Avertissements Avvertenze Advertencias Note: Mounting and commissioning is to be conducted by a qualified specialist under compliance with local safety regulations. – Do not engage or disengage any connections while under power. Achtung: Die Montage und Inbetriebnahme ist von einer qualifizierten Fachkraft unter Beachtung der örtlichen Sicherheitsvorschriften vorzunehmen. - Seite 3 È disponibile anche per il download gratuito alla homepage HEIDENHAIN nella sezione di download dei software. El sistema de medida de ángulo de fase PWM 20/PWM 21 junto con el software ATS sirve para el ajuste y diagnóstico de los sistemas de medida HEIDENHAIN.
- Seite 4 For more information, refer to the ATS software operating instructions. Weitere Informationen siehe Betriebsanleitung ATS-Software. Pour plus d’informations, se reporter au manuel d’utilisation du logiciel ATS. ID 543734 Per ulteriori informazioni vedi il manuale di istruzioni “Software ATS” . Para más información consultar el modo de empleo del software ATS. For more information about mounting the encoder, refer to the mounting instructions AK LIP 60x Weitere Informationen über die Montage des...
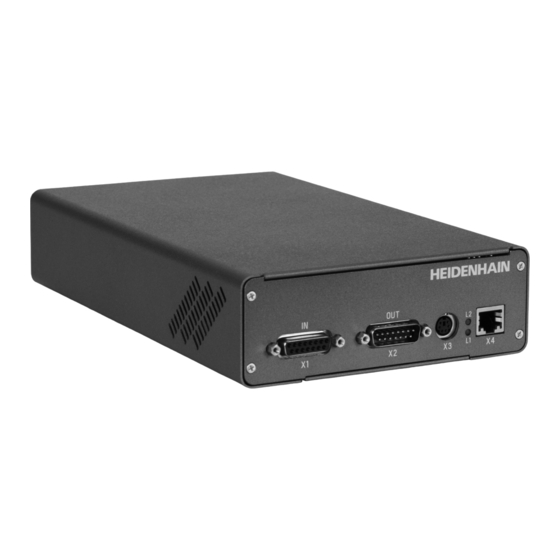
- Seite 5 Adjusting and testing Justage und Diagnose Réglage et diagnostic Taratura e diagnostica PWM 20/ Ajuste y diagnóstico PWM 21 LIP 6071 LIP 6081 Connect the encoder. Messgerät anschließen. Raccorder le système de mesure. Collegare il sistema di misura. Conectar el aparato de medida.
- Seite 6 Enter the encoder ID number. If it is not accepted, you can proceed by entering variant 00 Eingabe der Geräte-ID-Nummer. Bei Nichtannahme kann mit Eingabe Variante 00 fortgefahren werden Entrer le numéro ID de l’appareil. Si le numéro n’est pas accepté, poursuivre en saisissant la variante 00. Immissione del numero ID dell’apparecchiatura.
- Seite 7 Click “Mounting“ . Auf „Anbau“ klicken. Cliquer sur “Mounting” . Cliccare su “Mounting” . Hacer clic en “Mounting” . Click...
- Seite 8 Click...
- Seite 9 The mounting wizard will perform a signal adjustment that may cause signal inconsistencies, etc. This might result in injury to people or damage to the machine. Feed-through mode is not permitted! Do not connect the X2 „OUT“ connection! Please see the notes in the commissioning instructions or manual. Der Anbau-Assistent führt eine Signaljustage durch, die zu Signal-Unstetigkeiten etc.
- Seite 10 Refer to the mounting instructions for proper mounting of the scanning head! Auf sachgemäßen Anbau des Abtastkopfes entsprechend der Montageanleitung achten! Veiller à monter la tête captrice de manière adéquate, conformément aux instructions de montage! Prestare attenzione al regolare montaggio della testina di scansione in conformità alle istruzioni di montaggio! Consultar las instrucciones de montaje correspondientes para un correcto montaje del cabezal! The adjustment of the reference-mark signal can be deselected if the encoder reference mark is not used.
- Seite 11 Confi rm that mounting has been completed with „Next >“ . Power will then be applied. Bestätigen Sie den Anbauvorgang mit „Weiter >“ . Die Spannung wird dann angelegt. Confi rmez que le montage est terminé en cliquant sur “Next >” . Une tension sera alors appliquée. Confermare l’operazione di montaggio con “Next”...
- Seite 12 Mechanical mounting: Measurement in progress Mechanischer Anbau: Messung läuft Montage mécanique : mesure en cours Montaggio meccanico: misurazione in corso Montaje mecánico: medición en marcha Click The encoder will be reset to its factory settings. Selecting “Cancel” will end the mounting wizard. Das Messgerät wird nun auf Werkseinstellungen zurückgesetzt.
- Seite 13 Please note: The green circles in the circle diagram show the limits of optimal mounting and the recommended tolerances. The red circles are the absolute limits for permissible adjustment. Adjustment is not possible if signals are outside the red circles. In this case, check the mounting tolerances and inspect for contamination! Bitte beachten Sie: Die grünen Kreise im Kreisdiagramm zeigen die Grenzen der optimalen Montage und der empfohlenen Toleranzen.
- Seite 14 The encoder was restored to its factory settings. The traverse speed should be approximately 10 mm/s. If applicable, optimize the mechanical mounting as per dimension drawing. Das Messgerät wurde in den Auslieferungszustand zurückgesetzt. Die Verfahrgeschwindigkeit sollte ca. 10 mm/s betragen. Gegebenenfalls mechanischen Anbau laut Anschlussmaßzeichnung optimieren.
- Seite 15 Move the encoder several times across the reference mark for an automatic adjustment of the incremental signal and the reference-mark signal. Note the Information and progress bar! Zum automatischen Abgleich des Inkremental-Signals und des Referenzmarken-Signals Encoder mehrmals über die Referenzmarke bewegen. Hinweise und Fortschrittsanzeige beachten! Franchir plusieurs fois la marque de référence pour régler automatiquement le signal incrémental et le signal de référence.
- Seite 16 Adjustment completed successfully. Adjustment values were saved permanently in the encoder. Abgleich erfolgreich beendet. Abgleichwerte wurden dauerhaft im Messgerät gespeichert. Réglage terminé. Les valeurs de réglage ont été mémorisées de manière permanente sur le système de mesure. Taratura terminata con successo. I valori di taratura sono stati permanentemente salvati nel sistema di misura.
- Seite 17 When using the limit function, position the limit plates on the scale. Check limit positions L1 and L2. Bei Verwendung der Limit-Funktion, Limit-Blenden auf Maßstab platzieren. Limit-Position L1 und L2 überprüfen. Si vous utilisez la fonction Limit, placer des caches Limit sur la règle. Vérifi er les positions Limit L1 et L2. In caso di impiego della funzione Limit, posizionare i lamierini Limit sulla riga graduata.
- Seite 18 Check incremental signals and reference-mark signals. Inkremental-Signale und Referenzmarken-Signal überprüfen. Vérifi er les signaux incrémentaux et les signaux de référence. Verificare i segnali incrementali e i segnali degli indici di riferimento. Comprobar las señales incrementales y las señales de las marcas de referencia. Click Select “Finish”...
- Seite 20 DR. JOHANNES HEIDENHAIN GmbH Dr.-Johannes-Heidenhain-Straße 5 83301 Traunreut, Germany { +49 8669 31-0 | +49 8669 32-5061 E-mail: info@heidenhain.de Technical support | +49 8669 32-1000 Measuring systems { +49 8669 31-3104 E-mail: service.ms-support@heidenhain.de NC support { +49 8669 31-3101 E-mail: service.nc-support@heidenhain.de...