
Verwandte Anleitungen für Kärcher IB 7/40 Classic


Inhaltszusammenfassung für Kärcher IB 7/40 Classic
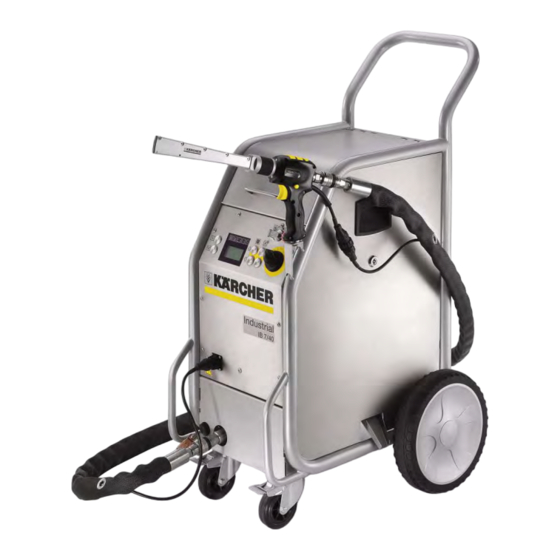
- Seite 1 IB 7/40 Classic IB 7/40 Advanced Service Manual English 5.906-469.0 Rev. 00 (08/08)
-
Seite 2: Inhaltsverzeichnis
Contents Preface 2.1 Hazard levels Hazard levels Symbols on the machine General notes on safety Specifications and Guidelines Technical Features Basics of working with the dy ice jet 3.1.1 What is dry ice? 3.1.2 How does dry ice blasting work? 3.1.3 Kinetic cleaning 3.1.4... -
Seite 3: Preface
place of use; if possible, use an alarm to warn persons. Symptoms Preface of high levels of carbon dioxide in the air that is breathed in: – 3...5%: headache, faster breathing. Good service work requires extensive and practice-oriented train- ing as well as well-structured training materials. –... -
Seite 4: General Notes On Safety
Technical Features General notes on safety Danger Basics of working with the dy ice jet Risk of injury if the machine is left running in an unattended state. There is one major difference between dry ice cleaning and any Disconnect the mains plug from the socket before performing any other conventional cleaning method: The surfaces of machines work. -
Seite 5: Kinetic Cleaning
– When you need large pellet quantities, you can produce them 3.1.3 Kinetic cleaning yourself. This requires a tank to store liquid CO2, and a pelletiz- The dry ice pellets are accelerated to more than 150 m/s, and hit er. Pelletizers can be purchased from Kärcher. the surface. -
Seite 6: Setup And Function
Control panel with: Setup and function – Display to sho jet pressure, dry ice quantity and statistics (op- erating hours, consumption, average consumption) Device – Indicator lamps for control voltage, emergency stop, com- pressed air, dosing device, and jet gun –... -
Seite 7: Device Without Housing
Device without housing 1 Cable clamp 2 Mains cable with mains plug 3 Pressure relief valve, condensate draining of the water separa- 4 Compressed air connection 1 Dry ice container support 5 Condensate drain-out 2 Dry ice container 3 Shaker (M2) 4 Dosing unit 5 Dry ice outlet (remainder emptying) 6 Geared motor, dosing unit drive (M1) -
Seite 8: Remove Side Panel
1 Pressure release valve 2 Hose connection 3 Compressed air line from the water separator 1 Earthing rope roller (standard with IB 7/40 Advanced, option for IB 7/40 Classic) 2 Nameplate 3 Earth cable 4 Water separator 5 Pressure control valve, pneumatically actuated... -
Seite 9: Remove Rear Panel
4.2.2 Remove rear panel 4.2.3 Removing the dry ice container Remove side panels. Unscrew the yellow-and-green earth cable from the dry ice con- tainer. 1 Screw Loosen 4 screws. Lift the lid of the dry ice container and swing rear panel out- 1 Fastening screws for dry ice container support ward. -
Seite 10: Dosing Unit
Dosing unit 4.3.1 Overview 1 Dosing disk 2 Towing arm Remove the dosing disk 1 Dry ice container seal 2 Dosing unit screw 3 Dosing flange, top 4 Dosing flange, bottom 5 Compressed air flange screw 6 Quick-action connection of pressure control valve 7 Quick-action connection of control air 8 Fastening screw of water separator 4.3.2 Replacing the dosing disk... -
Seite 11: Operating Field
Clean the dosing flanges with a dry cloth before you install the dos- 4.4.1 Display ing disk. The new dosing disk is installed in reverse sequence. Tightening torque, dosing flange screws: 14Nm Operating field 1 Statistics button, reset counter (S8) 2 Button "Empty dry ice"... -
Seite 12: Jet Equipment
Jet equipment 4.5.1 Jet gun 1 Keypad 2 Spray lance 3 Kink protection 4 Control cable 5 Helical spring of safety button 6 Safety button 7 Micro switch 8 Helical spring of the trigger 9 Triggering lever 10 Contact pin for working light power supply 1 Nozzle 2 Jet pistol 3 Triggering lever... -
Seite 13: Spray Agent Hose
4.5.3 Spray agent hose 4.6.1 Jet nozzles (accessories) Außer der runden Strahldüse, die mit der Maschine ausgeliefert wird, further flat and round steel nozzles are available as accesso- ries for the machine. 1 Safety hose coupling 2 Female connector, control cable on the jet gun 3 Male connector, control cable on the unit 4 Safety hose coupling, connection on the unit Nozzles... -
Seite 14: Scrambler (Accessory)
4.6.2 Scrambler (accessory) The scrambler crushes the dry ice pellets and is mounted between the jet pistol and the nozzle. The alignment of the 4 holes plates in the scrambler indicates the degree of comminution. Select the degree of comminution: Align the hole plates, as shown above, in the magazine (3 pos- sibilities). -
Seite 15: Working Light (Accessory)
4.6.5 Working light (accessory) The working light is arranged between jet gun and nozzle. Switch- ing on and switching off is described in the chapter "Operation/Ba- sic Settings" in the Operating Instructions Control board 1 Appliance switch (S1) 2 Emergency-stop button (S2) 3 Key switch (S3) 4 Button "Decrease dry ice dosing"... -
Seite 16: Functional Diagram
Functional diagram 1 Dry ice pellets 2 Dry ice container 3 Pressure regulation valve 4 Water separator 5 Compressed air connection 6 Shaker 7 Dosing motor 8 Coupling spray agent hose 9 Dosing flange, bottom 10 Dosing disk 11 Dosing flange, top English 5.906-469.0 Rev. -
Seite 17: Pneumatic Diagram
Pneumatic diagram English 5.906-469.0 Rev. 00 (08/08) -
Seite 18: Troubleshooting
Troubleshooting Never put dry ice in your mouth. Danger Risk of accident while working on the appliance. Before you start working on the unit, close the compressed air supply, open the pressure relief valve, empty the dry ice container, disconnect the unit from the power supply and from the compressed air supply.. -
Seite 19: Faults Without Display On The Console
Faults without display on the console Fault Possible cause Remedy By whom No compressed Compressed air supply has too little pressure Check pressure level. Operator air jet despite the Jet pressure is set too low Set the jet pressure to a higher level. Operator trigger being drawn... -
Seite 20: Technical Specifications
Weight of IB 7/40 Classic, empty Weight of IB 7/40 Advanced, empty Weight of IB 7/40 Classic, ready to operate Weight of IB 7/40 Advanced, ready to operate Weight of the jet equipment (spray agent hose, spray gun, tool case) 6,75 Recoil force of hand spray gun (max.) -
Seite 21: Sound Power Level
Sound power level A Pressure in MPa B Pressure in bar C Noise level in dB(A) 1 Round jet nozzle, short 2 Flat stream nozzle, short 3 Flat jet nozzle, angled 4 Round jet nozzle, long 5 Flat stream nozzle, long, included in delivery Special tools Torque wrench 6.815-090.0...