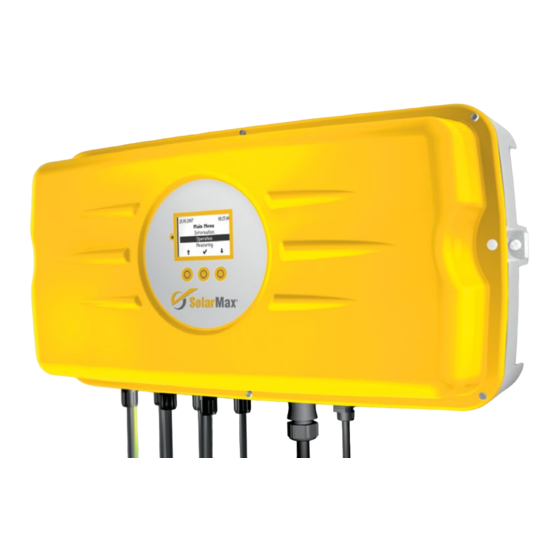
SolarMax 2000S Kurzanleitung
S-serie; solar
Vorschau ausblenden
Andere Handbücher für 2000S:
- Kurzanleitung (15 Seiten) ,
- Kurzanleitung (28 Seiten) ,
- Gerätedokumentation (66 Seiten)

Verwandte Anleitungen für SolarMax 2000S


Inhaltszusammenfassung für SolarMax 2000S
- Seite 1 SolarMax S-Serie 2000S / 3000S / 4200S / 6000S Kurzanleitung Installation Primer S-Serie Instrucciones de ■ ■ instalación S-Serie Brevi istruzioni per l’installazione S-Serie ■ Instructions d’installation série S ■...
- Seite 3 1 conector CA 2 tacos 1 Arandela de apriete Documentaz. dell’apparecchio 3 viti M6 x 12 mm Inverter SolarMax serie S 1 rondella M6 1 anello elastico M6 Binario per il montaggio 2 viti 6 x 50 mm 1 capocorda M6 2 rondelle ø...
- Seite 5 Installationsvorschriften in ■ Gerätedokumentation beachten Please follow the installation ■ instructions in the instruction manual Observar las instrucciones de ■ instalación en la documentación del dispositivo Attenersi alle prescrizioni ■ per l’installazione contenute nella documentazione dell’apparecchio Respecter les prescriptions ■ d’installation de la documentation des appareils...
- Seite 6 370 mm...
- Seite 7 Anzeichnen der 2 Bohrlöcher ■ 370 mm Abstand zwischen den Bohrlöchern einhalten ■ Mit einem ø 8 mm Bohrer die Löcher mit einer Tiefe ■ von 60 mm bohren Mark the 2 drill holes ■ Make sure the drill holes are 370 mm apart ■...
- Seite 9 Dübel einsetzen ■ Montageschiene mit Schrauben ■ Unterlagsscheiben an der Wand befestigen Insert the wall plugs ■ Attach the mounting rail to the wall using the ■ screws and washers Introducir los tacos ■ Fijar el carril de montaje a la pared con los ■...
- Seite 11 Wechselrichter auf der linken Seite in Montageschiene ein- ■ hängen, danach Wechselrichter nach rechts bis zum Anschlag schieben, die rechte Seite des Wechselrichters an die Wand drücken und Wechselrichter auf der Schiene nach links bis zum Anschlag schieben. Slide the inverter onto the mounting rail from the left and ■...
- Seite 13 Fixierung des SolarMax-Wechselrichters ■ mit Schrauben Attach the SolarMax inverter with screws ■ Fijación del inversor SolarMax con tornillos ■ Fissaggio con viti dell’inverter SolarMax ■ alla parete Fixation de l’onduleur SolarMax par vis ■...
- Seite 14 ■ ■...
- Seite 15 Erdung (zweiter Schutzleiteranschluss) EN 50178 fordert ■ einen zweiten, festen Schutzleiteranschluss Earthing (second protective earth connection): according ■ to EN 50178 a second, fixed protective earth connection is required La puesta a tierra (segundo borne de puesta a tierra) ■ EN 50178 requiere un segundo borne de puesta a tierra fijo Messa a terra (secondo conduttore di terra);...
- Seite 17 Einrasten des AC-Steckers ■ Engage the AC connector ■ Enclavamiento del conector CA ■ Far scattare in posizione la spina AC ■ Encliqueter le connecteur AC ■...
- Seite 19 Einstecken der DC-Klickstecker ■ Insert the DC connector ■ Introducir el conector insertable DC ■ Innestare il connettore DC a scatto ■ Enfiler le connecteur encliquetable DC ■...
- Seite 21 Einstecken der RJ45-Klickstecker ■ Insert the RJ45 click-connector ■ Introducir el conector insertable RJ45 ■ Innestare il connettore RJ45 a scatto ■ Enfiler le connecteur encliquetable RJ45 ■...
- Seite 23 Wechselrichter AC-seitig einschalten ■ DC-Trennschalter einschalten ■ Switch on the AC side of the inverter ■ Switch on the DC insulation switch ■ Encender el inversor por el lado CA ■ Encender el separador CC ■ Avviare l’inverter dal lato AC ■...
- Seite 25 Grundeinstellungen vornehmen: Sprache auswählen ■ Land der Installation auswählen ■ Datum einstellen ■ Uhrzeit einstellen ■ Configure the basic settings: Select the language ■ Select the installation country ■ Set the date ■ Set the time ■ Realizar la configuración básica: seleccionar idioma ■...
- Seite 27 Gratulation! Die Installation ist beendet. ■ Congratulations! The installation is complete. ■ ¡Enhorabuena! La instalación ha concluido. ■ Congratulazioni! L’installazione è terminata. ■ Félicitations! L’installation est achevée. ■...
-
Seite 28: Solarmax Service Center
SolarMax Service Center: hotline@solarmax.com www.solarmax.com/service...