Husqvarna AUTOMOWER 315 MARK II Kurzanleitung
Vorschau ausblenden
Andere Handbücher für AUTOMOWER 315 MARK II:
- Bedienungsanweisung (120 Seiten) ,
- Kurzanleitung (8 Seiten) ,
- Bedienungsanweisung (112 Seiten)

Verwandte Anleitungen für Husqvarna AUTOMOWER 315 MARK II


Inhaltszusammenfassung für Husqvarna AUTOMOWER 315 MARK II
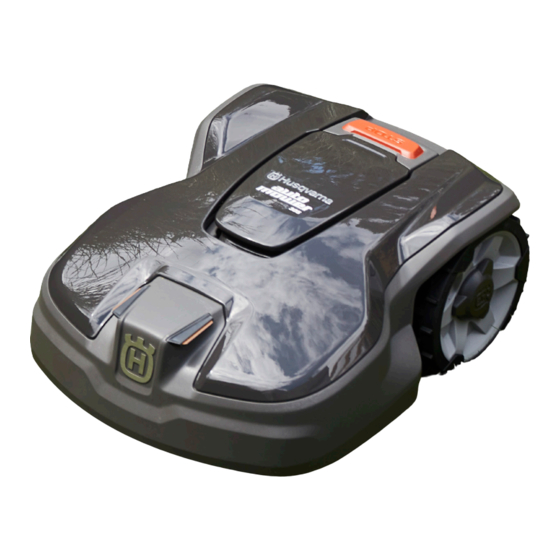
- Seite 1 KURZANLEITUNG GUIDE RAPIDE GUIDA RAPIDA QUICK GUIDE HUSQVARNA AUTOMOWER ® 305 / 310 MARK II / 315 MARK II QG_P12_1142733.indd 1 QG_P12_1142733.indd 1 2021-06-21 10:00:31 2021-06-21 10:00:31...
- Seite 2 3 m / 10 ft 75 cm / 2 0 cm / 0” 10 cm / 4” 10 cm / 4” 35 cm / 14” 30 cm / 12” min 2 m / 7 ft QG_P12_1142733.indd 2 QG_P12_1142733.indd 2 2021-06-21 10:00:53 2021-06-21 10:00:53...
-
Seite 3: Aufstellen Und Anschließen Der Ladestation
Gewitterrisiko besteht. Kontaktstift an der Ladestation setzen. • Laden Se die Batterie am Ende der Saison vor der Wintereinlagerung vollständig auf. Weitere Informationen und Anweisungen finden Sie in der vollständigen Bedienungsanleitung auf www.husqvarna.com. QG_P12_1142733.indd 3 QG_P12_1142733.indd 3 2021-06-21 10:00:54 2021-06-21 10:00:54... - Seite 7 Lampe leuchtet dauerhaft grün Lumière verte fixe Luce verde fissa Green solid light Gutes Signal der Begren- Bon signal du câble périphé- Segnale cavo perimetrale buono Good boundary loop signal. zungsschleife. rique. Lampe blinkt grün Lumière verte clignotante Luce verde lampeggiante Green flashing light ECO-Modus ist aktiviert.
-
Seite 8: Konnektivität
Kennwort ein, um ein Husqvarna Konto zu erstellen. C. Accedere al proprio account Husqvarna nell’app. C. Melden Sie sich in der App bei Ihrem Husqvarna Konto an. D. Selezionare I miei rasaerba nell’app Automower® Connect, D. Wählen Sie in der Automower® Connect App Meine Mäher quindi selezionare il segno più...