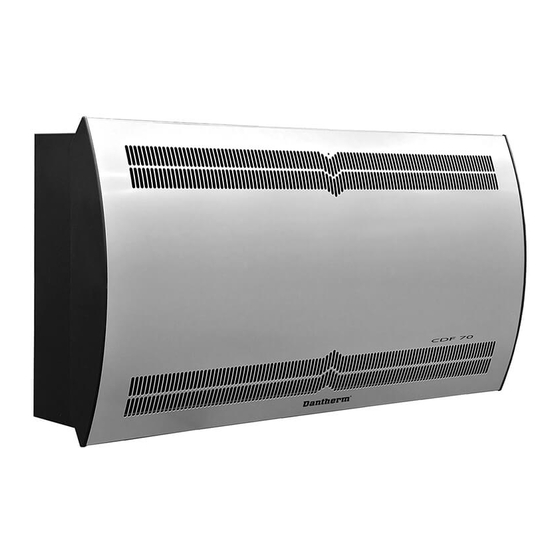
Dantherm CDF 40 Montageanleitung
Wartungssatz
Vorschau ausblenden
Andere Handbücher für CDF 40:
- Servicehandbuch (298 Seiten) ,
- Handbuch (48 Seiten) ,
- Betriebsanleitung (32 Seiten)

Verwandte Anleitungen für Dantherm CDF 40


Inhaltszusammenfassung für Dantherm CDF 40
- Seite 8 Wartungssatz. Der neue PPI-Filter muss an beiden Innenseiten der Frontplatte anliegen. Achten Sie darauf, dass das Loch im Filter wie abgebildet positioniert ist. Hinweis: Für CDP/CDF 40 und 50 muss der Filter entsprechend der Abbildung 200mm zugeschnitten werden. 130mm...
- Seite 9 Anleitung Prüfen Sie die Anschlusskabel des Kompressors. Ziehen Sie gefühlvoll an allen Klemmen, um gelöste Verbindungen zu erkennen. Falls erforderlich, befestigen Sie diese. Falls es nicht möglich ist, die Klemmen zu befestigen, ersetzen Sie diese durch Teile aus diesem Wartungssatz. Prüfen Sie, ob die Isolierung wie gezeigt platziert ist.
- Seite 10 Anleitung Prüfen Sie, ob sich das gewickelte Rohr des Thermoventils zu nah am Ventilator befindet. Falls das sein sollte, sichern Sie die Rohrspirale mit Kabelbindern und drücken Sie sie wie gezeigt zusammen. Die ersten 6 Ziffern der Seriennummer (auf JJMMTT dem Produkttypenschild zu finden) zeigen das Herstellungsdatum an.
- Seite 11 Anleitung Montieren Sie den Sensor mit dem kleinen PPI- Filter-Stück und zwei Kabelbindern wie gezeigt auf der Halterung. Hinweis: Die weiße Fläche und das Loch in dem Sensor müssen nach vorne gerichtet sein. Führen Sie einen vollständigen Test mit der neuesten Firmware Version durch (auf der nächsten Seite finden Sie eine Anleitung, wie Sie die Firmware herunterladen und installieren können).
- Seite 12 Verwenden Sie einen leeren USB-Stick. • Formatieren Sie den USB-Stick mit dem Dateisystem FAT32 (Details siehe unten). • Laden Sie die neuste Firmware Version herunter unter folgender URL: : ftp://ftp.dantherm.com/ DEHUMIDIFICATION/CDP 40-50-70 - various documentation/Software/ und kopieren Sie diese auf den USB-Stick. •...