Clearaudio Concept V2 Bedienungsanleitung

Verwandte Anleitungen für Clearaudio Concept V2


Inhaltszusammenfassung für Clearaudio Concept V2
- Seite 1 MM Tonabnehmer / MM cartridges User manual Bedienungsanleitung © clearaudio electronic GmbH Made in Germany...
- Seite 12 Justage ist größtenteils von Ihrem Tonarm und / oder Plattenspieler abhängig. Wir bedanken uns bei Ihnen für Ihr Vertrauen und wünschen Ihnen viel Freude mit Ihrem neuen clearaudio MM Tonabnehmer. clearaudio electronic GmbH © clearaudio electronic GmbH...
-
Seite 13: Wartung
Abstand!) • Reinigen Sie auch die Nadel regelmäßig mit einem weichen Pinsel oder mit einer im Fachhandel erhältlichen Reinigungsflüssigkeit (clearaudio Elixir of Sound Art. Nr. AC003). Bitte achten Sie darauf, dass hierbei keine Flüssigkeit auf den Tonabnehmer-Körper gelangt. • Vermeiden Sie die Lagerung des Tonabnehmers in Nähe von Geräten mit elektrischen Transformatoren und Motoren, die... - Seite 14 Nadelschutz mit einem Gummiband. Andernfalls könnte Ihr Tonabnehmer ernsthafte Schäden davon tragen. 3. Service Wenn eine Wartung oder Reparatur an einem clearaudio Produkt erforderlich ist, wenden Sie sich bitte zuerst immer an Ihren Händler oder Vertriebspartner. Alternativ können Sie clearaudio direkt kontaktieren und wir werden Sie über Ihre nächstgelegenen...
- Seite 15 User manual / Bedienungsanleitung Inhaltsverzeichnis 1. Zubehör im Lieferumfang ....16 2. Montage .......... 17 - 18 3. Einstellen der Auflagekraft ..... 19 4. Technische Daten ......20 - 21 Garantiehinweise ....... 22 - 23 Made in Germany Page / Seite 15...
-
Seite 16: Zubehör Im Lieferumfang
Weight Watcher touch • Clearaudio (Art. Nr. AC0163) Elixir of Sound • Clearaudio (Art. Nr. AC003) Diamond cleaner brush Clearaudio • (Art. Nr. AC014) Mini Level Gauge Clearaudio • (Art. Nr. AK001) © clearaudio electronic GmbH Page / Seite 16... -
Seite 17: Montage
Zur Montage an Ihrem Tonarm empfiehlt es sich den Nadelschutz auf dem Tonabnehmer zu belassen, um Beschädigungen zu vermeiden. Montieren Sie mit Hilfe der beiliegenden Schrauben Ihren clearaudio MM-Tonabnehmer, (die Aufnahmegewinde im Tonabnehmergehäuse entsprechen der metrischen Norm für M 2,5 mm Schrauben und weisen den international genormten Abstand von 12,7 mm auf). - Seite 18 Vorverstärkers stecken. Vorverstärker-Lautstärke-Stellung immer auf „0“ stellen. Netzstecker des Vorverstärkers an das Stromnetz anschließen. Unser Tipp für die Tonabnehmereinstellung: Wählen Sie einen hellen Arbeitsplatz, gutes Werkzeug und bewahren Sie Ruhe und Konzentration. © clearaudio electronic GmbH Page / Seite 18...
-
Seite 19: Einstellen Der Auflagekraft
Sie sollten auch niemals mehr als 5 g einstellen, da auch dies Schäden am Diamanten und somit am Tonabnehmer verursachen könnte. Wenn es Ihnen nicht möglich ist die optimale Auflagekraft einzustellen, da der Tonabnehmer zu leicht ist, sollten Sie ein Abstands-Plättchen verwenden. Diese sind bei Ihrem clearaudio Fachhändler erhältlich. Weitere wertvolle... -
Seite 20: Technische Daten
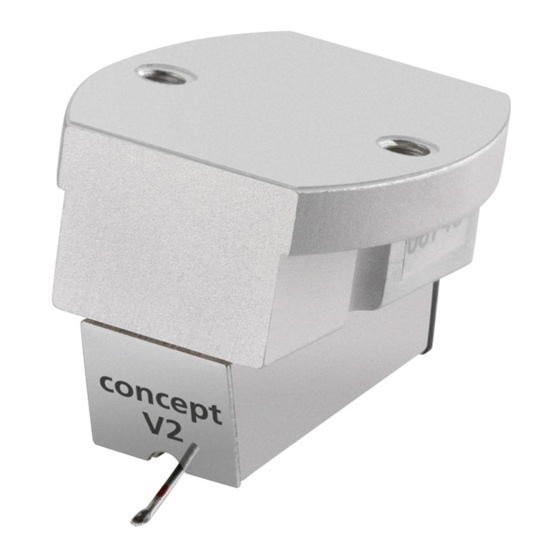
Nadelnachgiebigkeit: 15 μ/mN 15 μ/mN Systemkörper: Aluminium Ebenholz Herstellergarantie: 2 Jahre* 2 Jahre* * Nur bei korrekt ausgefüllter und eingesandter Garantiekarte an clearaudio oder online registrierter Garantie innerhalb von 14 Tagen. (https://clearaudio.de/de/service/registration.php) © clearaudio electronic GmbH Page / Seite 20... - Seite 21 User manual / Bedienungsanleitung Artist V2 Virtuoso V2 Maestro V2 8,4 g (± 0,4 g) 8,4 g (± 0,4 g) 8,4 g (± 0,4 g) 20 Hz - 20 kHz 20 Hz - 20 kHz 20 Hz - 20 kHz ~ 3,6 mV ~ 3,6 mV ~ 3,6 mV...
-
Seite 22: Warranty Information
User manual / Bedienungsanleitung The full, extended warranty period for the clearaudio MM cartridge is 2 years. To receive this full Clearaudio warranty, you must either complete and return the relevant section of the warranty registration card to Clearaudio, or register your product online at https://clearaudio.de/en/service/ registration.php, within 14 days of purchase. - Seite 24 Handmade in Germany Clearaudio Electronic accepts no liability for any misprints. Technical specifications are subject to change or improvement without prior notice. Product availability is as long as stock lasts. Copies and reprints of this document, including extracts, require written consent from Clearaudio Electronic GmbH, Germany.