Herunterladen Inhalt Inhalt Diese Seite drucken
Klarstein 10012349 Bedienungsanleitung
Vorschau ausblenden Andere Handbücher für 10012349:

Werbung

Verfügbare Sprachen

Verfügbare Sprachen

Zitruspresse orange
Kaffeemaschine
10008166
10008167
10008168
10012349

Werbung

Inhaltsverzeichnis
loading

Inhaltszusammenfassung für Klarstein 10012349

  • Seite 1 Zitruspresse orange Kaffeemaschine 10008166 10008167 10008168 10012349...
  • Seite 2: Kleine Objekte/Verpackungsteile

    Warnung Gerät Zur Reduzierung der Gefahr von Brand, elektrischem Schlag und Beschädigung: • Setzen Sie dieses Gerät nicht dem Regen aus. • Stellen Sie keine mit Flüssigkeiten gefüllten Gefäße, wie Vasen, auf dieses Gerät. • Ausschließlich das empfohlene Zubehör verwenden. •...
  • Seite 3: Bestimmungsgemäßer Gebrauch

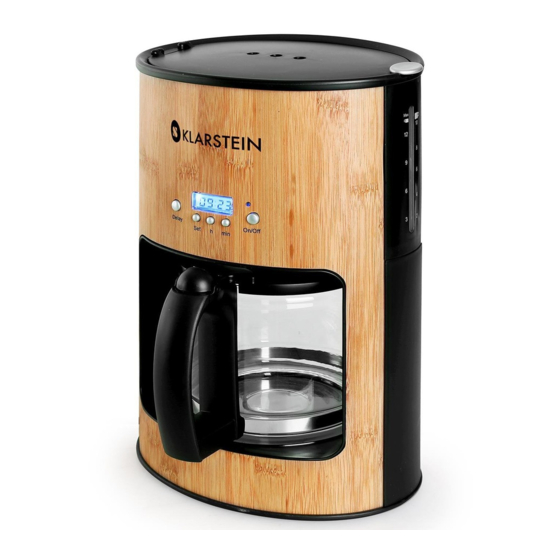
    Netzadapter • Der Netzadapter kann mit Wechselstrom von 220 - 240 V betrieben werden. • Verwenden Sie aber einen geeigneten Steckeradapter, wenn der Stecker nicht in die Netzsteckdose passt. Bestimmungsgemäßer Gebrauch Dieses Gerät dient zum • Dem Zubereiten von Kaffee Es ist ausschließlich für diesen Zweck bestimmt und darf nur zu diesem Zweck verwendet werden. Es darf nur in der Art und Weise benutzt werden, wie es in dieser Gebrauchsanleitung beschrieben ist.
  • Seite 4 Bedienelemente 1. Deckel 2. Wasseraustritt 3. Wasserbehälter; 4. Wasserstandsanzeige 5. Gehäuse 6. Stromkabel 7. Kanne 8. Armatur 9. Frontabdeckung 10. Filterbehälter Erste Inbetriebnahme Sie zunächst zwei- bis dreimal Waser ohne Kaffee auf.Schalten Sie das Gerät zwischen den Brühvorgängen 5 Minuten ab. Reparaturen • Reparaturen am Gerät sollten nur von einer autorisierten Fachwerkstatt durchgeführt werden. •...
  • Seite 5: Technische Eigenschaften

    Beachten Sie: Die Gewährleistung verfällt bei Fremdeingriffen in das Gerät. Gerätenutzung Kaffee zubereiten • Öffnen Sie den Deckel und befallen Sie den Wasserbehäter mit klarem Wasser. Befüllen Sie den Tank nicht niedriger als die Min-Marke oder mehr als die Max-Marke auf der Wasserstandsanzeige. • Setzen Sie einen Papierfilter der Größe “1X4” in den Filterbehälter und füllen Sie die gewünschte Menge Kaffee ein. • Drücken Sie die „On/Off“-Taste. Der Brühvorgang startet. • Der Brühvorgang endet automatisch, wenn das Wasser komplett durch den Filter gelaufen ist. Uhrzeit einstellen •...
  • Seite 6: Description Of Parts

    Description of parts 1.Top Cover 2.Shower Head 3.Water Tank 4.Water Window 5.Body 6.Power Cord 7.Carafe Assy 8.Button & Lens 9.Cosmetic Sheet 10.Funnel Assy. Important safety notice ● Before connecting the appliance, please check if the voltage indicated on the appliance corresponds with the main voltage in your home.
  • Seite 7: General Use

    General use Making coffee ● Fill the water tank with the required quantity of water. Ensure that the water level is not lower than the minimum mark and not higher than indication “MAX”. Use fresh, cold water only. The number of cups can be read on the water tank. ● Insert filter paper size “1X4” if the filter hasn’t been used and fill in the desired quantity of ground coffee. ● Switch on the appliance. Wait until the brewing process is finished and the funnel has run empty. ● For large cups: takes 5-6g of ground coffee each cup. Making more coffee straight away? If you have made one cup of coffee and wish to make some more straight away, please switch off the coffee maker and allow at least 5 minutes for it to cool down. Then you can refill the water tank. Clean ● Always remove the main plug from the wall socket before cleaning the appliance. ● Never immerse the appliance in water. ● You should clean it with a damp cloth. ● The carafe and the filter and the funnel can be washed in hot soapy water. Descalling ● Descale your coffee maker regularly.
  • Seite 8 2. Key-press Instructions (1) ON/0FF Key-press: The key-press can change the machine from working to stopping or stopping to working, just like this: on——off——on——off----; (2) DELAY Key-press: precontract heating; cancel clean awake and return to zero. (3) Precontract(SET) Key-pressIt’s only when be combined to “H”,“MIN” does the booking time effective;...
  • Seite 9 (8) Press “SET”on DELAY state, you can look over the precontract time. (9) When cut off the power supply, the machine will memorize the last operate functions automatically in ten secends. 5.Protect functions When the machine is on for one hour but no key-press operations occurs, it turn off automatically to protect and the screen shows the time. 6.Setting time (1) Time displays in a 24-hour cycle. (2) Except boot-strap and precontract state,you can press “H” “MIN”to adjust the time. (3) Press “H”once , it adds 1h;Press“MIN”once ,it adds 1 minute,long press “H”or “MIN”, it will adds all the time rapidly in 2~3s. (4) Don’t set time but press “DELAY” directly ,the precontract time will affirm as 00:00. (5) When precontract time is the same as the current time, if press “DELAY”, precontract time will be delayed to the next day.(Namely the machine will beginning heating at the same time next day) CHAL-TEC Vertriebs- + Handels GmbH;...

Inhaltsverzeichnis