Fronius TS 4000 Installationsanleitung
Vorschau ausblenden
Andere Handbücher für TS 4000:
- Benutzerinformation (136 Seiten) ,
- Bedienungsanleitung (192 Seiten) ,
- Installationsanleitung (20 Seiten)
Verfügbare Sprachen
Verfügbare Sprachen
Quicklinks
/ Perfect Charging /
Perfect Welding
Zweite Massebuchse hinten,
TS 4000 / 5000, TPS 4000 / 5000
Second earthing socket at rear,
TS 4000 / 5000, TPS 4000 / 5000
Deuxième douille de masse arrière,
TS 4000 / 5000, TPS 4000 / 5000
42,0410,0864
Fronius prints on elemental chlorine free paper (ECF) sourced from certified sustainable forests (FSC).
/ Solar Energy
003-07102019
Installationsanleitung
Systemerweiterung
Installations instructions
System extension
Instructions d'installation
Extension système

Verwandte Anleitungen für Fronius TS 4000


Inhaltszusammenfassung für Fronius TS 4000
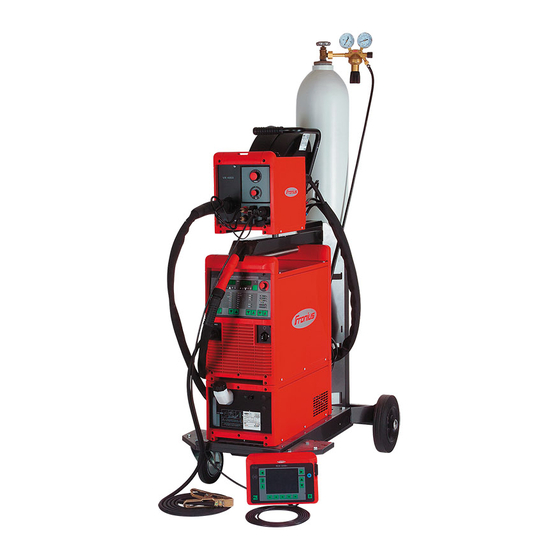
- Seite 1 TS 4000 / 5000, TPS 4000 / 5000 System extension Instructions d'installation Deuxième douille de masse arrière, TS 4000 / 5000, TPS 4000 / 5000 Extension système 42,0410,0864 003-07102019 Fronius prints on elemental chlorine free paper (ECF) sourced from certified sustainable forests (FSC).
- Seite 3 Einbauanleitung für Einbauset Zweite Massebuchse hinten Bauteile Das Einbauset Zweite Massebuchse hinten (4,100,361) besteht aus folgenden Bauteilen:. 1 x Strombuchse EB 70 mm² 34,0001,0929 1 x Isoscheibe 42,0300,1109 1 x Flachmutter M24 x 1,5, SW32 42,04000,0039 1 x Sechskantschraube M12 x 20 42,0401,0206 1 x Scheibe A13 42,0399,0183...
-
Seite 4: Vorbereitende Tä- Tigkeiten
WARNUNG! Ein elektrischer Schlag kann tödlich sein. Vor Beginn der Arbeiten ► Netzschalter der Stromquelle in Stellung - O - schalten ► Stromquelle vom Netz trennen ► sicherstellen, dass die Stromquelle bis zum Abschluss aller Arbeiten vom Netz ge- trennt bleibt ►... - Seite 5 Vordere (-) Strombuchse entfernen: Sechskantschraube (c) mittels Gabelschlüssel SW19 lockern Sechskantschraube entfernen mit der Schraube zu entfernen: Tellerfeder Buchsenstern bestehendes Stromkabel Sechskantschraube SW19 entfernen Sechskantmutter (d) mittels Umschalt- knarree und Steckschlüsseleinsatz SW32 lockern Sechskantmutter entfernen Isoscheibe entfernen Vordere (-) Strombuchse nach vorne herausziehen Sechskantmutter SW32 entfernen Strombuchsen-Abdeckkappen (9)
- Seite 6 Zweite Massen- Hintere (-) Strombuchse (1) mit Strom- buchse hinten buchsen-Abdeckung (9) montieren: montieren Hintere (-) Strombuchse (1) von außen nach innen einsetzen. Isoscheibe aufsetzen (1+9) Sechskantmutter aufschrauben Sechskantmutter mittels Drehmo- mentschlüssel SW32 festziehen Drehmoment 35 Nm WICHTIG! Die Ausnehmung der Strom- buchse muß...
- Seite 7 Kabel an der hinteren Strombuchse anschließen: Tellerfeder (6) über Sechskant- schraube (4) geben Gehäuse Scheibe A13 (5) über Sechskant- schraube (4) geben Kabelschuh von Kabel (8) über Sechskantschraube (4) geben Sechskantschraube (4) in Strom- buchse (1) einschrauben Sechskantschraube (4) mittels Drehmomentschlüssel SW19 fest- ziehen Drehmoment 15 - 35 Nm...
- Seite 20 FRONIUS INTERNATIONAL GMBH Froniusstraße 1, A-4643 Pettenbach, Austria E-Mail: sales@fronius.com www.fronius.com Under www.fronius.com/contact you will find the addresses of all Fronius Sales & Service Partners and locations...