RICOO N0811 Montageanleitung
Wandhalterung für tv / monitor
Verfügbare Sprachen
Verfügbare Sprachen
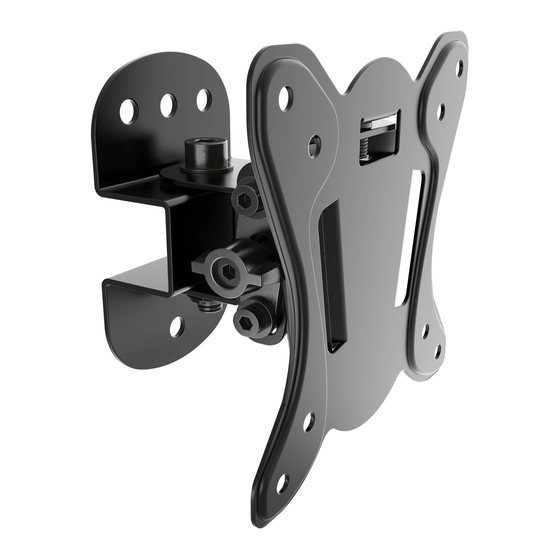
Wandhalterung für TV / Monitor
Bitte überprüfen Sie VOR der Montage den Lochabstand zwischen den VESA Befestigungslöchern an Ihrem
!
Bildschirm!
Diese Wandhalterung unterstützt folgende Lochabstände:
Horizontal / Waagerecht
Vertikal / Senkrecht
N0811
VESA-Befestigungslöcher
Vertikal /
Senkrecht
Horizontal / Waagerecht
75mm, 100mm
75mm, 100mm
75x75
100x100
MONTAGEANLEITUNG
ACHTUNG: NIEMALS DAS MAXIMAL
ZULÄSSIGE BELASTUNGSGEWICHT
ÜBERSCHREITEN. MISSACHTUNG
KANN ZU SACHSCHÄDEN ODER
SCHWEREN VERLETZUNGEN FÜHREN!
Bildschirm Rückseite
25kg
(55lbs)
MAX
Deutsch
v.16.12
English

Verwandte Anleitungen für RICOO N0811


Inhaltszusammenfassung für RICOO N0811
- Seite 1 Bitte überprüfen Sie VOR der Montage den Lochabstand zwischen den VESA Befestigungslöchern an Ihrem Bildschirm! VESA-Befestigungslöcher Vertikal / Senkrecht Horizontal / Waagerecht Bildschirm Rückseite Diese Wandhalterung unterstützt folgende Lochabstände: 75mm, 100mm Horizontal / Waagerecht 75mm, 100mm Vertikal / Senkrecht 25kg N0811 (55lbs) 75x75 100x100 Deutsch English...
- Seite 2 ACHTUNG: Lesen Sie die gesamte Bedienungsanleitung durch, bevor Sie mit der Montage beginnen. WARNUNG • Beginnen Sie nicht mit der Montage, bis Sie alle Anweisungen und Warnungen, welche in dieser Montageanleitung vorhanden sind, durchgelesen und verstanden haben. Wenn Sie Fragen zu den Anweisungen oder Warnungen haben, kontaktieren Sie bitte Ihren Händler.
-
Seite 3: Lieferumfang
Lieferumfang WICHTIG: Stellen Sie vor der Montage sicher, dass alle Teile welche hier aufgeführt sind, bei der Lieferung dabei sind. Sollten Teile fehlen oder defekt sein, kontaktieren Sie Ihren Händler. Inbusschlüssel (x1) Grundgerüst (x1) Paket M M4x14 (x4) M5x14 (x4) D5 Unterlegscheibe (x4) Paket W (x3) - Seite 4 Schritt 1 Deutsch English...
- Seite 5 Schritt 2a 55mm (2,2") ø 4,5mm (ø 3/16”) Holzbalken mit Balkenfinder finden und die Montagelöcher markieren. Montagelöcher bohren. √ Wandplatte an die Wand anschrauben. WARNUNG • Stellen Sie sicher, dass die Befestigungsschrauben in der Mitte der Balken verankert sind. Die Verwendung eines Balkenfinders wird dringend empfohlen.
- Seite 6 Schritt 2b 60mm (2.4") ø 10mm (ø 3/8") Achtung: Mitgelieferte Dübel sind nur für Massivbeton- wände geeignet! Montagelöcher markieren. Montagelöcher bohren. √ Wandplatte an die Wand anschrauben. WARNUNG Installateure müssen sicher stellen, dass die Anbaufläche das Gesamtgewicht von diesem Produkt inkl. aller angeschlossener Komponente sicher tragen kann.
- Seite 7 Schritt 3 · Wählen Sie die zu Ihrem TV passenden Schrauben. · Montieren Sie die Frontplatte am Display. · Fixieren Sie die Frontplatte mit Hilfe von den dazugehörigen Schrauben. Ziehen Sie alle Schrauben nach. ACHTUNG: Nicht überziehen! Deutsch English...
- Seite 8 Schritt 4 Schritt 5 Fertig Deutsch English...
- Seite 16 Step 4 Step 5 Done English Deutsch...