Herunterladen Diese Seite drucken

Werbung

Verfügbare Sprachen

Verfügbare Sprachen

OMBOUWINSTRUCTIES
INSTRUCTIONS DE CONVERSION
UMBAUINSTRUKTIONEN
CONVERSION INSTRUCTIONS
DECO
ODEON
OPERA
BASTILLE
ELYSEE
NL FR DE GB
DRU VERWARMING B.V.
HOLLAND
957.394.07

Werbung

loading

Inhaltszusammenfassung für Dru DECO

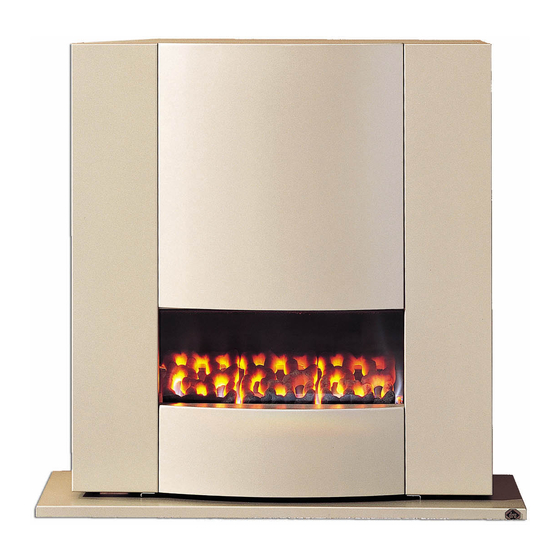
  • Seite 1 OMBOUWINSTRUCTIES INSTRUCTIONS DE CONVERSION UMBAUINSTRUKTIONEN CONVERSION INSTRUCTIONS DECO ODEON OPERA BASTILLE ELYSEE NL FR DE GB DRU VERWARMING B.V. HOLLAND 957.394.07...
  • Seite 2 Europese richtlijn inzake gasttoestellen 90/396/EEC. DRU Verwarming BV déclare que les appareils (comme indiqués au verso de ces instructions) modifiés conformément à ces instructions satisfont à la directive européenne relative aux appareils à...
  • Seite 3 Wanneer de rechterkant van het toe- verwijder het waakvlamspuitstuk. stel moeilijk bereikbaar is: Plaats nieuw waakvlamspuitstuk en draai de waakvlamwartel van de 3. Ontkoppel de gastoevoerleiding. waakvlamleiding stevig aan. 4. Haal het toestel van de wand. Fig. 1 DECO DVS-2...
  • Seite 4 OMBOUWINSTRUCTIES 2. Hoofdbranderspuitstuk De druk wordt ingesteld met de Draai de wartel rond het spuitstuk schroef naast het kleinstelspuitstuk. los. Draai ook de wartel in het gas- Om de druk te verhogen draait men regelblok enkele slagen los.Trek ver- linksom, om te verlagen rechtsom. volgens de toevoergasbuis uit het Ontsteek de waakvlam.
  • Seite 5: Instructions De Conversion

    Dévissez complètement l’écrou de chauffage. fixation de la veilleuse situé à l’ex- trémité de la conduite d’alimenta- Si le flanc droit de l’appareil de tion de celle-ci, dégagez la conduite chauffage s’avère d’un accès difficile : Fig. 1 DECO DVS-2...
  • Seite 6 INSTRUCTIONS DE CONVERSION d’alimentation de la veilleuse et son 4. Réglage de la pression tonnelet du brûleur de la veilleuse d’alimentation du brûleur et déposez l’injecteur de la veilleuse. (Fig. 1) Montez le nouvel injecteur de la Raccordez de nouveau la conduite veilleuse, remontez la conduite d’ali- d’alimentation de gaz à...
  • Seite 7 Wenn die rechte Seite des Gerätes setzen Sie die neue Düse ein und schwer zugänglich ist: ziehen Sie die Muffe der Zündflammenleitung fest an. 3. Koppeln Sie die Gaszuleitung ab. 4. Demontieren Sie das Gerät von der Wand. Abb. 1 DECO DVS-2...
  • Seite 8 UMBAUINSTRUKTIONEN 2. Hauptbrennerdüse Entzünden Sie die Zündflamme. Lösen Sie die Muffe um die Düse. Stellen Sie den Thermostat in die Lösen Sie auch die Muffe im Maximalstellung und stellen Sie den Gasarmatur mit einigen Brennerdruck gemäß der Tabelle Umdrehungen. Ziehen Sie dann die (pag.
  • Seite 9: Conversion Instructions

    If the right-hand side of the appliance is not easily accessible: 2. Main jet Unscrew the coupling nut around 3. Disconnect the gas supply the jet. Unscrew the coupling nut 4. Pull the heater away from the wall. Fig. 1 DECO DVS-2...
  • Seite 10 CONVERSION INSTRUCTIONS in the gas control block a few turns Ignite the pilot light. Adjust the as well. Now pull the gas pipe out thermostat to the highest setting of the jet and turn it away from the and adjust the burner pressure jet.
  • Seite 11 TECHNISCHE GEGEVENS, DONNÉES TECHNIQUES, TECHNISCHEN DATEN,TECHNICAL DATA DECO DVS-2...

Diese Anleitung auch für:

OdeonOperaBastilleElysee