Focusrite OctoPre LE Bedienungsanleitung
Inhaltsverzeichnis
Verfügbare Sprachen
Verfügbare Sprachen
CONTENTS
CONTENTS ........................................................................................................... 1
IMPORTANT SAFETY INSTRUCTIONS........................................................... 1
INTRODUCTION................................................................................................. 2
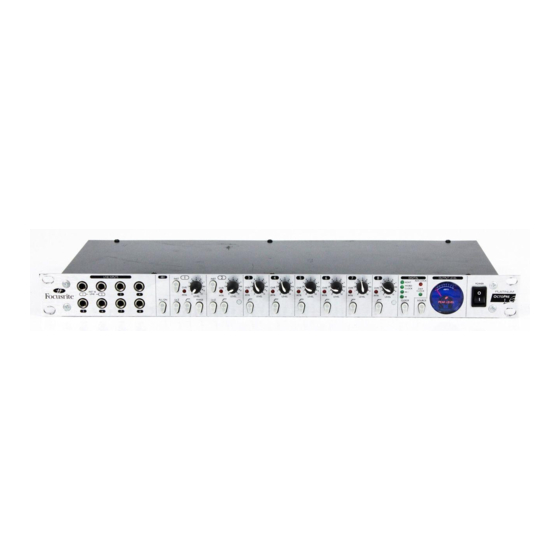
REAR PANEL CONNECTIONS.......................................................................... 2
GETTING STARTED - A QUICK GUIDE .......................................................... 3
FACILITIES AND CONTROLS............................................................................ 3
DIGITAL CONVERTER OPTIONS..................................................................... 4
OPTIONAL DIGITAL CONVERTER FRONT PANEL CONTROLS............... 5
SWITCHES............................................................................................................. 5
FREQUENTLY ASKED QUESTIONS ................................................................. 6
TROUBLESHOOTING ......................................................................................... 6
CONTACTING US ................................................................................................ 6
IMPORTANT SAFETY INSTRUCTIONS
Please read all of these instructions and save them for future reference. Follow all
warnings and instructions marked on the unit.
•
Do not obstruct air vents in the rear panel. Do not insert objects through any
apertures.
•
Do not use a damaged or frayed power cord.
•
Unplug the unit before cleaning. Clean with a damp cloth only. Do not spill liquid
on the unit.
•
Ensure adequate airflow around the unit to prevent overheating. We recommend
leaving a blank 1U panel above the unit to aid ventilation.
•
Unplug the unit and refer servicing to qualified service personnel under the
following conditions: If the power cord or plug is damaged; if liquid has entered
the unit; if the unit has been dropped or the case damaged; if the unit does not
operate normally or exhibits a distinct change in performance. Adjust only those
controls that are covered by the operating instructions.
•
Do not defeat the safety purpose of the polarised or grounding-type plug. A
polarised plug has two blades with one wider than the other. A grounding type
plug has two blades and a third grounding prong. The wider blade or the third
prong is provided for your safety. When the plug provided does not fit into your
outlet, consult an electrician for replacement of the obsolete outlet.
WARNING: THIS UNIT MUST BE EARTHED BY THE POWER CORD.
UNDER NO CIRCUMSTANCES SHOULD THE MAINS EARTH BE
DISCONNECTED FROM THE MAINS LEAD.
This unit is supplied with an external power supply dependant on the region in which
the OctoPre LE is purchased. To avoid the risk of fire, replace the mains fuse only
with the correct value fuse, as marked on the plug. The external power supply unit
contains no user serviceable parts. Refer all servicing to a qualified service engineer,
through the appropriate Focusrite dealer.
RACK VENTILATION: PLEASE ENSURE THE OCTOPRE LE IS PLACED
TOWARDS THE BOTTOM OF YOUR EQUIPMENT RACK, WITH
SUFFICIENT SPACE ABOVE AND BELOW FOR VENTILATION.
ENGLISH
1
Kapitel
Inhaltsverzeichnis
Fehlerbehebung

Verwandte Anleitungen für Focusrite OctoPre LE


Inhaltszusammenfassung für Focusrite OctoPre LE
-
Seite 7: Inhalt
Um das Risiko eines Feuers zu vermeiden, benutzen/ersetzen Sie die Sicherung nur entsprechend der aufgedruckten Werte. Das externe Netzteil enthält keine wartbaren Teile. Wickeln Sie alle Servicefälle über qualifizierte Techniker Ihres Focusrite-Händlers ab. RACK BELÜFTUNG: BITTE STELLEN SIE SICHER, DASS DER OCTOPRE-LE AN UNTERSTEM PLATZ IHRES EQUIPMENT RACKS VERWENDET WIRD, MIT GENÜGEND PLATZ ÜBER UND UNTER... -
Seite 8: Einführung
Ebenso wird der OctoPre LE als kompaktes Mobilrecording Setup (z.B. mit Klangfärbung zu gewährleisten. LapTop oder ADAT™) oder als Erweiterung professioneller hochwertiger Mic-Pres für analoge oder digitale Mixer oder Hard-Disc-Recorder eingesetzt. RÜCKSEITIGE ANSCHLÜSSE Der OctoPre LE besitzt rückseitig acht XLR Mikrofon Eingänge sowie acht symmetrische 6,3 mm Klinken Line Ausgänge. -
Seite 9: Kurzübersicht
Sound nahekommen. Beachten Sie, daß Veränderungen der Mikroposition Pegelunterschiede am Eingang des OctoPre LE bewirken kann, regeln 1. Vergewissern Sie sich, dass nur die Stromzufuhr an den OctoPre LE angeschlossen Sie entsprechend nach. ist, dann schalten Sie das Gerät mittels des Power-Schalters rechts auf der Front ein. Falls die Audioausgänge Ihres Gerätes permanent z.B. -
Seite 10: Digital-Wandler Optionen
Mit aktiviertem INST Schalter (Kanal 1 & 2) und angeschlossenem Instrument an der Front steht eine Verstärkung von +14 dB bis +60 dB zur Verfügung. Zusätzlich zu den analogen Ausgängen kann der OctoPre LE optional mit A/D- und D/A-Wandlern (CODEC) ausgestattet werden. Dadurch wird eine hochwertige A/D- (Schalter) Wandlung direkt im Gerät vor den Übertragungswegen zu DAWs (Interface oder... -
Seite 11: Bedienfunktionen Des Optionalen Digitalwandlers
(Eingang auf der Rückseite). Die grüne LED zeigt die gewählte Quelle OctoPre LE als Master Clock für weitere angeschlossene Digitalgeräte (Slave) fungieren zu lassen. Wenn der OctoPre LE zu einer externe WC Quelle synchronisiert ist und die ADC Lock LED leuchtet, gibt dieser Ausgang die Frequenz, die auf der Front ADC LOCK (LED) angezeigt wird aus (44.1kHz, 48kHz oder 256x), um weiter Geräte zu synchronisieren. -
Seite 12: Faq - Häufige Fragen
• Ist das nachfolgende Gerät auf die richtige Sample Rate eingestellt (44.1 oder OctoPre LE wird in der Region, in der Sie ihn gekauft haben, passen. Wenn die 48kHz)? Netzversorgung ihres Zielortes gleich ist, können Sie den OctoPre LE verwenden. Für •...