ZENEC Z-E3776 Montageanleitung

Verwandte Anleitungen für ZENEC Z-E3776


Inhaltszusammenfassung für ZENEC Z-E3776
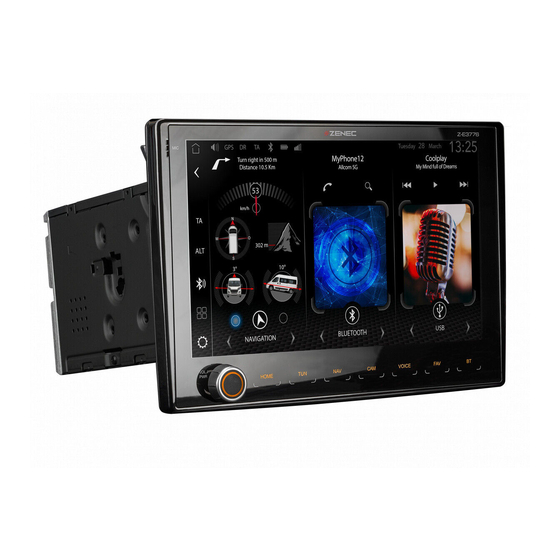
- Seite 1 MONTAGEANLEITUNG Z- E 3 7 7 6 N -X F D U C 8 Car Specific Infotainer Z-E3776 For Fiat Ducato Serie 8 / 9 with mounting frame N-XFDUC8 Fahrzeugspezifischer Infotainer Z-E3776 Für Fiat Ducato Serie 8 / 9 mit Montagerahmen N-XFDUC8...
-
Seite 2: Lieferumfang
Unsachgemässe Handlungen können zu Schäden am Fahrzeug und am ZENEC-System führen. HINWEISE Der Z-E3776 ist ab Werk für eine direkte Nutzung im Fiat Ducato III Serie 8 und 9 voreingestellt. Die Einstellungen für die Lenkradfernbedienung und die Tastenbeleuchtung können für andere Fahrzeugmodelle im Setup-Menü angepasst werden. -
Seite 3: Tools Required
NOTE The Z-E3776 is set up for direct use in the Fiat Ducato III, Series 8 and 9 ex works. The settings for the steering wheel remote control and button illumination can be adjusted for other vehicle models in the setup menu. - Seite 4 4 pcs. M5 x 6mm screws. Schrauben. Der Montagerahmen N-XFDUC8 The mounting frame N-XFDUC8 is wird direkt von hinten auf die pushed onto the Z-E3776 device via Haupteinheit des Gerätes its back end. geschoben. Der Rahmen wird seitlich mit...
- Seite 5 Umschal- be connected to the reverse connecti- tung das Rückfahrsignal vom Fahrzeug on of the ZENEC system for automatic mit dem Reverse Anschluss des switching. ZENEC Systems verbunden werden.
- Seite 6 Verbinden Sie das Hauptanschluss- Connect the main cable (No. 12) of kabel (Nr. 12) des ZENEC-Systems the ZENEC system to the ISO plug mit den ISO-Steckern (Abb. 8) des connectors (illu. 8) of the vehicle. Fahrzeugs. Connect all other cables in the radio Verbinden Sie alle weiteren in den slot incl.
- Seite 7 Befestigen Sie den Montagerahmen Fasten the mounting frame with mit den 4 original Torxschrauben. the original 4 pcs Torx screws. Setzen die Lüftungseinlässe wieder ein. Insert back the ventilation outlets.
- Seite 8 Make sure that the vehicle is outside, and that the GPS reception is not adversely affected by any shadowing (trees, high buildings etc.). Insert the seperately purchased navigation software SD card supplied into the SD card slot of the ZENEC system, and start it in order to establish a sat fix. Make sure that the vehicle is not moved until the sat fix is established.
-
Seite 9: Anschluss-Diagramm / Connection Diagram
SWITCHED 12V SUPPLY NEGATIVE Speaker Rear Left (+) (reserved Schaudt) Input LIN-Bus SWC Connection Cable Analog SWC Connector LIN-BUS Out Multiview Connection Cable Mview Data Mview Power Mview CVBS Out ZENEC Bohrturmweg 1 CH-5330 Bad Zurzach Schweiz/Switzerland Mail: support@zenec.com www.zenec.com... - Seite 10 ZENEC by ACR AG · Bohrturmweg 1 · Bad Zurzach · Switzerland · www.zenec.com...