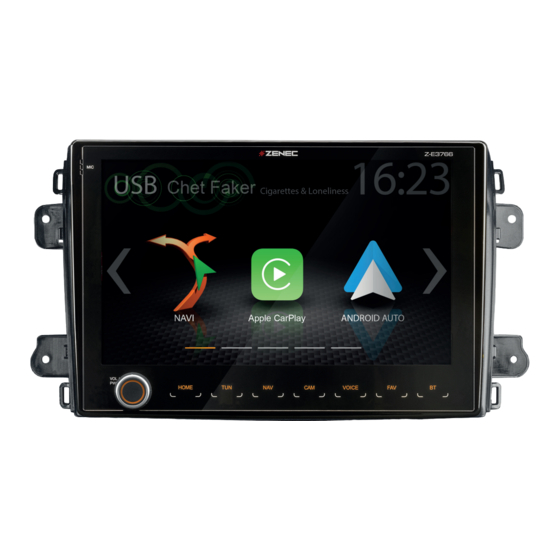
ZENEC Z-E3766 Montageanleitung
Fahrzeugspezifischer infotainer/für fiat ducato serie 8 mit montagerahmen
Vorschau ausblenden
Andere Handbücher für Z-E3766:
- Bedienungsanleitung (44 Seiten) ,
- Montageanleitung (6 Seiten)

Verwandte Anleitungen für ZENEC Z-E3766


Inhaltszusammenfassung für ZENEC Z-E3766
- Seite 1 MOUNTING INSTRUCTION MONTAGEANLEITUNG Z -E 37 66 N - XF DU C8 Car Specific Infotainer Z-E3766 For Fiat Ducato Serie 8 with mounting frame N-XFDUC8 Fahrzeugspezifischer Infotainer Z-E3766 Für Fiat Ducato Serie 8 mit Montagerahmen N-XFDUC8...
-
Seite 2: Lieferumfang
Schäden am Fahrzeug und am ZENEC-System führen. HINWEIS Für die direkte Montage muss das Zielfahrzeug mit Radiovorbereitung ab Werk ausgestattet sein. Das ZENEC-System ist nicht kompatibel mit Fahrzeugen, die ab Werk mit dem OE Radiogerät oder OE Navigationssystem ausgestattet sind. -
Seite 3: Tools Required
Please contact the relevant motorhome manufacturer. The ZENEC system is equipped with an integrated DAB+ twin-tuner receiver. To make use of this you will need a suitable DAB antenna (not included in kit) that must be connected to the ZENEC system. - Seite 4 DEMONTAGE UND VORBEREITUNG: REMOVAL WORK AND PREPARATION: Montagerahmen N-XFDUC8 mit Mounting frame N-XFDUC8 with beiliegenden 4 Stk. M5 x6 mm enclosed 4 pcs. M5 x 6mm screws. Schrauben. Der Montagerahmen N-XFDUC8 The mounting frame N-XFDUC8 is wird direkt von hinten auf die pushed onto the X-F270 device via Haupteinheit des Gerätes its back end.
- Seite 5 Connect all cables previously routed Radioschacht verlegten Kabel und into the radio slot and the original das originale Antennenkabel mit antenna cable to the ZENEC system. dem ZENEC-System. Ggfls. werden Additional antenna adapters, zusätzlich Antennenadapter, Radio- radioswitch etc. may be required.
- Seite 6 „N-XFDUC8-SWC1“ angebunden. Verbinden Sie das Hauptanschluss- Connect the main cable (No. 10) of kabel (Nr. 10) des ZENEC-Systems the ZENEC system to the ISO plug mit den ISO-Steckern (Abb. 4) des connectors (illu. 4) of the vehicle. Fahrzeuges. Beim Einsatz einer Rückfahrkamera When using a reversing camera muss für die automatische...
- Seite 7 Befestigen Sie den Montagerahmen Fasten the mounting frame with the mit den 4 original Torxschrauben. original 4 pcs Torx screws. Setzen die Lüftungseinlässe wieder ein. Insert back the ventilation outlets.
-
Seite 8: Electrical Characteristics
Make sure that the vehicle is outside, and that the GPS reception is not adversely affected by any shadowing (trees, high buildings etc.). Insert the seperately purchased navigation software SD card supplied into the SD card slot of the ZENEC system, and start it in order to establish a sat fix. Make sure that the vehicle is not moved until the sat fix is established. -
Seite 9: Connection Diagram
Loudspeaker front left (+) Loudspeaker rear left (-) Loudspeaker rear left (-) Loudspeaker front left (-) Loudspeaker rear left (+) *300mA max. (reserved Schaudt) Input No 13 / Nr. 13 ZENEC Bohrturmweg 1 CH-5330 Bad Zurzach Schweiz/Switzerland Mail: support@zenec.com www.zenec.com... - Seite 10 ZENEC by ACR AG · Bohrturmweg 1 · Bad Zurzach · Switzerland · www.zenec.com...