Jaga BRIZA 22 Handbuch
Vorschau ausblenden
Andere Handbücher für BRIZA 22:
- Installationhinweis (92 Seiten) ,
- Bedienungsanleitung (84 Seiten) ,
- Anleitung (76 Seiten)
Inhaltsverzeichnis
Verfügbare Sprachen
Verfügbare Sprachen
Quicklinks
Inhaltsverzeichnis

Verwandte Anleitungen für Jaga BRIZA 22


Inhaltszusammenfassung für Jaga BRIZA 22
- Seite 1 BRIZA 22 BEKLEDING HABILLAGE VERKLEIDUNG CASING...
-
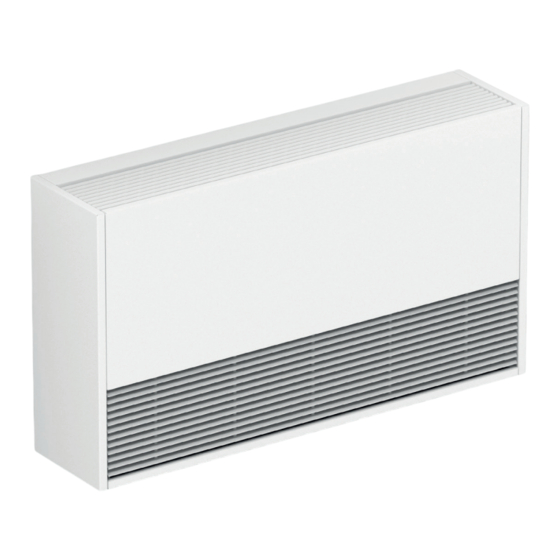
Seite 15: Wandmodell
Stellen Sie sicher, dass die Wand / Decke flach ist und eine ausreichende Tragfähigkeit aufweist! Ab Modell 06: 2 zusätzliche Bohrlöcher! Ab Modell 06: 2 zusätzliche Bohrlöcher! JAGA N.V. | BRIZA 22 - VERKLEIDUNG | ANLEITUNG | 2021.02.04 | V.02... - Seite 16 2. Befestigen Sie das Gehäuse, indem Sie die Stützschrauben festziehen. Legen Sie das Rost ein. Drehen Sie die Schrauben in die Befesti- gungslöcher. Die Luft wird am besten zur Wand geblasen. JAGA N.V. | BRIZA 22 - VERKLEIDUNG | ANLEITUNG | 2021.02.04 | V.02...
-
Seite 17: Deckenmodell A
Stellen Sie sicher, dass die Wand / Decke flach ist und eine ausreichende Tragfähigkeit aufweist! Ab Modell 06: 2 zusätzliche Bohrlöcher! Ab Modell 06: 2 zusätzliche Bohrlöcher! JAGA N.V. | BRIZA 22 - VERKLEIDUNG | ANLEITUNG | 2021.02.04 | V.02... - Seite 18 Legen Sie das Rost ein. Drehen Sie die Schrauben in die Befesti- Deckenmodell: mittlere Schraube einsetzen und festziehen! gungslöcher. Die Luft wird am besten in den Raum geblasen. JAGA N.V. | BRIZA 22 - VERKLEIDUNG | ANLEITUNG | 2021.02.04 | V.02...
-
Seite 19: Deckenmodell B
Stellen Sie sicher, dass die Wand / Decke flach ist und eine ausreichende Tragfähigkeit aufweist! Ab Modell 06: 2 zusätzliche Bohrlöcher! Ab Modell 06: 2 zusätzliche Bohrlöcher! JAGA N.V. | BRIZA 22 - VERKLEIDUNG | ANLEITUNG | 2021.02.04 | V.02... - Seite 20 Legen Sie das Rost ein. Drehen Sie die Schrauben in die Befesti- Deckenmodell: mittlere Schraube einsetzen und festziehen! gungslöcher. Die Luft wird am besten in den Raum geblasen. JAGA N.V. | BRIZA 22 - VERKLEIDUNG | ANLEITUNG | 2021.02.04 | V.02...
- Seite 27 NOTES JAGA N.V. | BRIZA 22 - CASING | MANUAL | 2021.02.04 | V.02...