dallmeier Panomera Installationsanforderungen
Quicklinks
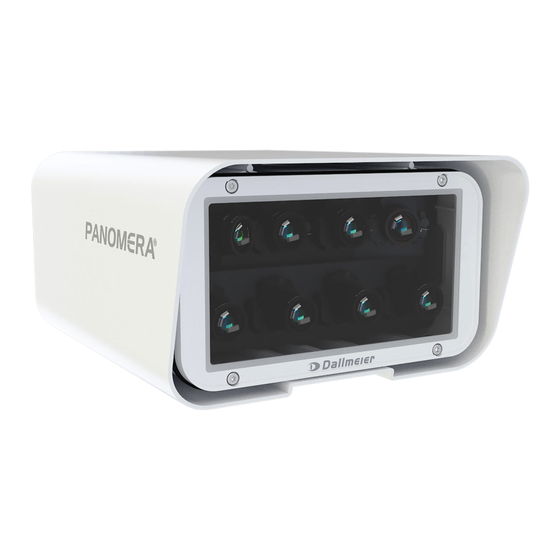
Installationsanforderungen / Installation Requirements
❶
Installationshöhe (I
I
h
❷
Verbindung & Login / Connection & Login
Die ab Werk standardmäßig eingestellte IP-Adresse des Panomera® Master-Moduls (Übersichtsmodul) ist: 192.168.2.31
Die IP-Adressen der Slave-Module (Detailmodule) unterscheiden sich lediglich im letzten Oktett (192.168.2.x) und
werden automatisch zugewiesen (schrittweise erhöht um 1).
Das ab Werk standardmäßig eingestellte Admin-Passwort ist: 3
The factory default IP address of the Panomera® master module (overview module) is: 192.168.2.31
The IP addresses of the slave modules (detail modules) differ only in the last octet (192.168.2.x) and are automatically
assigned (incrementally increased by 1).
The factory default admin password is: 3
Mithilfe der F1-Taste auf Ihrer Tastatur haben Sie die Möglichkeit, das Gitternetz der einzelnen Kameramodule
(Zonen der jeweiligen Einzel-Streams) in SMAVIA Viewing Client einzublenden (zum Ausblenden die F2-Taste drücken).
Using the F1 key on your keyboard, you have the option to display the grid of the individual camera modules
(zones of the respective individual streams) in SMAVIA Viewing Client (press the F2 key to hide the module grid again).
❸
Neigungswinkel ( ) / Tilt Angle ( )
Transition distance (T
Transition distance (T
)
d
) / Installation Height (I
h
)
d
www.dallmeier.com
)
h
Montieren Sie Ihre Panomera® in der empfohlenen Installationshöhe (I
Die empfohlene Installationshöhe (I
blatt zu Ihrer Panomera®.
Mount your Panomera® at the recommended installation height (I
The recommended installation height (I
product data sheet of your Panomera®.
1. Legen Sie ein gut sichtbares Objekt als Einstellhilfe in der empfohlenen
Entfernung (optimale Transition distance T
den Boden.
2. Öffnen Sie die WebConfig-Benutzeroberfläche (Live-View-Modus)
eines Kameramoduls der obersten Panomera®-Modulreihe.
3. Neigen Sie Ihre Panomera® bis das Hilfsobjekt am Boden die untere
Bildkante des angezeigten Kameramoduls berührt.
Den empfohlenen Panomera®-Neigungswinkel ( ) und die optimale
Transition distance (T
) finden Sie im Produktdatenblatt zu Ihrer
d
Panomera®.
1. Place a clearly visible object as an adjustment aid on the ground at the
recommended distance (optimum Transition distance T
Panomera®.
2. Open the WebConfig user interface (Live View mode) of a camera
module from the top Panomera® module row.
3. Tilt your Panomera® until the object on the ground touches the bottom
image edge of the displayed camera module.
The recommended Panomera® tilt angle ( ) and the optimum
Transition distance (T
) can be found in the product data sheet of
d
your Panomera®.
).
h
) finden Sie im Produktdaten-
h
).
h
) can be found in the
h
.32
.33
.34
.35
.36
.37
192.168.2.31
Beispiel Master/Slave-Modulanordnung
Example master/slave module arrangement
) zu Ihrer Panomera® auf
d
) from your
d

Verwandte Anleitungen für dallmeier Panomera


Inhaltszusammenfassung für dallmeier Panomera
- Seite 1 Das ab Werk standardmäßig eingestellte Admin-Passwort ist: 3 The factory default IP address of the Panomera® master module (overview module) is: 192.168.2.31 The IP addresses of the slave modules (detail modules) differ only in the last octet (192.168.2.x) and are automatically assigned (incrementally increased by 1).
- Seite 2 Nutzen Sie dazu den Dialog „Objektivsteuerung“ in der WebConfig-Benutzeroberfläche des jeweiligen Panomera®-Kameramoduls. Set the optimum focus for each Panomera® camera module. To do so, use the “Lens Control” dialog in the WebConfig user interface of the respective Panomera® camera module. ❺...