V2 STARK3 Bedienungsanleitung
Nicht umkehrbarer elektromechanischer antrieb für flügeltore
Inhaltsverzeichnis
Verfügbare Sprachen
Verfügbare Sprachen
Quicklinks
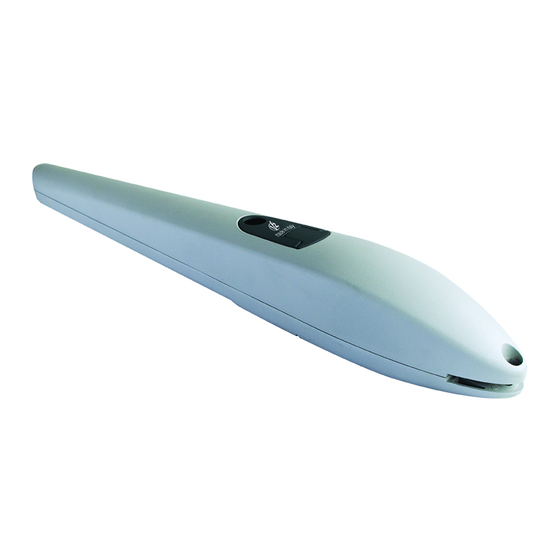
STARK3
I
ATTUATORE
ELETTROMECCANICO
IRREVERSIBILE PER CANCELLI
A BATTENTE
GB
IRREVERSIBLE
ELECTROMECHANICAL
ACTUATOR FOR SWING GATES
F
OPERATEUR
ELECTROMECANIQUE
IRREVERSIBLE POUR PORTAILS
BATTANTS
E
OPERADOR
ELECTROMECÁNICO
IRREVERSIBLE PARA CANCELAS
BATIENTES
D
NICHT UMKEHRBARER
ELEKTROMECHANISCHER
ANTRIEB FÜR FLÜGELTORE
IL 493
EDIZ. 14/01/2019
Inhaltsverzeichnis

Verwandte Anleitungen für V2 STARK3


Inhaltszusammenfassung für V2 STARK3
- Seite 1 IL 493 EDIZ. 14/01/2019 STARK3 ATTUATORE OPERADOR ELETTROMECCANICO ELECTROMECÁNICO IRREVERSIBILE PER CANCELLI IRREVERSIBLE PARA CANCELAS A BATTENTE BATIENTES IRREVERSIBLE NICHT UMKEHRBARER ELECTROMECHANICAL ELEKTROMECHANISCHER ACTUATOR FOR SWING GATES ANTRIEB FÜR FLÜGELTORE OPERATEUR ELECTROMECANIQUE IRREVERSIBLE POUR PORTAILS BATTANTS...
-
Seite 35: Wichtige Hinweise
Elektrik und Mechanik; sie darf ausschließlich von deren Sicherheit verantwortlichen Person angelernt. kompetentem Personal durchgeführt werden, welches berechtigt ist, eine vollständige Konformitätserklärung vom Die Firma V2 SPA behält sich das Recht vor, das Produkt Typ A auszustellen (Maschinenrichtlinie 2006/42/CEE, Anlage ohne vorherige Ankündigungen abzuändern; die IIA). -
Seite 36: Vorbereitende Prüfungen Und Identifizierung Der Nutzungstypologie
VORBEREITENDE PRÜFUNGEN UND IDENTIFIZIERUNG DER NUTZUNGSTYPOLOGIE Es wird darauf hingewiesen, dass der Automatismus bei falscher Installation oder unsachgemäßer Wartung beschädigt werden kann und dass vor der Installation sichergestellt werden muss, dass die Struktur geeignet und mit den geltenden Normen konform ist und dass, wenn notwendig, alle strukturellen Änderungen vorzunehmen sind, um Sicherheit und Schutz zu gewährleisten und um alle Zonen abzutrennen, in denen Quetsch-, Scherungs- oder Mitreißgefahr herrscht. -
Seite 37: Technische Daten
ANHANG II, TEIL B ACHTUNG! Jede andere Verwendung als die beschriebene oder unter anderen Der Hersteller (*) V2 S.p.A., mit Sitz in Um ge bungsbedingungen als die in diesem Handbuch angegebenen Corso Principi di Piemonte 65, 12035, Racconigi (CN), Italien gilt als missbräuchliche Verwendung und ist verboten! - Seite 38 Schlüsselschalter Steuerung Fotozellen auf Säule Handsender Funk-Codetaster, auf Säule Empfangsmodul Sicherheitskontaktleisten Fotozellen System ECO-LOGIC (ohne mit STARK3-24V e CITY2+) Blinklicht KABELLÄNGE < 10 Meter von 10 bis 20 Meter von 20 bis 30 Meter Spannungsversorgung 230V 3G x 1,5 mm...
-
Seite 39: Halterungen Installation Graph
HALTERUNGEN INSTALLATION GRAPH VERFAHREN ZUR VERWENDUNG VON GRAFIK Falls die Installationsquoten der Bügel nicht eingehalten 1. Messen Sie den Wert E und zeichnen Sie dann mit diesem werden, könnten die folgenden Funktionsstörungen der Wert eine horizontale Gerade in die Grafik. Automatisierung auftreten: 2. -
Seite 40: Höhe Der Halterungen
INSTALLATIONS-GRAFIKEN EIN MECHANISCHER ZAUN IN DER ÖFFNUNG ZWEI MECHANISCHE STOPS (ÖFFNEN UND SCHLIESSEN) HÖHE DER HALTERUNGEN Befestigen Sie die Halterungen mit einem Abstand von 54 mm zwischen den Auflageflächen, um den Getriebemotor in perfekt horizontaler Position zu verankern. FIG.3 - 38 -... - Seite 41 INSTALLATION DES GETRIEBEMOTORS AN DEN BEFESTIGUNGSBÜGELN Befestigen Sie den Getriebemotor an der hinteren Halterung (FIG. 4). Befestigen Sie den Getriebemotor an der vorderen Halterung (FIG. 5). FIG.4 FIG.5 HANDBUCH FIG.6 Unterbrechen Sie vor dem manuellen Betrieb des Getriebemotors die Stromversorgung. Das Auslösemanöver wurde für das manuelle Öffnen des Tors bei Stromausfall oder Motorausfall konzipiert.
-
Seite 42: Elektrische Anschlüsse
ELEKTRISCHE ANSCHLÜSSE STARK3-24V 1 - MOTOR (+) ACHTUNG! • Ein falscher Anschluss kann Störungen oder Gefahrensituationen herbeiführen, daher sind die 2 - MOTOR (-) angegebenen Anschlüsse gewissenhaft zu befolgen. • Die Anschlussverfahren bei getrennter Stromversorgung ausführen. Zum Anschluss des Antriebs an das Steuergerät ist 3 - NICHT VERWENDET folgendermaßen vorzugehen. - Seite 43 - 41 -...