Werbung
Quicklinks
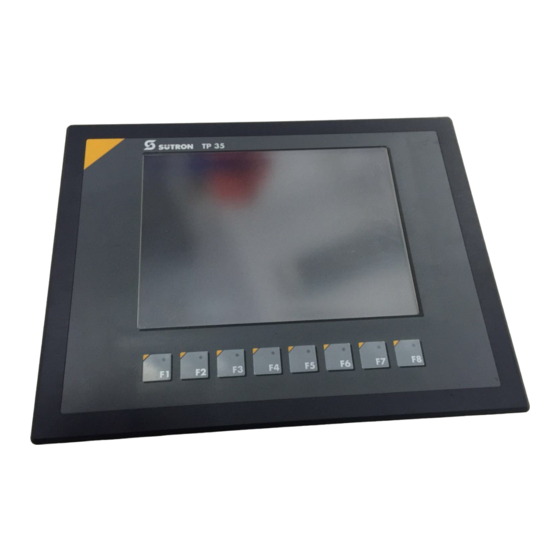
Touch Panel
Sütron electronic GmbH
Kurze Straße 29
70794 Filderstadt
TP(M)35, TP(M)43, TP(M)57
Tel: ++49 7 11 / 77 09 80
Fax: ++49 7 11 / 77 09 86 0
E-Mail: doku@suetron.de
TP(M)105
Internet: www.suetron.de
INSTALLATIONSANWEISUNG
INSTALLATION INSTRUCTIONS
(80860.091)
Version: 2
© Copyright by Sütron electronic GmbH
Hinweis
Temperatur- und Feuchtigkeitseinflüsse können zu abweichenden Maßen in der Bohr-
schablone führen. Deshalb ist es erforderlich, die Maßhaltigkeit anhand der abgebilde-
ten Maße zu überprüfen.
Montage
VORSICHT
Folgende Sicherheitsabstände müssen abhängig von der Displaygröße des Bedienge-
räts zu einem Kompass eingehalten werden:
Display <= 7"
Display > 7"
Standardkompass
0,75 m
2,2 m
Steuerkompass
0,45 m
1,35 m
ACHTUNG: Beschädigung
Beim Einbau müssen Sie umlaufend einen Freiraum von mindestens 30 mm berück-
sichtigen, um eine ausreichende Luftzirkulation zu gewährleisten.
ACHTUNG: Beschädigung
Beachten Sie bei horizontalem Einbau des Bediengeräts, dass es durch zusätzliche
Wärmequellen unterhalb des Bediengeräts zu einem Hitzestau kommen kann.
Sorgen Sie für eine ausreichende Wärmeableitung!
Beachten Sie den zulässigen Temperaturbereich, für den Betrieb des Bediengeräts, in
den technischen Daten!
ACHTUNG: Beschädigung
Um die angegebene Schutzart zu gewährleisten, müssen Sie darauf achten, dass die
Dichtung eben auf der Einbaufläche aufliegt und die Gewindestifte der Montageklam-
mern gleichmäßig angezogen sind.
Das Gerät ermöglicht Ihnen eine schnelle und einfache Montage von der Geräterück-
seite. Vorzugsweise wurde hier an den Einbau in Schalttafeln mit einer Blechstärke von
ca. 1 mm bis 6 mm gedacht.
1.
Kleben Sie diese Installationsanweisung auf der Montagefläche an der Position
fest, wo Sie das Gerät befestigen möchten.
2.
Übertragen Sie die Eckpunkte des Montageausschnitts auf die Montagefläche.
3.
Entfernen Sie diese Installationsanweisung wieder.
4.
Verbinden Sie die Eckpunkte miteinander zu einem Rechteck.
5.
Schneiden Sie diesen Montageausschnitt aus der Montagefläche.
6.
Entgraten Sie die Kanten des Montageausschnitts.
7.
Schieben Sie das Gerät von vorne durch den Montageausschnitt.
8.
Setzen Sie die Montageklammern in die dafür vorgesehenen Aussparungen
(Punkt 1) und ziehen Sie die Klammern bis zur Rastung nach unten (Punkt 2).
9.
Fixieren Sie das Gerät mit den Gewindestiften (Punkt 3).
Montage mit Montageklammer
Note
The influence of temperature and humidity can result in dimensional deviation. There-
fore it is necessary to check the dimensional accuracy with the imaged dimensions.
Mounting the Device
CAUTION
The following safety distances to a compass must be kept depending on the display size
of the operating device:
Display <= 7"
Display > 7"
Standard compass
0.75 m (29.527")
2.2 m (86.614")
Steering compass
0.45 m (17.716")
1.35 m (53.149")
NOTICE: Damage
When installing the device, leave a gap of at least 30 mm (1.181") around the device to
ensure sufficient air circulation.
NOTICE: Damage
When the operating device is installed horizontally, please note that additional sources
of heat beneath the operating device may result in heat accumulation.
Make sure to allow sufficient heat dissipation!
Comply with the allowable temperature range listed in the technical data for the use of
the operating device!
NOTICE: Damage
To ensure the specified degree of protection, make sure that the seal rests flat on the
mounting surface and the threaded pins of the mounting brackets are uniformly tight-
ened.
The operating device can be easily and quickly mounted from the rear of the operating
device. This is particularly recommended for mounting in switchboards with a plate thick-
ness of approx. 1 mm to 6 mm (0.039" to 0.236").
1.
Stick this installation instructions sheet onto the mounting plate at the position
where you want to install the device.
2.
Transmit the corners of the mounting cutout to the mounting plate.
3.
Remove the installation instructions sheet from the mounting plate.
4.
Connect the corners to a rectangle.
5.
Cut out the rectangle from the mounting plate.
6.
Remove the burrs from the cutting edges.
7.
Insert the operating device from the front through the mounting cutout.
8.
Put the assembly brackets into the placket provided for it (point 1) and snap the
brackets down into place (point 2).
9.
Fasten the operating device with the grub screws (point 3).
Mounting with mounting brackets
TP(M)43:
A
Montageausschnitt / Panel cutout
B
Frontplatte / Front panel
TP(M)57:
A
Montageausschnitt / Panel cutout
B
Frontplatte / Front panel
Werbung

Verwandte Anleitungen für Sutron TP105


Inhaltszusammenfassung für Sutron TP105
- Seite 1 TP(M)43: Touch Panel Sütron electronic GmbH Kurze Straße 29 70794 Filderstadt TP(M)35, TP(M)43, TP(M)57 Tel: ++49 7 11 / 77 09 80 Fax: ++49 7 11 / 77 09 86 0 E-Mail: doku@suetron.de TP(M)105 Internet: www.suetron.de INSTALLATIONSANWEISUNG Montage mit Montageklammer INSTALLATION INSTRUCTIONS Note (80860.091)
- Seite 2 TP(M)105: TP(M)35: Montageausschnitt / Panel cutout Frontplatte / Front panel Montageausschnitt / Panel cutout Frontplatte / Front panel...