Sharp PN-40TC1 Installationsanleitung
Inhaltsverzeichnis
Verfügbare Sprachen
Verfügbare Sprachen
Quicklinks
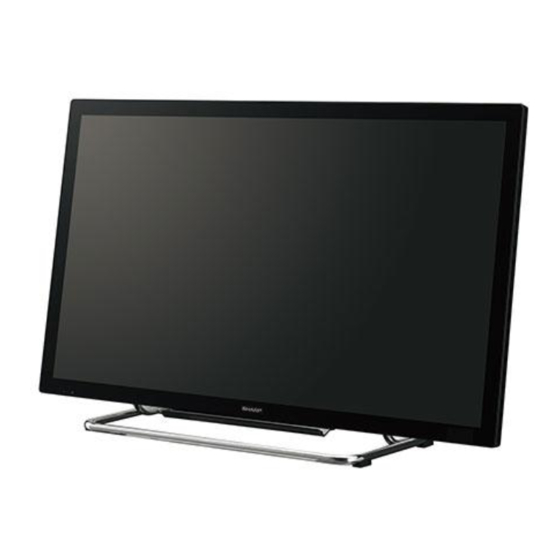
PN-40TC1
LCD MONITOR
MONITEUR LCD
MONITOR LCD
LCD FARBMONITOR
ЖК МОНИТОР
SETUP MANUAL
MANUEL D'INSTALLATION
MANUAL DE INSTALACIÓN
INSTALLATIONSANLEITUNG
РУКОВОДСТВО ПО УСТАНОВКЕ
ENGLISH ...... E1
FRANÇAIS ..... F1
ESPAÑOL .... S1
DEUTSCH ..... D1
РУССКИЙ...... Р1
.املرفقة
الدليل باللغة العربية يوجد يف أسطوانة
(
CD-ROM
)
Kapitel
Inhaltsverzeichnis

Verwandte Anleitungen für Sharp PN-40TC1


Inhaltszusammenfassung für Sharp PN-40TC1
- Seite 33 QUALIFIZIERTEM FACHPERSONAL DURCHFÜHREN LASSEN. VEREHRTE KUNDIN, VEREHRTER KUNDE Wir danken Ihnen für den Kauf eines SHARP LCD-Gerätes. Um Ihre Sicherheit sowie einen jahrelangen, störungsfreien Betrieb dieses Produkts zu gewährleisten, lesen Sie bitte den Abschnitt “Sicherheitsvorkehrungen” vor der Verwendung des Produkts durch.
-
Seite 34: Sicherheitsvorkehrungen
SICHERHEITSVORKEHRUNGEN Elektrizität erfüllt viele nützliche Aufgaben, kann aber auch Personen- und Sachschäden verursachen, wenn sie unsachgemäß gehandhabt wird. Dieses Produkt wurde mit Sicherheit als oberster Priorität konstruiert und hergestellt. Dennoch besteht bei unsachgemäßer Handhabung u.U. Stromschlag- und Brandgefahr. Um mögliche Gefahren zu vermeiden, befolgen Sie beim Aufstellen, Betreiben und Reinigen des Produkts bitte die nachstehenden Anleitungen. -
Seite 35: Wichtige Hinweise Für Die Sicherheit Von Kindern
Belüftungsöffnung oder im Inneren des Monitors ansammelt, kann es zu einer Überhitzung des Geräts und in der Folge zu einem Brand oder zu Fehlfunktionen kommen. Bitte lassen Sie das Innere des Monitors von einem autorisierten SHARP-Händler oder einem SHARP Servicecenter reinigen. -
Seite 36: Wichtige Hinweise Zur Befestigung
- Achten Sie darauf, das Netzkabel (im Lieferumfang Spezialkenntnisse erforderlich. Diese Arbeit darf daher enthalten) mithilfe der mitgelieferten Kabelklammer nur von einem autorisierten SHARP-Händler durchgeführt (Aufklebetyp) zu befestigen. Beim Festklemmen des werden. Führen Sie diese Arbeit niemals selbst durch. Unser Netzkabels darf auf die Netzkabelbinder keine Zugkraft Unternehmen übernimmt keine Verantwortung für Unfälle... -
Seite 37: Mitgelieferte Komponenten
Logo-Aufkleber: 1 Installationsanleitung (diese Anleitung): 1 Vertikaler Aufkleber (Bedienfeld): 1 * Die SHARP Corporation besitzt die Autorenrechte am Utility Disk Programm. Eine Vervielfältigung dieses Programms ohne schriftliche Genehmigung ist daher nicht gestattet. * Der Umwelt zuliebe ! Batterien dürfen nicht mit dem Restmüll entsorgt werden. -
Seite 38: Anschlüsse
• Für die Installation und Verwendung der Software wird auf die jeweilige Bedienungsanleitung verwiesen. • Das Setup-Programm für den SHARP Display Connect und Touch Viewing Software steht über den Information Display Downloader zum Download bereit. • Die Begriffe HDMI und HDMI High-Definition Multimedia Interface sowie das HDMI-Logo sind Marken oder eingetragene Marken von HDMI Licensing Administrator, Inc. -
Seite 39: Ein- Und Ausschalten
Ein- und ausschalten Vorsicht TIPPS • Schalten Sie das Gerät erst ein, nachdem Sie alle • Bei ausgeschaltetem Hauptnetzschalter lässt sich der notwendigen Kabelverbindungen hergestellt haben. Monitor nicht einschalten. • Schalten Sie zuerst den Monitor und erst danach den Computer oder ein anderes Wiedergabegerät ein. •... -
Seite 40: Technische Daten
Überprüfen Sie in diesem Fall bitte die für das Zubehör empfohlenen Temperaturbedingungen. Bedingt durch fortlaufende technische Verbesserungen behält sich SHARP das Recht vor, das Design und die Spezifikationen ohne vorherige Ankündigung ändern zu können. Die angegebenen Leistungswerte stellen die Nennwerte einer in... -
Seite 41: Wichtige Hinweise Zur Befestigung
Wichtige Hinweise zur Befestigung (Für SHARP-Händler und Servicetechniker) • Für das Befestigen, Abmontieren oder Transportieren des Monitors müssen mindestens 2 Personen zur Verfügung stehen. • Verwenden Sie dazu eine Wandhalterung, die für die Befestigung des Monitors geeignet ist. • Dieser Monitor wurde für die Befestigung an einer Betonwand oder an einer Betonsäule gebaut. Vor der Aufstellung des Monitors kann es notwendig sein, Wände, die aus bestimmten Materialien (z.B. - Seite 42 nDen Ständer am Monitor befestigen 4. Den Ständer am Monitor befestigen. Fixieren Sie den Aufbau von hinten mit 4 Befestigungsschrauben für Ständer (M6). Vorsicht • Wenn der Monitor auf dem Fuß befestigt wird, kann dies nur in horizontaler Ausrichtung erfolgen. Eine Verwendung des Fußes mit vertikaler Ausrichtung des Monitors ist nicht möglich.
- Seite 53 MEMO...
- Seite 54 MEMO...
- Seite 55 WARNING This is a Class A product. In a domestic environment this product may cause radio interference in which case the user may be required to take adequate measures. WARNUNG Dies ist ein Produkt der Klasse A. Dieses Produkt kann im Wohnbereich Funkstörungen verursachen. In diesem Fall kann vom Benutzer verlangt werden, entsprechende Maßnahmen zu ergreifen.
- Seite 56 Printed in China Imprimé en Chine Impreso en China Gedruckt in China Отпечатано в Китае 3A224H500-000-G (1)