Silvercrest SRR 3.7 C3 Bedienungsanleitung
Vorschau ausblenden
Andere Handbücher für SRR 3.7 C3:
- Bedienungsanleitung (320 Seiten) ,
- Kurzanleitung (218 Seiten) ,
- Bedienungsanleitung (83 Seiten)

Verwandte Anleitungen für Silvercrest SRR 3.7 C3


Inhaltszusammenfassung für Silvercrest SRR 3.7 C3
- Seite 1 ROTARY SHAVER SRR 3.7 C3 ROTARY SHAVER ROTATIONSRASIERER Operating instructions Bedienungsanleitung IAN 300025...
- Seite 2 Before reading, unfold the page containing the illustrations and familiarise yourself with all functions of the device. Klappen Sie vor dem Lesen die Seite mit den Abbildungen aus und machen Sie sich anschließend mit allen Funktionen des Gerätes vertraut. GB / IE / NI Operating instructions Page DE / AT / CH...
- Seite 27 Ersatzteile bestellen . . . . . . . . . . . . . . . . . . . . . . . . . . . 44 DE │ AT │ CH │ 23 ■ SRR 3.7 C3...
-
Seite 28: Einleitung
Pinsel ♦ Tasche ♦ Bedienungsanleitung HINWEIS Kontrollieren Sie den Lieferumfang direkt nach dem Auspacken auf Vollständigkeit und Beschädigungen . Wenden Sie sich, wenn nötig, an den Service . ■ 24 │ DE │ AT │ CH SRR 3.7 C3... -
Seite 29: Gerätebeschreibung
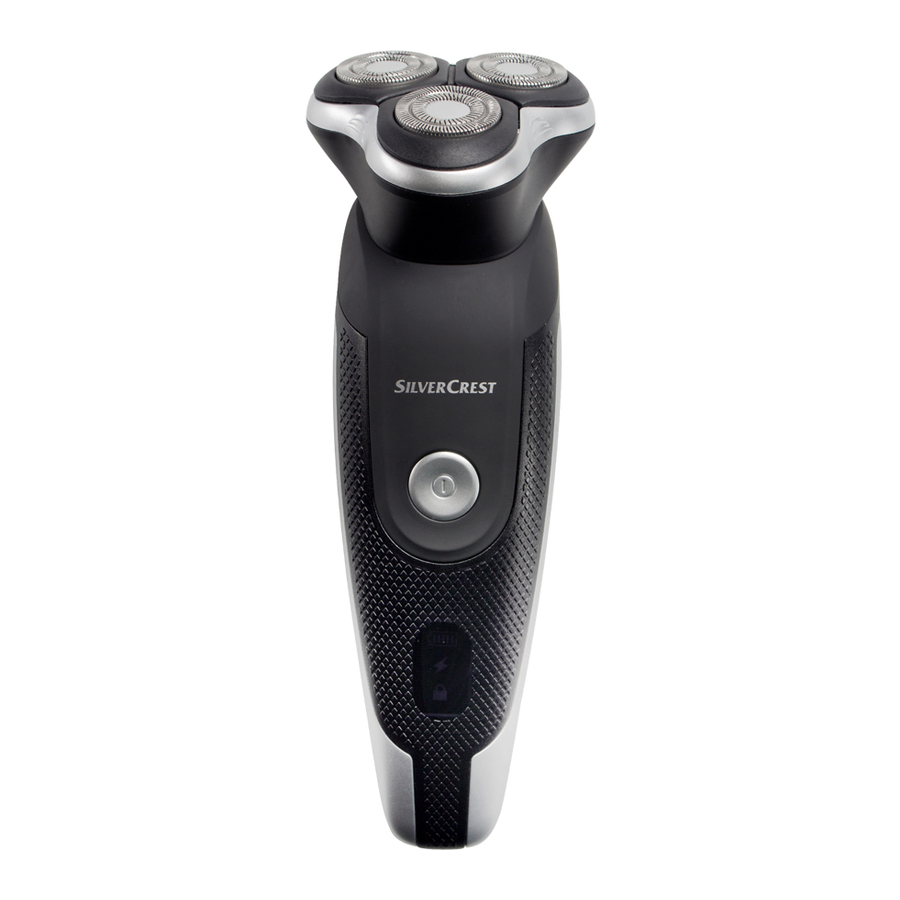
5 Arretierung des Langhaarschneiders 6 Ein-/Ausschalter 7 Blaue Kontrollleuchte 8 Rote Ladekontrollleuchte -Symbol (Reisesicherung) 0 Netzanschluss Abbildung B (hintere Ausklappseite): q Netzadapter w Verbindungsstecker e Pinsel r Tasche DE │ AT │ CH │ 25 ■ SRR 3.7 C3... -
Seite 30: Technische Daten
Schutzart: IP X6: Schutz gegen starken Wasserstrahl bzw . vorübergehende Überflutung Polarität des Hohlsteckers: Ladezeit: ca . 60 Minuten Laufzeit bei voll geladenem Akku: ca . 60 Minuten ■ 26 │ DE │ AT │ CH SRR 3.7 C3... -
Seite 31: Sicherheitshinweise
Netzsteckdose, ziehen Sie nicht am Kabel . Tauchen Sie das Gerät sowie den Netz- ► adapter oder das Netzkabel niemals in Wasser oder eine andere Flüssigkeit . DE │ AT │ CH │ 27 ■ SRR 3.7 C3... - Seite 32 30 mA bietet weiteren Schutz vor einem elektrischen Schlag . Las- sen Sie den Einbau ausschließlich von einer Elektro-Fachkraft durchführen . ACHTUNG! Das Gerät trocken halten! ► ■ 28 │ DE │ AT │ CH SRR 3.7 C3...
-
Seite 33: Warnung - Verletzungsgefahr
Zudem erlischt der Garantieanspruch . Benutzen Sie das Gerät nicht mit defekter ► Schereinheit oder defektem Langhaar- schneider, da diese scharfe Kanten haben können . Es besteht Verletzungsgefahr! DE │ AT │ CH │ 29 ■ SRR 3.7 C3... - Seite 34 Typenschild . Benutzen und laden Sie das Gerät nur mit ► dem mitgelieferten Netzadapter . Nehmen Sie die Schereinheit zur Reinigung ► unter fließendem Wasser vom Handteil ab . ■ 30 │ DE │ AT │ CH SRR 3.7 C3...
-
Seite 35: Aufladen Des Akkus
Minuten ohne Anschluss an das Stromnetz betreiben . ♦ Wenn die rote Ladekontrollleuchte 8 blinkt, ist der Batterie- ladezustand zu niedrig . Laden Sie dann den Akku wieder auf . DE │ AT │ CH │ 31 ■ SRR 3.7 C3... -
Seite 36: Aufsetzen/Abnehmen Der Schutzkappe
2) Nehmen Sie ggf . die Schutzkappe 1 ab . 3) Drücken Sie den Ein-/Ausschalter 6, um das Gerät zu starten . Die blaue Kontrollleuchte 7 leuchtet . ■ 32 │ DE │ AT │ CH SRR 3.7 C3... -
Seite 37: Rasieren Mit Netzspannung
Sie können den Rasierer dann wie im Kapitel „Kabelloses Rasieren“ beschrieben verwenden . Trimmer/Langhaarschneider Um einen Bart in Form zu bringen, Koteletten zu formen oder Augen- brauen zu rasieren, benutzen Sie den Langhaarschneider 4 . DE │ AT │ CH │ 33 ■ SRR 3.7 C3... -
Seite 38: Reinigung Und Pflege
3 an und ziehen Sie sie ab . 2) Klopfen Sie die Schereinheit 2 vorsichtig auf einer ebenen Fläche aus bzw . blasen Sie die Haarteilchen ab . ■ 34 │ DE │ AT │ CH SRR 3.7 C3... -
Seite 39: Reinigung Unter Fließendem Wasser
Für eine gründliche Reinigung nehmen Sie die drei Scherköpfe auseinander: 1) Fassen Sie die Schereinheit 2 mit drei Fingern an den Griffmulden 3 an und ziehen Sie sie ab: DE │ AT │ CH │ 35 ■ SRR 3.7 C3... - Seite 40 2) Drücken Sie jeweils die beiden vorstehenden Laschen zusammen und lösen Sie die schwarzen Halterungen der Scherköpfe aus den Arretierungen: Sie können die Scherköpfe und die Messer nun entfernen . ■ 36 │ DE │ AT │ CH SRR 3.7 C3...
- Seite 41 Drücken Sie die beiden Laschen der Halterungen zusammen, setzen Sie sie wieder in die Arretierungen der Schereinheit 2 und lassen Sie die Laschen los . Die Schereinheit 2 ist nun wieder montiert . DE │ AT │ CH │ 37 ■ SRR 3.7 C3...
-
Seite 42: Reisesicherung
Drücken und halten Sie den Ein-/Ausschalter 6 für ca . 3 Sekun- den, bis das -Symbol 9 blau aufleuchtet . Der Ein-/Ausschalter 6 ist nun gesperrt . ■ 38 │ DE │ AT │ CH SRR 3.7 C3... -
Seite 43: Aufbewahrung
Entsorgen Sie das Gerät über einen zugelassenen Entsorgungsbetrieb oder über Ihre kommunale Entsor- gungseinrichtung . Beachten Sie die aktuell geltenden Vorschriften . Setzen Sie sich im Zweifelsfall mit Ihrer Entsorgungseinrichtung in Verbindung . DE │ AT │ CH │ 39 ■ SRR 3.7 C3... - Seite 44 Verpackungsmaterialien und trennen Sie diese gegebenenfalls gesondert . Die Verpackungsmaterialien sind gekennzeichnet mit Abkürzungen (a) und Ziffern (b) mit folgender Bedeutung: 1–7: Kunststoffe, 20–22: Papier und Pappe, 80–98: Verbundstoffe ■ 40 │ DE │ AT │ CH SRR 3.7 C3...
-
Seite 45: Garantie Der Kompernaß Handels Gmbh
Dies gilt auch für ersetzte und reparierte Teile . Eventuell schon beim Kauf vorhandene Schäden und Mängel müssen sofort nach dem Aus- packen gemeldet werden . Nach Ablauf der Garantiezeit anfallende Reparaturen sind kostenpflichtig . DE │ AT │ CH │ 41 ■ SRR 3.7 C3... -
Seite 46: Abwicklung Im Garantiefall
Gravur, auf dem Titelblatt ihrer Anleitung (unten links) oder als Aufkleber auf der Rück- oder Unterseite . ■ Sollten Funktionsfehler oder sonstige Mängel auftreten, kontaktieren Sie zunächst die nachfolgend benannte Serviceabteilung telefonisch oder per E-Mail . ■ 42 │ DE │ AT │ CH SRR 3.7 C3... -
Seite 47: Service
Bitte beachten Sie, dass die folgende Anschrift keine Serviceanschrift ist . Kontaktieren Sie zunächst die benannte Servicestelle . KOMPERNASS HANDELS GMBH BURGSTRASSE 21 DE - 44867 BOCHUM DEUTSCHLAND www .kompernass .com DE │ AT │ CH │ 43 ■ SRR 3.7 C3... -
Seite 48: Ersatzteile Bestellen
(siehe Kapitel „Service″) oder bequem auf unserer Webseite unter www .kompernass .com . HINWEIS ► Halten Sie die IAN-Nummer, die Sie auf dem Umschlag dieser Bedienungsanleitung finden, für Ihre Bestellung bereit . ■ 44 │ DE │ AT │ CH SRR 3.7 C3... - Seite 49 KOMPERNASS HANDELS GMBH BURGSTRASSE 21 DE - 44867 BOCHUM GERMANY www.kompernass.com Last Information Update · Stand der Informationen 04 / 2018 · Ident.-No.: SRR3.7C3-022018-2 IAN 300025...