Klarstein 10029345 Bedienungsanleitung
Vorschau ausblenden
Andere Handbücher für 10029345:
- Gebrauchsanweisung, installationsanleitung (28 Seiten)
Inhaltsverzeichnis
Verfügbare Sprachen
Verfügbare Sprachen
Quicklinks
Inhaltsverzeichnis

Verwandte Anleitungen für Klarstein 10029345


Inhaltszusammenfassung für Klarstein 10029345
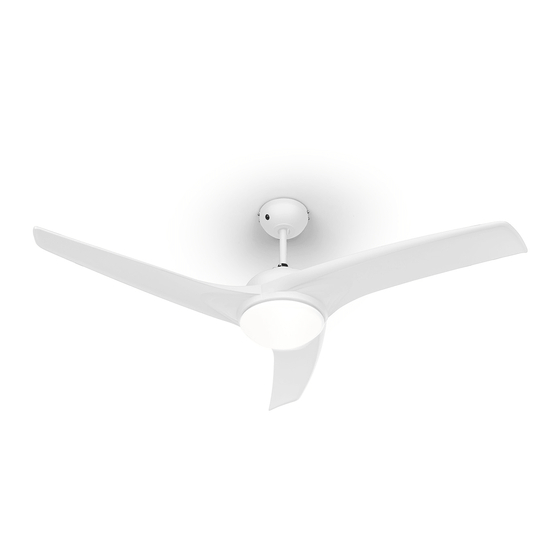
- Seite 1 Deckenventilator 10029345 10029346...
-
Seite 2: Technische Daten
Sie diese, um möglichen Schäden vorzubeugen. Für Schäden, die durch Missachtung der Hinweise und unsachgemäßen Gebrauch entstehen, übernehmen wir keine Haftung. Technische Daten Artikelnummer 10029345, 10029346 Stromversorgung 220-240 V~ 50-60 Hz Sicherheitshinweise • Befestigen Sie den Ventilator nicht an der Steckdose, sondern nur an der Decke. - Seite 3 4. Verbinden Sie die internen Ka- 5. Verbinden Sie die Kabel der 6. Schieben Sie die Abdeckung bel, indem sie die zwei Plasti- geerdeten Stromquelle mit über die Montageplatte. Ach- kanschlüsse zusammensteck- der Klemmleiste. ten Sie darauf, dass Sie dabei en, bis sie einrasten.
-
Seite 4: Entsorgung Und Konformitätserklärung
Inbetriebnahme und Bedienung • Drücken Sie auf die Speed-Taste an der Fernbedienung um eine Geschwindigkeit auszuwählen: HI: Hoch - MED: Mittel - LOW: Niedrig - OFF: Aus. • Mit dem Schalter am Motorgehäuse lässt sich die Richtung des Luftstroms beeinflussen, den die Rotorblät- ter erzeugen.