Bose FreeSpace DS 16S Installationsanleitung
Vorschau ausblenden
Andere Handbücher für FreeSpace DS 16S:
- Installationsanleitung (12 Seiten) ,
- Installationsanleitung (17 Seiten)
Quicklinks
*For use by professional installers only.
*Kun til brug for erfarne installatører.
*Montage ausschließlich durch ausgebildetes Installationspersonal.
*Para uso exclusivo de instaladores capacitados.
*Réservé aux installateurs ayant suivi une formation.
*Solo per l'uso da parte di installatori professionisti.
*Uitsluitend voor gebruik door ervaren installateurs.
*Ska endast användas av utbildade installatörer.
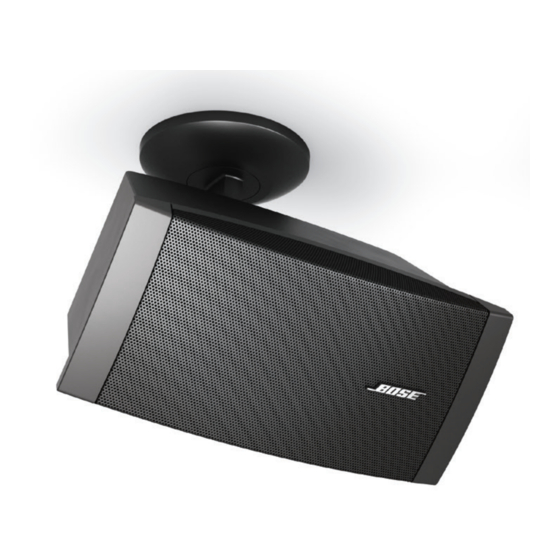
Ceiling Mount Bracket
For FreeSpace
DS 16S, DS 16SE,
®
DS 40SE,and DS 100SE
Loudspeakers
Installation Guide*
Installationsvejledning*
Installationsanleitung*
Guía de instalación*
Guide d'installation*
Guida all'installazione*
Installatiehandleiding*
Installationsanvisning*

Verwandte Anleitungen für Bose FreeSpace DS 16S


Inhaltszusammenfassung für Bose FreeSpace DS 16S
- Seite 1 Ceiling Mount Bracket For FreeSpace DS 16S, DS 16SE, ® DS 40SE,and DS 100SE Loudspeakers Installation Guide* Installationsvejledning* Installationsanleitung* Guía de instalación* Guide d’installation* Guida all’installazione* Installatiehandleiding* Installationsanvisning* *For use by professional installers only. *Kun til brug for erfarne installatører. *Montage ausschließlich durch ausgebildetes Installationspersonal.
- Seite 2 Ceiling Mount Bracket for FreeSpace DS Loudspeakers ® Includes M4 x15 mm, Phillips pan head screw and nylon washer M4 x 8 mm, Phillips (4) M4 x18.5 mm, flat head screw Phillips pan head screws (4) washers OD: 0.35" (9.0 mm) ID: 0.17"...
- Seite 3 Ceiling Mount Bracket for FreeSpace® DS Loudspeakers Installation Requirements Installation WARNING: DO NOT mount to a wall or other vertical ATTENTION : ne PAS utiliser cet accessoire sur un mur ou surface. autre surface verticale. • Choose a mounting position, method, and hardware •...
- Seite 4 Ceiling Mount Bracket for FreeSpace® DS Loudspeakers Colocación y orientación del soporte Dependiendo del modelo de altavoz, coloque la placa de montaje a una distancia mínima de X (medido desde el centro de la base) con respecto a las paredes adyacentes para garantizar que el altavoz pueda ofrecer toda la gama de ajustes de inclinación y oscilación, en horizontal o vertical.
- Seite 5 Ceiling Mount Bracket for FreeSpace® DS Loudspeakers Getting wire to bracket terminals Speaker wires are connected to the bracket terminals before securing the mounting plate to the ceiling. Trim back the outer jacket (A) and some of the wire insulation (B) to expose enough bare wire (C) to attach to the terminals.
- Seite 6 Ceiling Mount Bracket for FreeSpace® DS Loudspeakers Instalación de la placa de montaje Sujete la placa de montaje al techo: ADVERTENCIA: NO realice el montaje en paredes ni otras superficies verticales. • Compruebe que la estructura puede soportar el peso del soporte y del altavoz.
- Seite 7 Ceiling Mount Bracket for FreeSpace® DS Loudspeakers Montage der Halterung Lassen Sie die Abdeckung (B) in der Montageplatte einrasten (A). Achten Sie darauf, dass die Ausspa- rung in der Abdeckung über dem Anschluss der Montageplatte liegt. Führen Sie den Arm der Montageplatte (C) zur Montageplatte (A).
- Seite 8 Ceiling Mount Bracket for FreeSpace® DS Loudspeakers Remplacement du bras de déport Replacing loudspeaker arm d’enceinte You must use the loudspeaker arm that comes with the ceiling mount bracket. Il est nécessaire d’utiliser le bras de déport fourni avec le support pour montage au plafond.
-
Seite 9: Montera Högtalarna
Ceiling Mount Bracket for FreeSpace® DS Loudspeakers M4 x15 mm, Phillips pan head screw Montage de l’enceinte Mounting the loudspeaker Apparier le bras et l’extension de la plaque de Mate the loudspeaker arm with the mounting plate montage. extension. Serrer partiellement la vis du bras pour maintenir Partially tighten the loudspeaker arm screw to hold the l’enceinte en place. - Seite 10 Ceiling Mount Bracket for FreeSpace® DS Loudspeakers M4 x 8 mm, Phillips flat head screw Raccordement du fil au support Plugging wire into the bracket Raccorder la fiche du câble d’enceinte au connecteur du Snap loudspeaker wire plug onto bracket connector. support.
- Seite 11 Ceiling Mount Bracket for FreeSpace® DS Loudspeakers Orientation latérale de l’enceinte Loudspeaker yaw adjustment Desserrez le collet de réglage de l’inclinaison. Loosen the yaw adjustment collar. Faites pivoter l’enceinte dans la position souhaitée. Rotate the loudspeaker to the desired yaw position. Serrez le collet pour bloquer l’enceinte en place.
- Seite 12 Ceiling Mount Bracket for FreeSpace® DS Loudspeakers DS 100SE 90° – 0° 60° – 0° DS 40SE 90° – 0° 60° – 0° DS 16S/SE 90° – 0° 75° – 0° Loudspeaker pitch adjustment Range of adjustment available when loudspeaker is mounted: (A) Horizontally;...
- Seite 13 Ceiling Mount Bracket for FreeSpace® DS Loudspeakers Hoek van de luidspreker instellen Ajustar el ángulo del altavoz Draai de schroef op de luidsprekerarm los. Afloje el tornillo del brazo del altavoz. Draai naar de gewenste hellingshoek (±90°). Ajuste la inclinación a la posición deseada (± 90°). Draai de schroef aan om de luidspreker in positie te Apriete totalmente el tornillo para asegurar el altavoz houden.
- Seite 14 Ceiling Mount Bracket for FreeSpace® DS Loudspeakers Safety cable (not included) Utilisation d’un câble de sécurité Using a safety cable • Pour le montage, choisir une position, une méthode • Choose a mounting position, method, and hardware et des accessoires compatibles avec le code de la consistent with local building codes and regulations.
-
Seite 15: Additional Resources
Ceiling Mount Bracket for FreeSpace® DS Loudspeakers Additional Resources Hong Kong Bose Limited Visit us on the web at pro.Bose.com. Suites 2101-2105, Tower One, Times Square 1 Matheson Street, Causeway Bay, Hong Kong Americas 852 2123 9000 (USA, Canada, Mexico, Central America, South America) - Seite 16 ©2014 Bose Corporation. The Mountain, Framingham, MA 01701-9168 USA AM737960 Rev. 00 www.pro.Bose.com...