LGB Toy Train 90202 Bedienungsanleitung
Inhaltsverzeichnis
Verfügbare Sprachen
Verfügbare Sprachen
Quicklinks
Bedienungsanleitung
D
Instruction Manual
USA
UK
Notice d'utilisation
F
Instrucciones de empleo
U.S. only,
nur für USA
CAUTION - ELECTRIC TOY
N0T RECOMMENDED FOR CHILDREN UNDER 8 YEARS OF
AGE. AS WITH ALL ELECTRIC PRODUCTS; PRECAUTIONS
SHOULD BE OBSERVED DURING HANDLING AND USE TO
PREVENT ELECTRIC SHOCK.
,
US seulement; Alleen in de VS
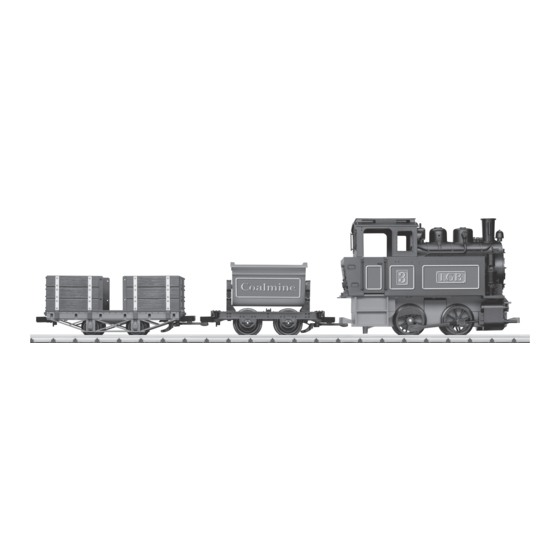
Toy Train-Set
90202
Inhaltsverzeichnis

Verwandte Anleitungen für LGB Toy Train 90202


Inhaltszusammenfassung für LGB Toy Train 90202
- Seite 1 Bedienungsanleitung Instruction Manual Notice d’utilisation Instrucciones de empleo U.S. only, nur für USA US seulement; Alleen in de VS CAUTION - ELECTRIC TOY N0T RECOMMENDED FOR CHILDREN UNDER 8 YEARS OF AGE. AS WITH ALL ELECTRIC PRODUCTS; PRECAUTIONS SHOULD BE OBSERVED DURING HANDLING AND USE TO PREVENT ELECTRIC SHOCK.
-
Seite 2: Inhaltsverzeichnis
DEUTSCH FRANÇAIS Page Sommaire : Seite Inhaltsverzeichnis: 1. Utilisation conforme à sa destination 1. Bestimmungsgemäße Verwendung 2. Remarques sur la sécurité 2. Sicherheitshinweise 3. Matériel fourni 3. Lieferumfang 4. Caractéristiques techniques 4. Technische Daten 5. Indications relatives à la première 5. -
Seite 3: Bestimmungsgemäße Verwendung
• Der Zug kann nicht auf Teppichböden betrieben • Sofern ein anderes Gerät mit der gleichen Fre- werden. quenz in Reichweite des Zuges betrieben wird, • Der Zug kann auf glattem und sauberem Unter- können Störungen auftreten. grund oder auf LGB-Gleisen betrieben werden. 6. Vorbereitungen 2. Sicherheitshinweise 6.1 Hinweise zum Umgang mit Batterien: • Das Produkt darf nur in geschlossenen Räumen Hinweise zu Batterien und wiederaufladbaren verwendet werden. -
Seite 4: Fernsteuerung
6.2 Fernsteuerung Batteriefachdeckel festschrauben. Batteriefach aufschrauben und abheben. Zwei Batterien Type AAA/LR 03 gemäß Zeich- nung einlegen. 6.3 Lokomotive Führerhaus abnehmen. Batterien nur paarweise entsprechend den Markierungen einlegen oder tau- schen! Polarität beachten! Batteriefachdeckel auflegen. Bitte beachten! Kabelverbindung im Führerhaus kann nicht gelöst werden. - Seite 5 Batteriefach-Abdeckung abschrauben und abneh- Batteriefach-Abdeckung aufsetzen und fest- men. schrauben. 3 Batterien Type Baby/LR14 gemäß Zeichnung einlegen. Führerhaus aufsetzen und einrasten. Die 3 Batterien nur gemeinsam einlegen oder tauschen! Batterien entsprechend den Markie- rungen einlegen. Polarität beachten!
-
Seite 6: Gleise Aufbauen
7. Gleise aufbauen 8. Inbetriebnahme Zusammenstecken 8.1 Zug vorbereiten/einschalten Lokomotive auf die Gleise aufgleisen oder glatten, ebenen Boden stellen. Wagen zusammenschieben und kuppeln Beispiel für den Aufbau: Zug einschalten, 1 x drücken 140 cm Die 12 Gleise (wie oben gezeigt) auf dem Boden zusammenstecken... -
Seite 7: Fernsteuerung Bedienen
8.2 Fernsteuerung bedienen Durch mehrmaliges Drücken der entsprechenden Taste kann man den Zug beschleunigen oder bremsen. Tastenfunktion Funktionen schalten Geschwindigkeit erhöhen Pfiff Bremsen Dampflok- geräusch Glocke Schaffner- pfiff Start, Fahrt- richtung, Beschleu- nigen und Bremsen Fahrtrichtung Stop Geschwindigkeit Bremsen Schalter immer auf 1 stellen erhöhen Fahrtrichtung... -
Seite 8: Betriebshinweise
9. Betriebshinweise - Die Fernsteuerung nicht vom Zug abwenden. - Fernsteuerung immer in Richtung des Zuges halten. max. 6 m 10. Funktionsstörungen - Achten Sie beim Fahren darauf, dass die Fern- • Fährt der Zug nicht, prüfen Sie, ob die Batte- steuerung immer auf den Zug gerichtet ist. rien richtig eingelegt sind. Sind die Batterien - Gerät der Zug außerhalb der Reichweite der ordnungsgemäß eingelegt und der Zug reagiert Fernsteuerung (ca. 6 m), fährt er weiter, kann trotzdem nicht, prüfen Sie die Batterien der jedoch nicht mehr gesteuert werden. -
Seite 9: Entsorgung
Batterien, die Schadstoffe enthalten, sind durch chemische Symbole gekennzeichnet (Cd = Cadmi- um, Hg = Quecksilber, Pb = Blei). Weitere Informationen: www.maerklin.com/en/imprint.html 13. Garantie Gewährleistung und Garantie gemäß der beilie- genden Garantieurkunde. • Für Reparaturen wenden Sie sich bitte an Ihren LGB-Fachhändler oder an Gebr. Märklin & Cie. GmbH Reparaturservice Stuttgarter Str. 55 - 57 73033 Göppingen Deutschland Tel: 09001 608 222 (nur aus dem Inland*) E-Mail: Service@maerklin.de * Anruf 49CT/Min. bei Anruf aus dem Festnetz, Handytarife können davon deutlich nach oben... - Seite 32 This device complies with Part 15 of the FCC Rules. Operation is subject to the following two conditions: (1) This device may not cause harmful interference, and (2) this device must accept any interference received, including interference that may cause undesired operation. Gebr. Märklin & Cie. GmbH Stuttgarter Str. 55 - 57 73033 Göppingen 130553/0812/Ha1Ef Deutschland Änderungen vorbehalten...