Inhaltsverzeichnis
Werbung
Verfügbare Sprachen
Verfügbare Sprachen
Quicklinks
Werbung
Kapitel
Inhaltsverzeichnis

Verwandte Anleitungen für Maico EAQ 10/2


Inhaltszusammenfassung für Maico EAQ 10/2
- Seite 1 Instructions de montage et mode d’emploi Régulateur de qualité d´air EAQ 10/2 w w w . m a i c o - v e n t i l a t o r e n . c o m...
-
Seite 2: Inhaltsverzeichnis
Hersteller von jeglicher Gewährleistung und ● Veränderungen und Umbauten am Haftung. Gerät sind nicht zulässig und entbinden Maico von jeglicher Gewährleistung und Impressum: © Maico Elektroapparate-Fabrik GmbH. Haftung. Deutsche Original-Betriebsanleitung. Druckfehler, Irrtümer und technische Änderungen vorbehalten ... -
Seite 3: Umweltschutz
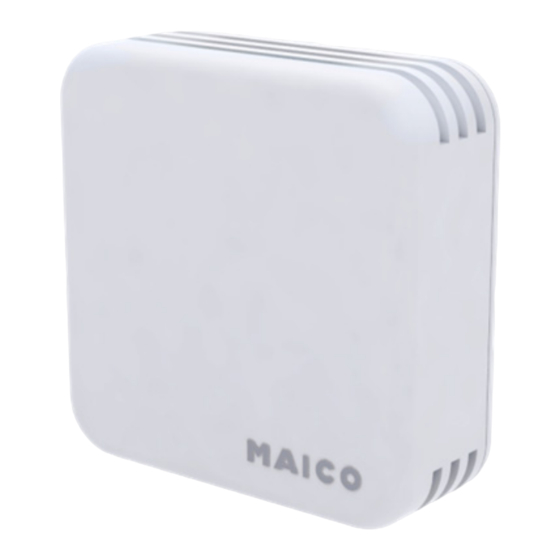
2. Umweltschutz | de Bestimmungsgemäße Verwendung Technische Daten Luftqualitätsregler zur Regelung der Sensorelement Metall-Oxyd-Sensor mit Frischluftzufuhr, abhängig von der automatischer Raumluftqualität. Kalibrierung ● Verwendung nur in Wohnräumen. Messbereich 800-1200 ppm / CO²- Äquivalent Vorhersehbare Fehlanwendungen Ausgang 0…10 V Gerät auf keinen Fall einsetzen: ●... -
Seite 4: Elektrischer Anschluss
de | 5. Elektrischer Anschluss 6. Inbetriebnahme 5. Elektrischer Anschluss 1. Sicherstellen, dass das Gerät korrekt ACHTUNG angeschlossen ist. Übereinstimmung Sachschaden bei Verwendung falscher mit den technischen Daten kontrol- Spannung. lieren. Dieses Gerät darf nur mit Schutzkleinspannung versorgt werden! 2. Netzsicherung einschalten und Aufwärmzeit (ca. -
Seite 5: Scope Of Delivery
Only operate the unit when it is completely installed. ● Modifications and alterations to the unit are not permitted and release Maico Acknowledgements: © Maico Elektroapparate-Fabrik GmbH. English translation from the original German from any guarantee obligations and operating instructions. We cannot be held responsible for liability. -
Seite 6: Environmental Protection
de | 2. Environmental protection Intended use Technical data VOC sensor Metal oxide sensor with Air quality controller for controlling fresh element automatic calibration air supply, dependant on the room air quality. Measurement 800-1200 ppm / CO² ● Only for use in living areas. range equivalent Output... -
Seite 7: Electrical Connection
5. Electrical connection | de 5. Electrical connection 6. Commissioning 1. Ensure that the unit is connected NOTICE correctly. Check that the technical Material damage if the incorrect voltage data has been adhered to. is used. 2. Switch on mains fuse and wait for the This unit may only be supplied with safety extra-low voltage (SELV)! warm-up period to elapse (approx. -
Seite 8: Éléments Fournis
N'utiliser l'appareil qu'après son responsabilité ou garantie. montage complet. ● Les modifications et transformations Mentions légales : © Maico Elektroapparate-Fabrik apportées à l'appareil sont GmbH. Traduction du mode d'emploi d'origine. Sous réserve de fautes d'impression, d'erreurs et de rigoureusement interdites et dégagent modifications techniques. -
Seite 9: Protection De L'environnement
2. Protection de l'environnement | de Maico de toute responsabilité ou Ce détecteur est uniquement programmé garantie. pour être connecté aux appareils WRG (WS 170, WR 300, WR 400 et WR 600) et possède une sortie 0...10 V. Utilisation conforme Après la mise sous tension, le temps de... -
Seite 10: Consignes De Montage
de | 4. Consignes de montage 5. Branchement électrique 4. Consignes de montage Lors du montage du module de détecteur, ATTENTION veillez à lui assurer une circulation d'air Dommages matériels en cas sans obstacle pour que les données d'utilisation d'une tension erronée. mesurées soient les plus actuelles et les Cet appareil doit uniquement être plus «... -
Seite 11: Mise En Service
6. Mise en service | de 6. Mise en service 10. S'assurer que l'appareil est correctement raccordé. Contrôler la concordance avec les caractéristiques techniques. 11. Enclencher le fusible secteur et patienter pendant le préchauffement (env. 15 minutes). 12. Effectuer un test de fonctionnement. 13. - Seite 12 Maico Elektroapparate-Fabrik GmbH • Steinbeisstr. 20 • 78056 Villingen-Schwenningen • Germany • Service +49 7720 694 447 • technik@maico.de...