Hama Duo Bedienungsanleitung
Inhaltsverzeichnis
Verfügbare Sprachen
Verfügbare Sprachen
Quicklinks
Mobile Speaker
Radio Controlled Alarm Clock
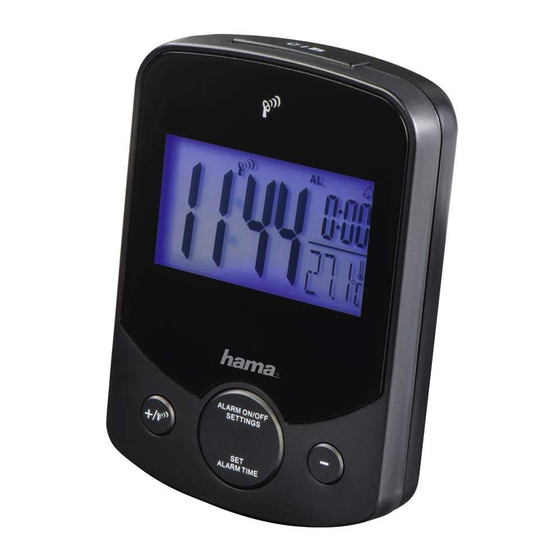
Funkwecker
GB
Operating Instructions
D
Bedienungsanleitung
F
Mode d'emploi
176936
"Duo"
Instrucciones de uso
Istruzioni per l'uso
Gebruiksaanwijzing
Instrukcja obs ugi
Használati útmutató
Návod k použití
Návod na použitie
Manual de instruções
Manual de utilizare
Bruksanvisning
Käyttöohje
00
E
RUS
I
NL
GR
PL
H
CZ
SK
P
RO
S
FIN
BG
Inhaltsverzeichnis

Verwandte Anleitungen für Hama Duo


Inhaltszusammenfassung für Hama Duo
- Seite 1 176936 Mobile Speaker Radio Controlled Alarm Clock “Duo” Funkwecker Operating Instructions Instrucciones de uso Bedienungsanleitung Mode d‘emploi Istruzioni per l‘uso Gebruiksaanwijzing Instrukcja obs ugi Használati útmutató Návod k použití Návod na použitie Manual de instruções Manual de utilizare Bruksanvisning Käyttöohje...
- Seite 11 Gefahren und Risiken zu lenken. Hinweis Wird verwendet, um zusätzlich Informationen oder wichtige Hinweise zu kennzeichnen. 3. Packungsinhalt • Funkwecker „Duo“ • 2 AAA Batterien • diese Bedienungsanleitung 4. Sicherheitshinweise • Das Produkt ist für den privaten, nicht-gewerblichen Haushaltsgebrauch vorgesehen.
-
Seite 12: Warnung - Batterien
• Benutzen Sie das Produkt nicht in Bereichen, in denen elektronische Produkte nicht erlaubt sind. • Positionieren Sie das Produkt nicht in der Nähe von Störfeldern, Metallrahmen, Computern und Fernsehern etc. Elektronische Geräte sowie Fensterrahmen beeinträchtigen die Funktion des Produktes negativ. •... -
Seite 13: Hinweis - Uhrzeiteinstellung
5.2. Batterie wechseln • Öffnen Sie das Batteriefach (10), entnehmen und entsorgen Sie die verbrauchten Batterien und legen Sie zwei neue AAA Batterien polrichtig ein. Schließen Sie die Batteriefachabdeckung (10). 6. Betrieb Hinweis Halten Sie die -Taste (5) oder die +/DCF-Taste (6) gedrückt, um die Werte schneller auswählen zu können. - Seite 14 • Sie können währenddessen eine manuelle Suche nach dem DCF-Funksignal an einem anderen Aufstellungsort starten oder die manuelle Einstellung von Uhrzeit und Datum vornehmen. • Die Uhr sucht automatisch weiterhin stündlich nach dem DCF-Funksignal. Bei erfolgreichem Signalempfang werden die manuell eingestellte Uhrzeit und das Datum überschrieben.
-
Seite 15: Hinweis - 12- Oder 24- Stundenformat Auswählen
Hinweis – 12- oder 24- Stundenformat auswählen Mit der +/DCF-Taste (6) oder – Taste (5), um zwischen dem 12- oder 24- Stundenformat zu wechseln. Beim 12-Stunden-Format wird „PM“ (12 bis 24 Stunden) links von der Zeit angezeigt. Hinweis – Zeitzone •... -
Seite 16: Aktivierung/ Deaktivierung Wecker
• Drücken Sie die +/DCF-Taste (6) oder die – Taste (5), um die Stunden der Weckzeit auszuwählen und bestätigen Sie die Auswahl durch Drücken der SET ALARM TIME-Taste (8). Die Minutenanzeige beginnt zu blinken. • Wiederholen Sie den Vorgang für die Minuten der Weckzeit. •... -
Seite 17: Hinweis - Schlummerfunktion
Reiniger. Achten Sie darauf, dass kein Wasser in das Produkt eindringt. 9. Haftungsausschluss Die Hama GmbH & Co KG übernimmt keinerlei Haftung oder Gewährleistung für Schäden, die aus unsachgemäßer Installation, Montage und unsachgemäßem Gebrauch des Produktes oder einer Nichtbeachtung der Bedienungsanleitung und/oder der Sicherheitshinweise resultieren.