Silvercrest SPU 900 A2 Bedienungsanleitung
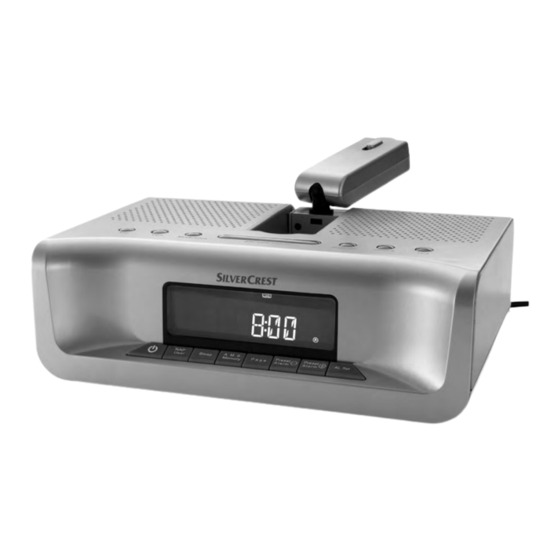
Projektionswecker
Vorschau ausblenden
Andere Handbücher für SPU 900 A2:
- Bedienungsanleitung (55 Seiten) ,
- Bedienungsanleitung (55 Seiten)

Verwandte Anleitungen für Silvercrest SPU 900 A2


Inhaltszusammenfassung für Silvercrest SPU 900 A2
- Seite 1 PROJECTION ALARM CLOCK SPU 900 A2 PROJECTION ALARM CLOCK Operating instructions CEAS DEŞTEPTĂTOR CU PROIECTOR Instrucţiuni de utilizare PROJEKTIONSWECKER Bedienungsanleitung IAN 90514...
- Seite 2 Before reading, unfold the page containing the illustrations and familiarise yourself with all functions of the device. Înainte de a citi instrucţiunile, priviţi imaginile şi familiarizaţi-vă cu toate funcţiile aparatului. Klappen Sie vor dem Lesen die Seite mit den Abbildungen aus und machen Sie sich anschließend mit allen Funktionen des Gerätes vertraut.
- Seite 3 SPU 900 A2...
- Seite 28 INHALTSVERZEICHNIS SEITE Bestimmungsgemäßer Gebrauch Lieferumfang Technische Daten Sicherheitshinweise Die Geräteteile Das Gerät in Betrieb nehmen Radiobetrieb Reinigen Fehlerhilfe Hinweis zur Konformität Importeur Entsorgen Garantie & Service Lesen Sie die Bedienungsanleitung vor der ersten Verwendung aufmerksam durch und heben Sie diese für den späteren Gebrauch auf. Händigen Sie bei Weitergabe des Gerätes an Dritte auch die Anleitung aus.
-
Seite 29: Bestimmungsgemäßer Gebrauch
Warnhinweis befolgen, um Sachschä- nicht bestimmungsgemäßem Gebrauch des den zu vermeiden. Gerätes resultieren, wird keine Gewährleis- Hinweis tung übernommen! Ein Hinweis kennzeichnet zusätzliche Infor- Lieferumfang mationen, die den Umgang mit dem Gerät erleichtern. 1 Projektionswecker SPU 900 A2 1 Bedienungsanleitung - 26 -... - Seite 30 • Prüfen Sie das Gerät und alle Teile auf Warnung: Gefahr durch sichtbare Schäden. Nur in einwandfreiem elektrischen Schlag! Zustand kann das Sicherheitskonzept • Schließen Sie das Gerät nur an eine vor- des Gerätes funktionieren. schriftsmäßig installierte und geerdete • Ziehen Sie vor jeder Reinigung den Netzsteckdose an.
-
Seite 31: Achtung: Brandgefahr
Warnung: Explosionsgefahr! Achtung! • Werfen Sie keine Batterien ins Feuer. • Explosionsgefahr bei unsachgemäßem Laden Sie Batterien nicht wieder auf. Auswechseln der Batterie. Ersatz nur • Öffnen Sie die Batterien niemals, löten durch den selben oder gleichwertigen oder schweißen Sie nie an Batterien. Es Typ. -
Seite 32: Die Geräteteile
Die Geräteteile Das Gerät in Betrieb nehmen q VOL— - Lautstärke verringern Nehmen Sie zunächst alle Geräteteile aus w VOL + - Lautstärke erhöhen der Verpackung und entfernen Sie alle Verpa- e MODE/LOCK - ruft die einstellbaren ckungsmaterialien. Überprüfen Sie das Gerät Parameter auf/ auf eventuelle Beschädigungen. - Seite 33 2. Drücken Sie die Tasten DOWN/UP i/o, Abk. Diff. Stadt um die Uhrzeit in Minutenintervallen einzu- +2 Istanbul /Türkei stellen. Das Gedrückthalten einer der Tas- +3 Moskau / Russland ten ändert die Uhrzeit in schneller Folge. +3 Kuwait City/Kuwait Datum einstellen +4 Dubai / Saudi Arabien 1.
-
Seite 34: Erinnerungsfunktion Einstellen
2. Drücken Sie die Taste DOWN i, um die Zeitver- Display Eklärung Aktualisierungsfunktion zu deaktivieren. Das satz Display g zeigt dann „UPDATE OFF“ an. OFFSET 1 In Ihrer Zeitzone (Local 3. Drücken Sie die Taste UP o, um die Aktu- City) ist Winterzeit und in alisierungsfunktion wieder zu aktivieren. -
Seite 35: Display-Dimmerzeit Einstellen
1. Drücken Sie bei ausgeschaltetem Radio 3. Drücken Sie die DOWN-Taste i, um die- die AL.SET-Taste a, um die Weckfunktion se Funktion wieder zu deaktivieren. aufzurufen. Mit den PRESET/ALARM +/– Display-Dimmerzeit einstellen s/d Tasten wählen Sie den gewünschten 1. Drücken Sie erneut die MODE/LOCK- Alarmspeicherplatz aus. -
Seite 36: Radiobetrieb
6. Um wieder zurück zur Auswahl von Werk- von 8:00 - 23:00 zu jeder vollen Stunde für tagen, Wochenende oder ganzer Woche 10 Minuten der Erinnerungsalarm gegeben. zu gelangen, halten Sie die SNOOZE/ Dazu blinkt die SDA-Anzeige im Display g. DIMMER-Taste y erneut 2 Sekunden Um den Erinnerungsalarm zu beenden, drü- lang gedrückt. - Seite 37 Sender manuell einstellen 3. Drücken Sie kurz die Taste A.M.S. ME- 1. Drücken Sie die Taste UP o, um nach MORY h. Im Display g blinken die Ziffer Sendern mit einer höheren Frequenz als und die Speicherplatzanzeige „MEM“. der im Display angezeigten zu suchen. 4.
-
Seite 38: Ausschalttimer
• Drücken Sie wiederholt die Taste VOL. + drehen können, müssen Sie dessen Sockel w, um die Lautstärke zu erhöhen. vorsichtig aus dem Gerätegehäuse hoch ziehen. Ausschalttimer 4. Stellen Sie mit dem Fokusregler 1( die An- Das Gerät verfügt über einen Ausschalttimer zeige scharf. -
Seite 39: Fehlerhilfe
Fehlerhilfe Entsorgen Werfen Sie das Gerät keinesfalls Das Gerät arbeitet nicht. in den normalen Hausmüll. Die- > Steckt der Stecker des Netzkabels 2! fest ses Produkt unterliegt der euro- in der Steckdose? päischen Richtlinie 2012/19/EU. > Ist der Sicherungsautomat evtl. ausge- schaltet? Gerät entsorgen >... -
Seite 40: Garantie & Service
Garantie & Service Kompernaß Service Schweiz Tel.: 0842 665 566 (0,08 CHF/Min., Mobilfunk max. Sie erhalten auf dieses Gerät 3 Jahre Ga- 0,40 CHF/Min.) rantie ab Kaufdatum. Das Gerät wurde E-Mail: kompernass@lidl.ch sorgfältig produziert und vor Anlieferung IAN 90514 gewissenhaft geprüft. Bitte bewahren Sie den Kassenbon als Nachweis für den Kauf auf.