Werbung
Werbung
Inhaltsverzeichnis

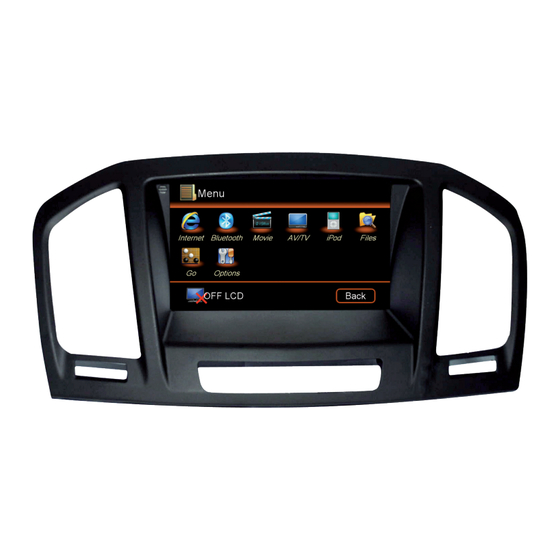
Inhaltszusammenfassung für ESX VISION Naviceiver VN709 OP-INSIGNIA
- Seite 1 VN709 OP-INSIGNIA...
- Seite 2 SCOPE OF DELIVERY / Lieferumfang ITEM FIGURE QUANTITY Artikel Abbildung Anzahl MONITOR 17,8 CM (7“) Monitor 17,8 cm (7“) CD/DVD-DRIVE CD/DVD Laufwerk DISPLAY PROTECTOR MAT Display-Schutzmatte MICRO SD CARD 8GB INKL: NAVIGATION SOFTWARE MicroSD Speicherkarte 8GB Navigationssoftware MONITOR Y-CONNECTOR Monitor Y-Anschluss AUDIO / VIDEO IN- AND OUTPUTS Audio / Video Ein- und Ausgänge INTERCONNECTION...
- Seite 3 SCOPE OF DELIVERY / Lieferumfang ITEM FIGURE QUANTITY Artikel Abbildung Anzahl IPOD / IPHONE CONNECTOR iPod / iPhone Anschluss BT-MICROPHONE BT-Mikrofon GPS ANTENNA GPS Antenne USB TMC WIRE ANTENNA USB TMC Kabelantenne STYLUS Markierstift...
-
Seite 4: Wichtige Hinweise
INSTALLATION NOTES / Installationshinweise Important Notes prior to installation: This guide is an installation aid for a proper installation of the device. Please read the following instructions prior installation: 1.) Please treat all parts of the sound system and the components of your vehicle with caution. 2.) Follow under all circumstance the regulations of the vehicle manufacturer and do not make any modifications on the vehicle, which could interfere the driving safety. -
Seite 5: Installation Hints
Vermeiden Sie das Verlegen des Kabels über die Lenksäule. In der Regel sollte das Kabel lang genug sein, um die A-Säule (Fahrerseite) über die Beifahrerseite zu erreichen. Ein evtl. werksseitig vorhandenes Mik- rofon ist nicht kompatibel mit dem ESX Gerät. Bitte verwenden Sie das mit- gelieferte Mikrofon. - Seite 6 Depending on the type of vehicle the CAN-BUS sends the information of the handbrake signal to the ESX device. If this is not the case, the green wire („Brake“) from the Audio/Video cable sat (6) needs to be connected. The si- gnal must be connected with ground while the handbrake is applied.
- Seite 7 INSTALLATION EXAMPLE / Einbaubeispiel Remove the original car audio system. Pry the lower decorative panel with mounting wedges. Entfernen Sie das originale Radio System. Enthebeln Sie die untere Zierblende mit Montagekeilen. Pry the left decorative panel with mounting wedges. Pry the right decorative panel with mounting wedges at the three buckles.
- Seite 8 INSTALLATION EXAMPLE / Einbaubeispiel Disconnect the all cables of the monitor unit on the back and Remove now the 4 screws of the original radio panel. remove its original frame. Put the monitor unit aside. Entfernen Sie nun die 4 Schrauben der originalen Radio-Blende. Ziehen Sie alle Stecker der Monitoreinheit auf der Rückseite ab und entfernen Sie deren originalen Rahmen.
- Seite 9 Entfernen Sie die 4 Schrauben des Handschuhfachs. Ziehen Sie nun vorsichtig das ganze Handschuhfach heraus. Pull out the inner tray. Plug in the connection cable (7) on the back of the ESX CD/DVD drive (2). Ziehen Sie das innere Ablagefach heraus.
- Seite 10 INSTALLATION EXAMPLE / Einbaubeispiel Ensure that both buckles of the CD/DVD Drive (2) are locked with Now route the BT microphone (10) and the GPS antenna (11) on the glove box on the back. the passenger side. Achten Sie darauf, dass beide Verschlüsse des CD/DVD Lauf- Verlegen Sie nun das BT-Mikrofon (10) und die GPS Antenne (11) werks (2) am Handschuhfach hinten eingerastet sind.
- Seite 11 Befestigen Sie nun die Luftauslässe, die Schaltereinheit und die Luftauslass sowie die 4 Metallverschlüsse. Metallverschlüsse an der neuen ESX Monitoreinheit (1). The installation on the monitor unit is now finished. Check whe- Stick the supplementary mat (3) as protection on the the origi-...
- Seite 12 INSTALLATION EXAMPLE / Einbaubeispiel Plug in the longer cable of the monitor Y-connector cable (5) on Attach the original display now hidden inside the radio bay, so the back of the original display. that the original radio still fits as well. Fix the display if necessary with cable ties.
- Seite 13 Radioblende an. Dann befestigen Sie die Radioblende mit den 4 originalen Schrauben. Now install the new ESX monitor unit into the location of the ori- After a sucessful function test re-install all decorative panels. ginal unit and then test all functions.
-
Seite 14: Notes / Notizen
NOTES / Notizen... - Seite 15 NOTES / Notizen...
- Seite 16 ESX Car Media Systems · Audio Design GmbH Am Breilingsweg 3 · D-76709 Kronau/Germany Tel. +49 7253 - 9465-0 · Fax +49 7253 - 946510 www.esxnavi.de - www.audiodesign.de ©2017 All Rights Reserved...


