Herunterladen Diese Seite drucken

Werbung

Verfügbare Sprachen

Verfügbare Sprachen

Bedienungsanleitung
Seite: 1-9
User Manual
Page: 10 - 20
LightmaXX EASY Wash 5IVE LED
5 x 12 Watt (RGBAW)
LIG0010511-000
Lieber Kunde,
vielen Dank das Sie sich für ein Produkt von LightmaXX entschieden haben. In der
folgenden Anleitung erhalten Sie wichtige Informationen über dieses Produkt sowie
deren Eigenschaften und Funktionen.
1

Werbung

loading

Inhaltszusammenfassung für Lightmaxx LIG0010511-000

  • Seite 1 LightmaXX EASY Wash 5IVE LED 5 x 12 Watt (RGBAW) LIG0010511-000 Lieber Kunde, vielen Dank das Sie sich für ein Produkt von LightmaXX entschieden haben. In der folgenden Anleitung erhalten Sie wichtige Informationen über dieses Produkt sowie deren Eigenschaften und Funktionen.
  • Seite 2: Technische Daten

    Technische Daten: Stromanschluss AC 230V / 50 Hz Betriebsarten AUTO / Sound to Light / DMX-512 DMX Kanäle 9 oder 14 Kanäle LED System 5 x 12 Watt RGBAW 5in1 COB LED Maße 225 x 225 x 270 mm Gewicht 4,2 kg Das Gerät darf nicht in Betrieb genommen werden, nachdem es von einem kalten in einen warmen Raum gebracht wurde.
  • Seite 3 Den Netzstecker immer als letztes einstecken. Der Netzstecker muss dabei gewaltfrei eingesetzt werden. Achten Sie auf einen festen Sitz des Netzsteckers. Lassen Sie die Netzleitung nicht mit anderen Kabeln in Kontakt kommen! Seien Sie vorsichtig beim Umgang mit Netzleitungen und -anschlüssen. Fassen Sie diese Teile nie mit feuchten Händen an! Feuchte Hände können tödliche Stromschläge zur Folge haben.
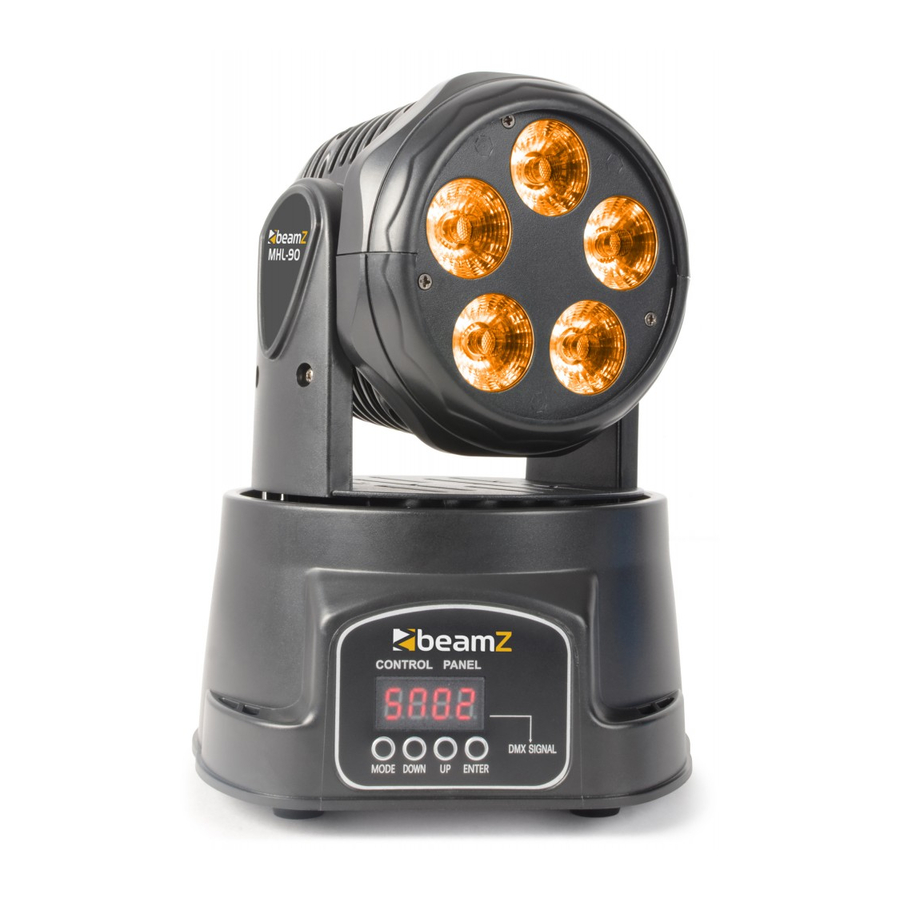
  • Seite 4 NUTZUNG UND VERWENDUNG Bei diesem Gerät handelt es sich um einen kopfbewegten LED-Effektstrahler, mit dem sich dekorative Lichteffekte erzeugen lassen. Dieses Produkt ist nur für den Anschluss an 230 V, 50 Hz Wechselspannung zugelassen und wurde ausschließlich zur Verwendung in Innenräumen konzipiert. Dieses Gerät ist für professionelle Anwendungen, z.
  • Seite 5: Dmx-Betrieb

    darauf, dass der Bereich unterhalb des Montageortes abgesperrt ist. Bei Überkopfmontage (Montagehöhe >100 cm) ist das Gerät immer mit einem geeigneten Sicherheitsfangseil zu sichern. Das Sicherheitsfangseil muss an den dafür vorgesehenen Befestigungspunkten eingehängt werden. Das Fangseil darf niemals an den Transportgriffen eingehängt werden! Betreiben Sie das Gerät nur, nachdem Sie sich vergewissert haben, dass das Gehäuse fest verschlossen ist und alle nötigen Schrauben fest angezogen wurden.
  • Seite 6 14 Kanal MODUS: Channel Function PAN FINE TILT TILT FINE PAN/TILT SPEED DIMMER & STROBE Grün Blau Weiss Amber Farb MIX AUTO Modus (AUTO & SOUND EFFECT) RESET Benutzer Einstellungen: Einstellen der PAN Bewegung… Zum Einstellen die Taste “MODE/ESC” drücken und “PA18”, “PA36”,or “PA54”. über die “UP”...
  • Seite 7 Einstellen der TILT Bewegung… Zum Einstellen die Taste “MODE/ESC” drücken und “t.9” or “t.18” über die “UP” and “DOWN” Tasten wählen. Anschließend die “ENTER” Taste drücken um Ihre Auswahl zu bestätigen. LED Display Maximale TILT Bewegung 90º t.18 180º DMX Protokoll: 9 Kanal MODUS Channel Function...
  • Seite 8 14 Kanal MODUS Channel Function 0-255 0-255 PAN FINE 0-255 TILT 0-255 TILT FINE PAN/TILT SPEED 0-255 From Fast to Slow DIMMER & STROBE Closed 8-134 Dimmer 135-239 Strobe from 0Hz to 40Hz 240-255 Open 0-255 0-255 GREEN 0-255 BLUE 0-255 White 0-255...
  • Seite 9 1. Preface 1.1 Packing list Product name quantity Mini moving head Light 1 pcs Power -line 1 base User Manual 1pcs 1.2 Unpacking instructions Once receiving a fixture, carefully unpack the carton, check the contents to ensure that all parts are presented, and have been received in a good condition. Notify the shipper immediately and retain packing material for inspection if any parts appear damaged from shipping or the carton itself shows, sign of mishandling.
  • Seite 10 1.4 Safety instructions Please read these instructions carefully, it includes important information about the installation, usage and maintenance of this product. Be sure the local power outlet matches that of the required voltage for your unit. Do not attempt to operate this unit if the power cord has been frayed or broken. Do not attempt to remove or break off the ground prong from the electrical cord.
  • Seite 11 2. Introduction 2.1 Features Multi-Colors Color Strobe Electronic Dimming 0-100% Built in Microphone DMX-512 Control Auto/ Master & Slave synchronization Multi-channel mode 2.2 DMX Channel In 9 channel mode Channel Function TILT DIMMER & STROBE Green Blue White Amber Pan/Tilt SPEED...
  • Seite 12 In 14 channel mode Channel Function PAN FINE TILT TILT FINE PAN/TILT SPEED DIMMER & STROBE GREEN BLUE WHILE AMBER COLOR mixed and changed MOVEMENT(AUTO & SOUND EFFECT) RESET 3. Set up Disconnect the power cord before replacing a fuse and always replace with the same type fuse.
  • Seite 13 3.2 Fixture linking You will need a serial data link to run light show of one or more fixtures using a DMX-512 controller or to run synchronized on two or more fixtures set to a master/slave operating mode. The combined number of channels required by all the fixtures on a serial data link determines the number of fixtures the data link can support.
  • Seite 14 3.5 Master/Slave fixture linking 1. Connect the (male) 3 pin connector side of the DMX cable to the output (female) 3pin connector of the first fixture. 2. Connect the end of the cable coming from the first fixture which will have a (female) 3 pin connector to the input connector of the next fixture consisting of a (male) 3 pin connector.
  • Seite 15 Setting Maximum Tilt Angles To select, use the “MODE/ESC” button and choose “t.9” or “t.18” “UP” and “DOWN” buttons cycle between all available Tilt Angles. Press the “ENTER” button to confirm the chosen selection. LED Display Maximum Pan 90º t.18 180º...
  • Seite 16 Initial LED Display Second LED Display Sub-mode nAFA Fast Fast Auto Run NAFL SloU Slow Auto Run 3-Sound Activated Mode The unit responds to sounds picked up by the unit in microphone to create a light show . Each sound picked up makes changes to color shown and position of the effects.
  • Seite 17 Restoring factory defaults To select, use the “MODE/ESC” button and choose “LoAD”(load). Press “ENTER” to confirm. The LED display will change to “d001” to confirm a factory reset has been completed Powering the unit initially During the warm up the unit will auto test itself for a few seconds. During this time the led display will scroll “rEST”...
  • Seite 18 4.4 DMX channel Values In 9 channel mode Channel Function 0-255 0-255 TILT DIMMER & STROBE blank 10-134 Dimmer 135-239 Strobe from 0Hz to 40Hz 240-255 Open 0-255 0-255 Green 0-255 Blue 0-255 White 0-255 Amber 0-255 Pan/Tilt speed In 14 channel mode Channel Function 0-255...
  • Seite 19 DIMMER & STROBE Closed 10-134 Dimmer 135-239 Strobe from 0Hz to 40Hz 240-255 Open 0-255 0-255 GREEN 0-255 BLUE 0-255 White 0-255 Amber COLOR mixed and changed 0-223 Color Mixed 224-240 Color gradient from slow to fast 241-255 Color jump from slow to fast MOVEMENT(AUTO &...
  • Seite 20 5. Technic data Model number MoveWasher512-COB-RGBAW Voltage 110-240v 50Hz 5X12W RGBAW 5-in-1 LED Dimensions 225mm*225mm*270mm Net Weight 4.2Kg www.musicstore.de...