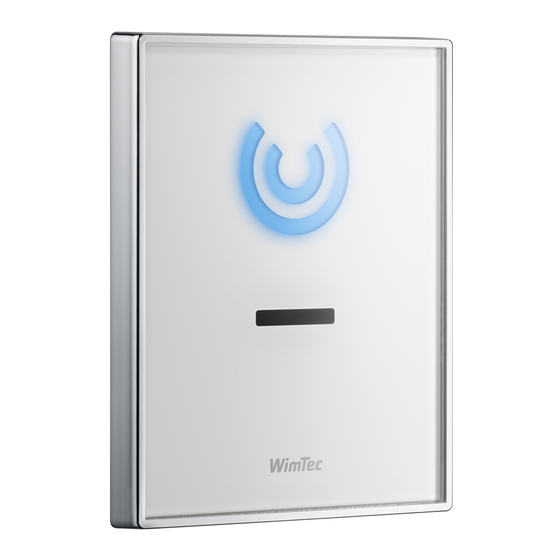
WimTec SanTec PROOF U8 Montage- Und Bedienungsanleitung
Inhaltsverzeichnis
Verfügbare Sprachen
Verfügbare Sprachen
Quicklinks
Inhaltsverzeichnis

Verwandte Anleitungen für WimTec SanTec PROOF U8


Inhaltszusammenfassung für WimTec SanTec PROOF U8
- Seite 1 PROOF U8 Montage- und Bedienungsanleitung Installation and operating instructions...
-
Seite 2: Allgemeine Hinweise
Reinigungs- oder Desinfektionsmittel verwenden nur mit weichem Schwamm oder Tuch behandeln keine Reinigung mit Dampfstrahlgeräten Diese Anleitung ist gültig für folgende Produkte: SanTec PROOF U8 230 V SanTec PROOF U8 9 V Lieferumfang: Frontplatte mit Rahmen, Montagerahmen mit integrierter Elektronik, Magnetventil, Befestigungsmaterial und Trafo oder Batterie. -
Seite 3: Technische Daten
PROOF U8 Technische Daten SanTec PROOF U8 230 V: Betriebsspannung: 230 V / 50 Hz Leistungsaufnahme: ca. 3 VA SanTec PROOF U8 9 V: Batterie: Alkali 9 V Batterielebensdauer: 100.000 Spülungen (max. 2 Jahre) Weitere technische Daten: Magnetventil: Kartusche 6 V Ansprechbereich: ca. -
Seite 4: Montage Netzbetrieb
Blindstopfen entfernen und Magnetventil einsetzen, nur handfest anziehen! Netzspannung abschalten! Netztrafo an Stomversorgung anschließen, Netzstecker einstecken. Netzstecker und Netzteil einbauen. Magnetventil anschließen. Stecker vom Netzteil auf E-Modul stecken und Netzspannung einschalten. Hinweis: Bei Steckverbindungen auf korrekte Polarität achten! Urinalsteuerung SanTec PROOF U8... - Seite 5 PROOF U8 Montage Batterie Leitung spülen danach Vorabsperrung schließen Adapter auf Magnetventil stecken Magnetventil einsetzen, nur handfest anziehen! Batteriefach einschrauben Stecker Magnetventil einstecken Batteriestecker einstecken Elektronikmodul anschrauben Hinweis: Bei Steckverbindungen auf korrekte Polarität achten! Urinalsteuerung SanTec PROOF U8...
- Seite 6 PROOF U8 Inbetriebnahme Netzbetrieb Urinalsteuerung SanTec PROOF U8...
- Seite 7 5 min nicht benutzt Minuten geht die Steuerung in den Stadion Modus: ab der 6. Benützung wird nur eine Spülung pro Minute ausgelöst. Hygienespülung: Einstellbare Hauptspülung: bei 24 Stunden von 1 bis 15 s Nichtbenutzung Urinalsteuerung SanTec PROOF U8...
- Seite 8 PROOF U8 Inbetriebnahme Batterie Urinalsteuerung SanTec PROOF U8...
-
Seite 9: Spülmengen-Übersicht
7,0 s 10,0 s 2 bar 4,5 s 5,5 s 7,5 s 3 bar 3,0 s 4,5 s 6,0 s 4 bar 2,5 s 4,0 s 5,5 s 5 bar 2,5 s 4,0 s 5,0 s Urinalsteuerung SanTec PROOF U8... -
Seite 10: Servicehinweis - Magnetventil Reinigen
Servicehinweis - Magnetventil reinigen Vorabsperrung schließen Magnetventilstecker trennen, Magnetventil ausschrauben Filter abspülen, ggf. mit weicher Bürste reinigen Magnetventil einsetzen, nur handfest anziehen Batteriewechsel Rote Diode blinkt dauernd bei niedrigem Batteriestand Frontplatte abnehmen 9 V Alkalibatterie tauschen Urinalsteuerung SanTec PROOF U8... - Seite 11 Magnetventil 6 V 113 013 Montagerahmen mit Elektronikmodul (Netz) 119 824 Montagerahmen mit Elektronikmodul (Batterie) 231 212 Netzteil 230 611 Netzstecker 230 086 Batterie 9 V Alkaline 112 986 Kunststoff-Frontplatte weiß 112 993 Kunststoff-Frontplatte chrom 113 006 Edelstahl-Frontplatte Urinalsteuerung SanTec PROOF U8...
- Seite 22 PROOF U8 Notes Urinal control SanTec OCEAN U8...
- Seite 23 PROOF U8 Notes Urinal control SanTec OCEAN U8...
- Seite 24 WIMTEC Elektronische Steuerungs- u. Meßgeräte GmbH p: A - 3325 Ferschnitz, Freidegg 50, AUSTRIA t: +43 (0) 7473 5000 f: +43 (0) 7473 5000 - 500 m: verkauf@wimtec.com i: www.wimtec.com...