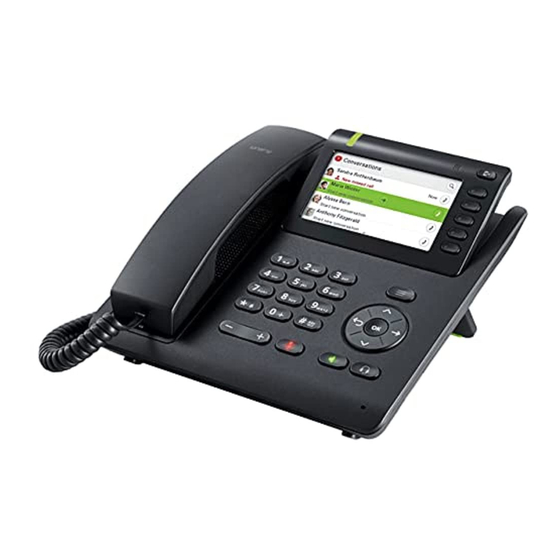
Unify OpenScape CP200 Montageanleitung
Vorschau ausblenden
Andere Handbücher für OpenScape CP200:
- Bedienungsanleitung (181 Seiten) ,
- Installations- und kurzanleitung (37 Seiten) ,
- Kurzanleitung (2 Seiten)
Quicklinks
1
Keep the following handy: 1 telephone
CP200 or CP600, 1 wall mount kit, 1
network cable (ultra-flexible)*, 4 screws
(diameter: 5 mm, incl. wall anchors if
applicable), level, pencil, electric drill,
screwdriver.
Halten Sie bereit: 1 Telefon CP200 oder
CP600, 1 Wandhalterung, 1 Netzwerkka-
bel
(hochflexibel)*,
4
(d=5mm, ggf. mit Dübel), Wasserwaage,
Stift, Bohrmaschine, Schraubendreher.
4
Put the phone frame to the back of the
phone and align the frame with the
holes in the phone.
Connect the frame by supplied four
screws.
Legen Sie den Telefon-Rahmen auf die
Rückseite des Telefons und richten Sie
den Rahmen nach den Löchern im Tele-
fon aus.
Verschrauben Sie den Rahmen mit den
mitgelieferten vier Schrauben.
We recommend using a ultra-flexible network cable (order number L30250-F600-C283)
Wir empfehlen die Verwendung eines hochflexiblen Netzwerkkabels (Bestellnummer L30250-F600-C283)
When you mark the drill holes, make sure that you won't hit any hidden electrical wires or water lines.
!
Achten Sie beim Bohren der Schraubenlöcher auf elektrische Kabel und Wasserleitungen, die in der Wand verlaufen.
Wall mount kit / Wandhalterung
OpenScape DeskPhone CP200/CP600
Put one of the the little anchors into the
upper handset cradle with the barbs
first and so that the slanted edge fac-
ing forward.
Montieren Sie eine der Hörerklammern
mit der Schräge nach vorne und mit
Schrauben
den Widerhaken zuerst in der Ablage-
schale.
Position the wall frame at the wall and
mark the drill holes.
Positionieren Sie den Wand-Rahmen an
der Wand und kennzeichnen Sie die
Bohrlöcher.
2
5
3
Plug the long straight handset cable
end into the appropriate socket
the phone and put the cable into the ca-
ble channel.
Stecken Sie den Stecker des langen ge-
raden Hörerkabelendes in die entspre-
chende Buchse
am Telefon und
verlegen Sie das Kabel im Kabelkanal.
6
Drill the holes. Insert wall anchors suita-
ble for the wall type.
Continue with step 7 on the reverse
side
Bohren Sie die Löcher. Setzen Sie ab-
hängig von der Beschaffenheit der
Wand passende Dübel ein.
Weiter mit Schritt 7 auf der Rückseite
on

Verwandte Anleitungen für Unify OpenScape CP200


Inhaltszusammenfassung für Unify OpenScape CP200
- Seite 1 Wall mount kit / Wandhalterung OpenScape DeskPhone CP200/CP600 Keep the following handy: 1 telephone CP200 or CP600, 1 wall mount kit, 1 network cable (ultra-flexible)*, 4 screws Put one of the the little anchors into the Plug the long straight handset cable (diameter: 5 mm, incl.
- Seite 2 Schieben Sie nun das Telefon nach un- mithilfe der mitgelieferten Senkschrau- Hängen Sie den Hörer ein. ten, bis die untere Position erreicht ist. Copyright © Unify Software and Solutions GmbH & Co. KG 1/2017 Mies-van-der-Rohe-Str. 6, 80807 Munich/Germany All rights reserved. unify.com Availability and technical specifications Reference No.: A31003-C1000-J107-2-7431...